The targeting feature allows you to display a specific information for each audience segement.
Here is a quick overview of how this feature works:
- User opens a website with the banner. The website (or the DSP/SSP platform on the website) loads the Bannernow AdTag and passes the segment this user belongs to.
For example &segment=age18-20 (where the segment value will be different for each website user).
Basically the website or DSP/SSP should know the segment the user belongs to Before the banner starts rendering - Once banner is rendered using the additional AdTag param – banner is trying to search for the segment value match in the Feed that is connected to the banner.
- If the match found – it will display the data from the same feed/table row where the match was found.
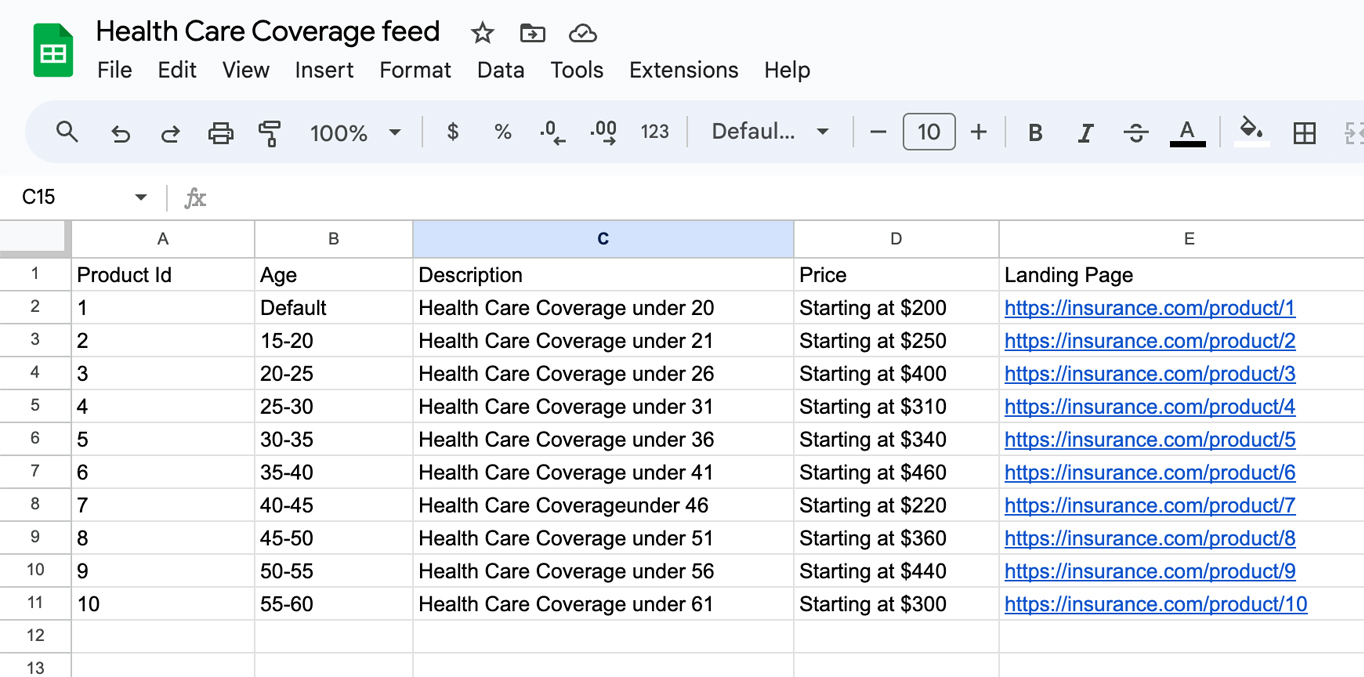
Let’s create a Google spreadsheet and use it as a data source for this tutorial.
The Age column will represent the Segment values
Next, click the Share button located in the top right corner.
Choose the Anyone with the link option to make your feed public, then click Done.
Now this spreadsheet can be used as a feed data source in Bannernow

Let’s return to BannerNow -> Data -> Feeds tab. Click Create new feed button.
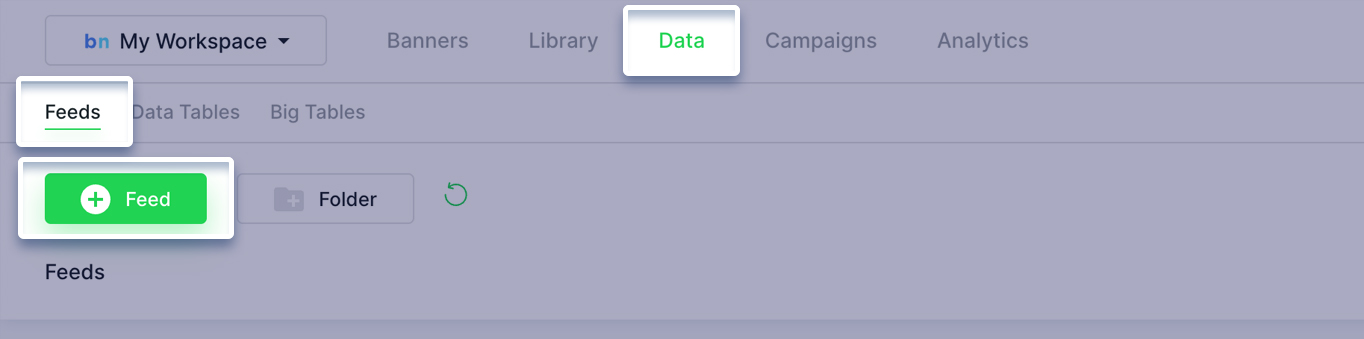
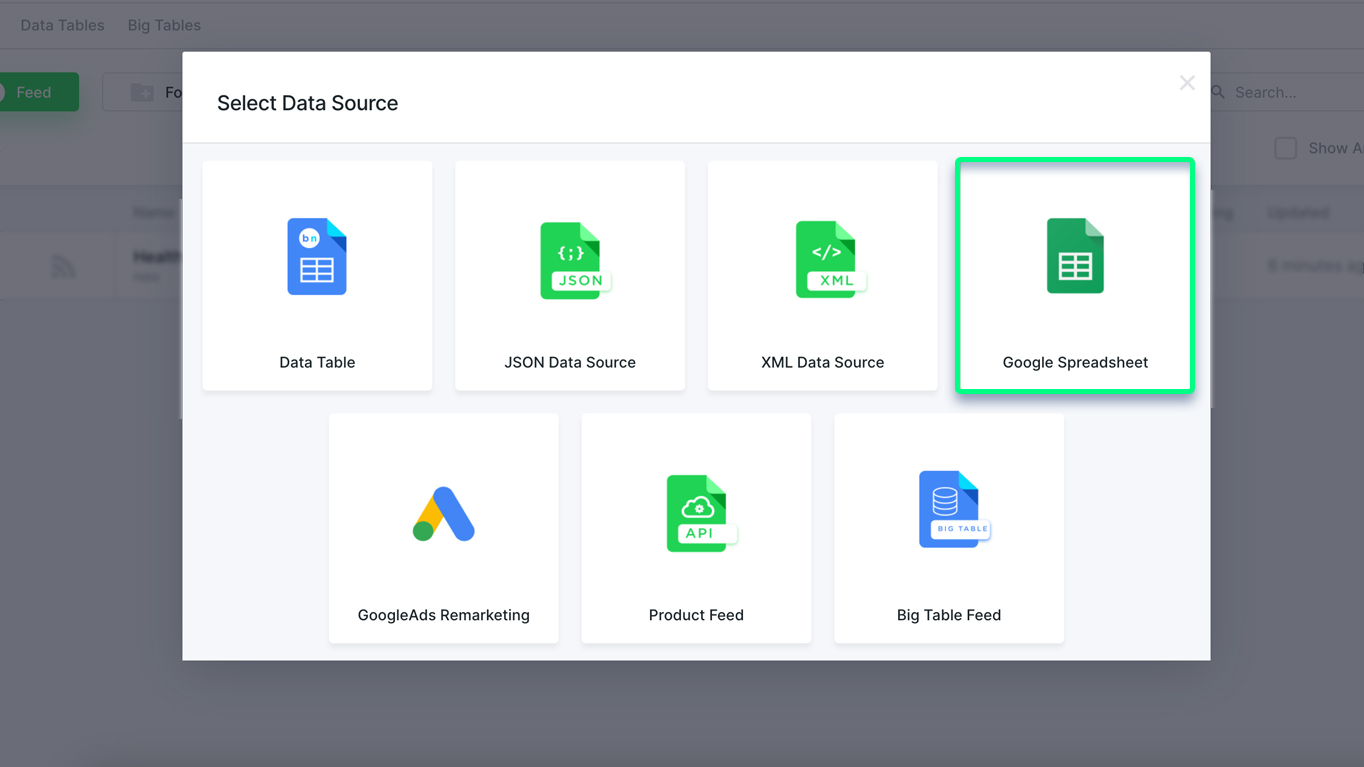
Select the Google Spreadsheet option.
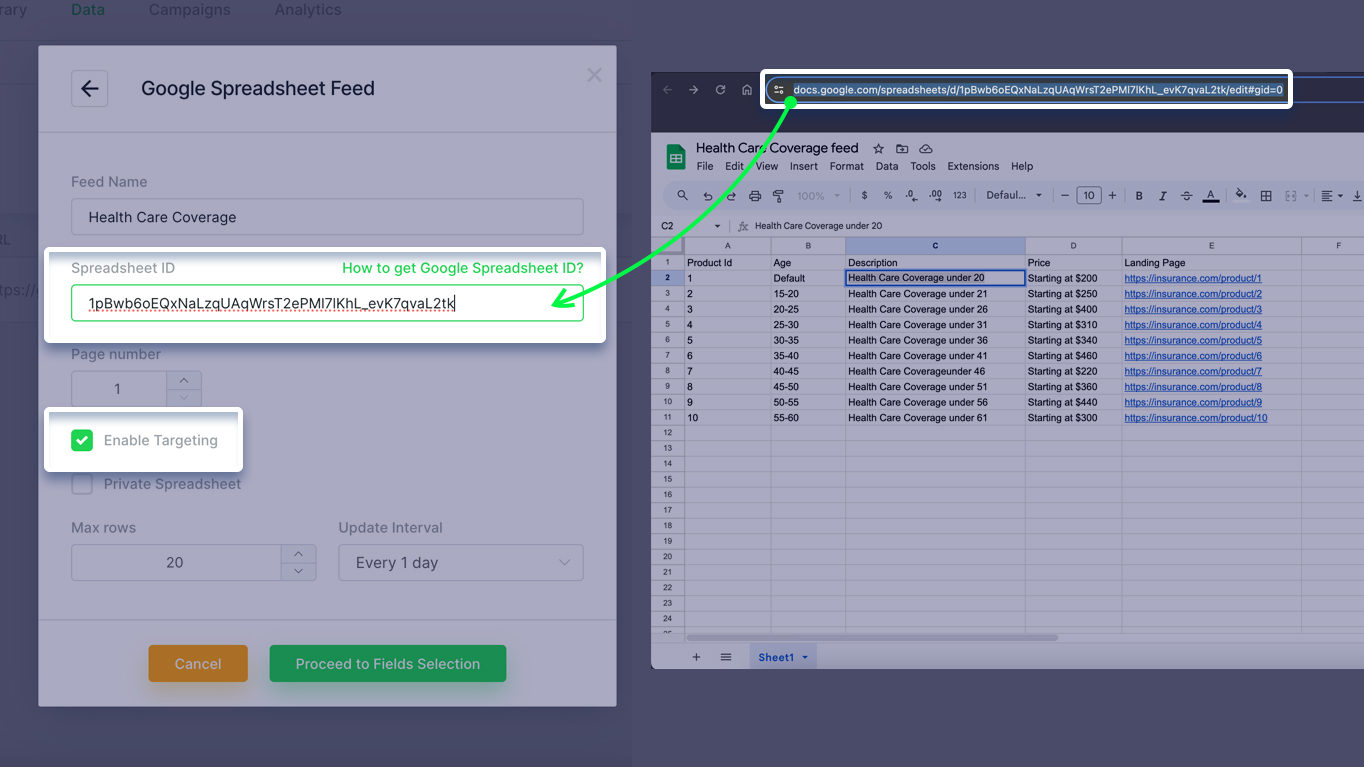
Next copy/paste the spreadsheet url (the link from Google Sheets), and enable the targeting option.
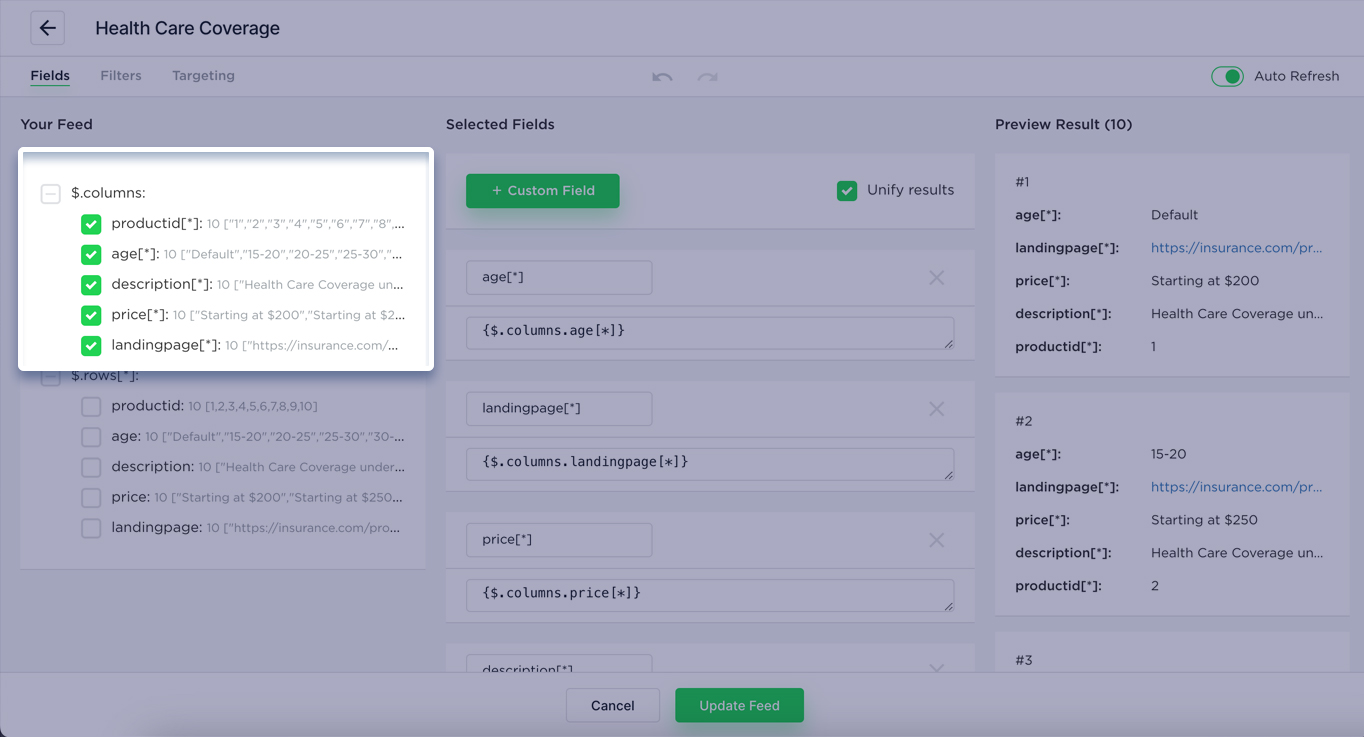
Choose the columns from the feed that you want to display in your ad.
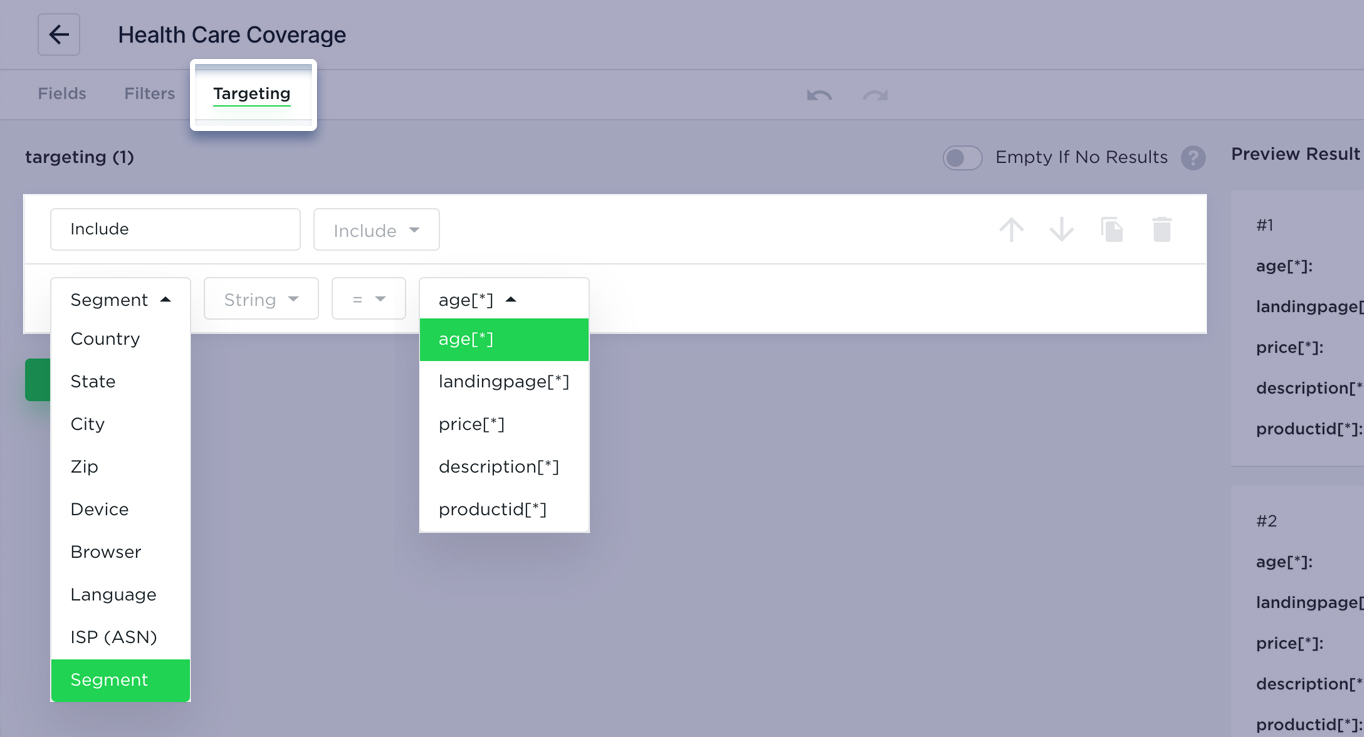
In the Targeting tab, click Add New Rule.
Rule Type: INCLUDE
Rule match type: SEGMENT ( string, = )
Column from our table to match: age
Now it’s time to build a creative.

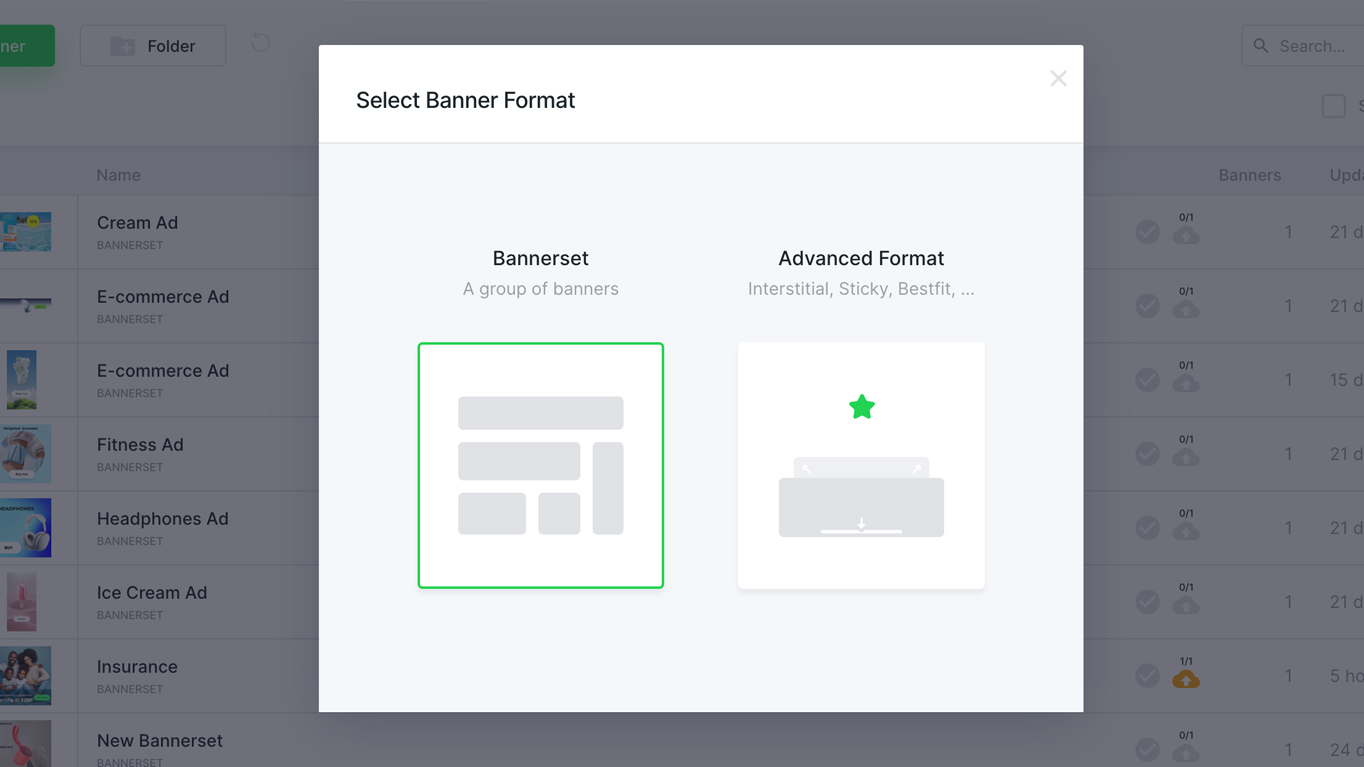
Select the Bannerset format.
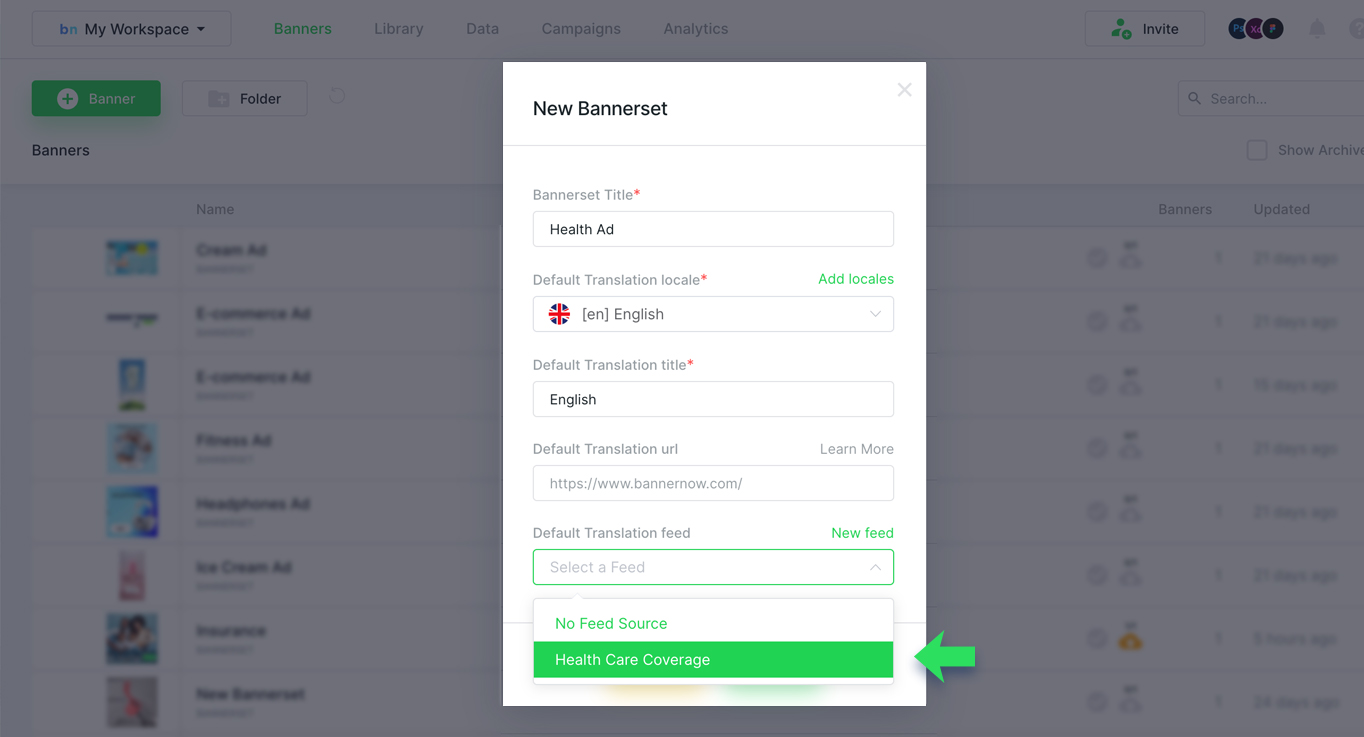
In the pop up modal select the feed that we have just created and click Create.
After creating your design, you need to bind the feed data to the element values (images, texts, landing urls).
To do this, select the text element and click on the feed icon to bind the text value to the feed data.
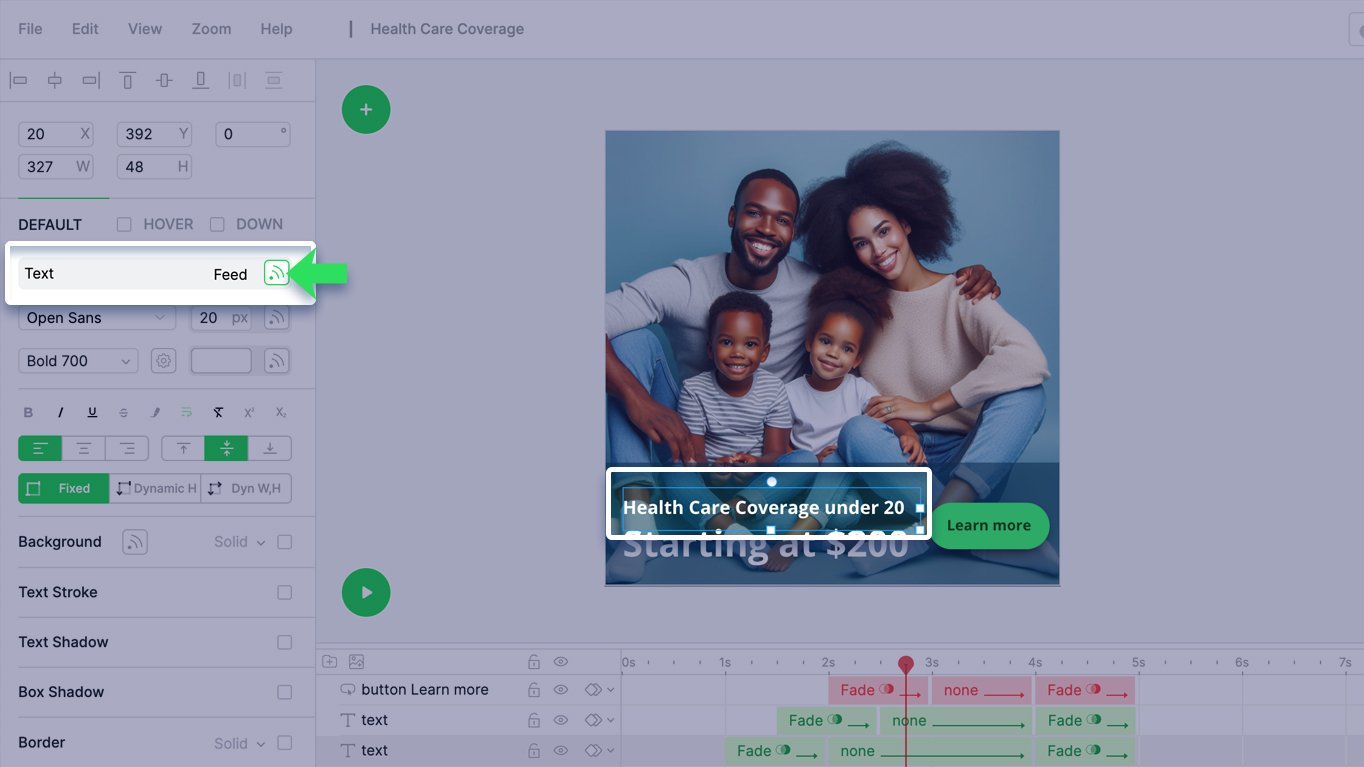
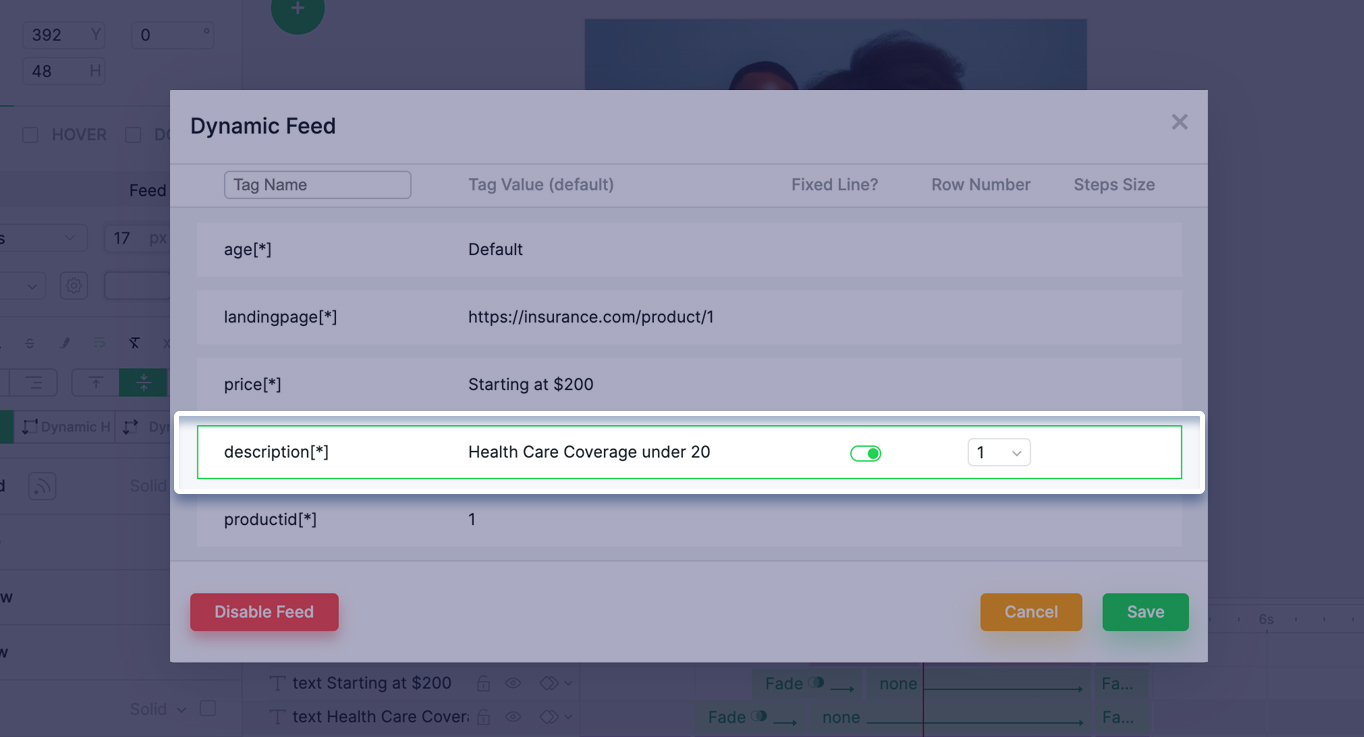
Select the column you want to display for a specific text element.
Also select the Fixed Line option and set the Row Number = 1
This will assure that if no Match found it will take only the First row from our feed (Which in our case is the Default one).
Perform the same action for each dynamic element in the design.
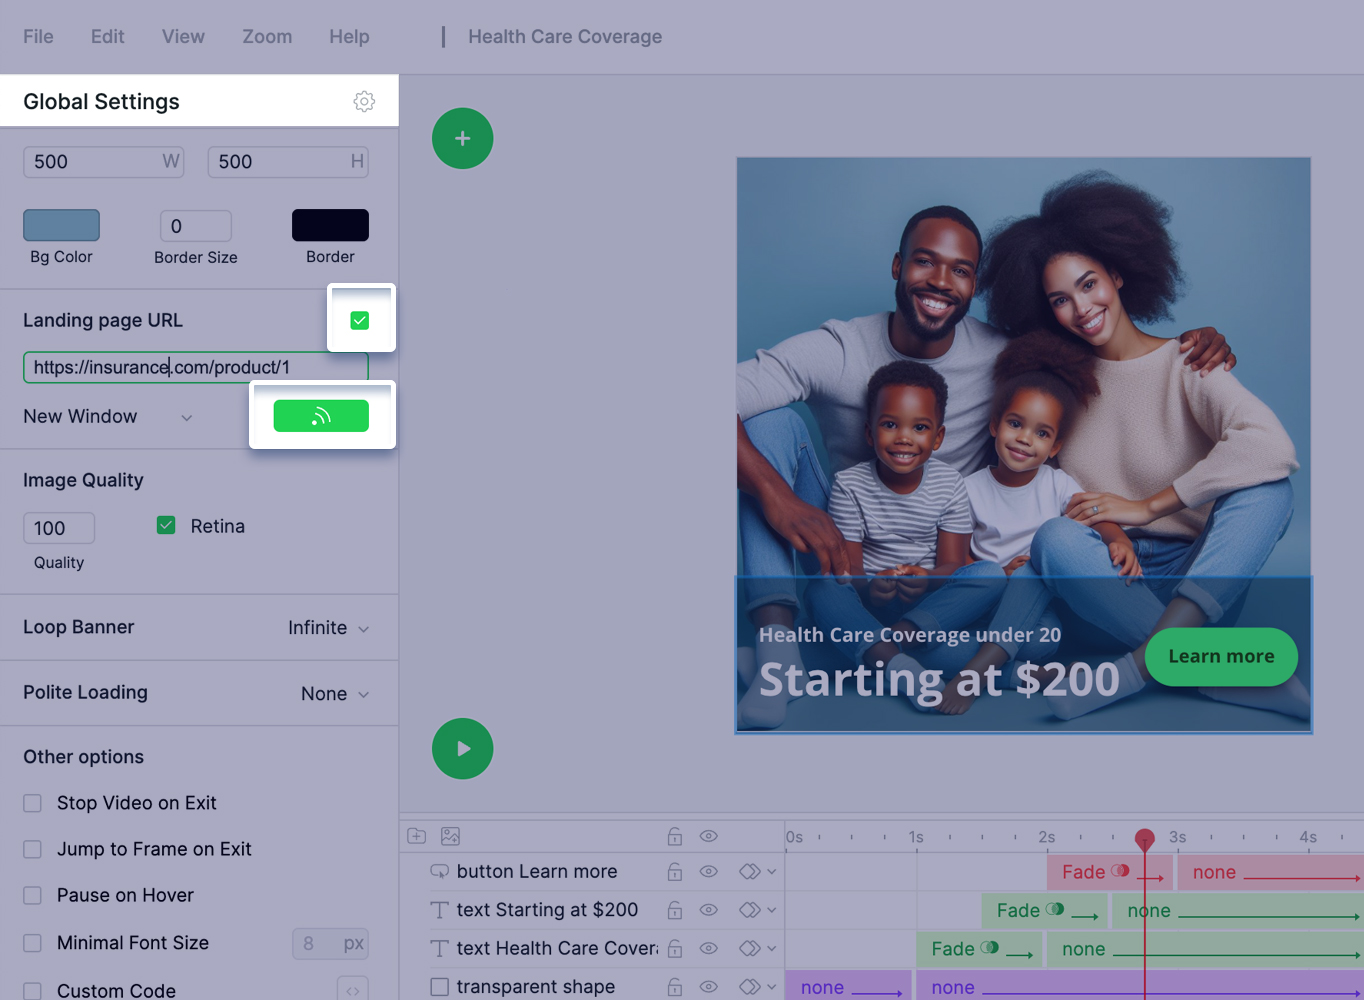
Don’t forget to bind the Landing page url (Global settings) to the Landing url from the Feed
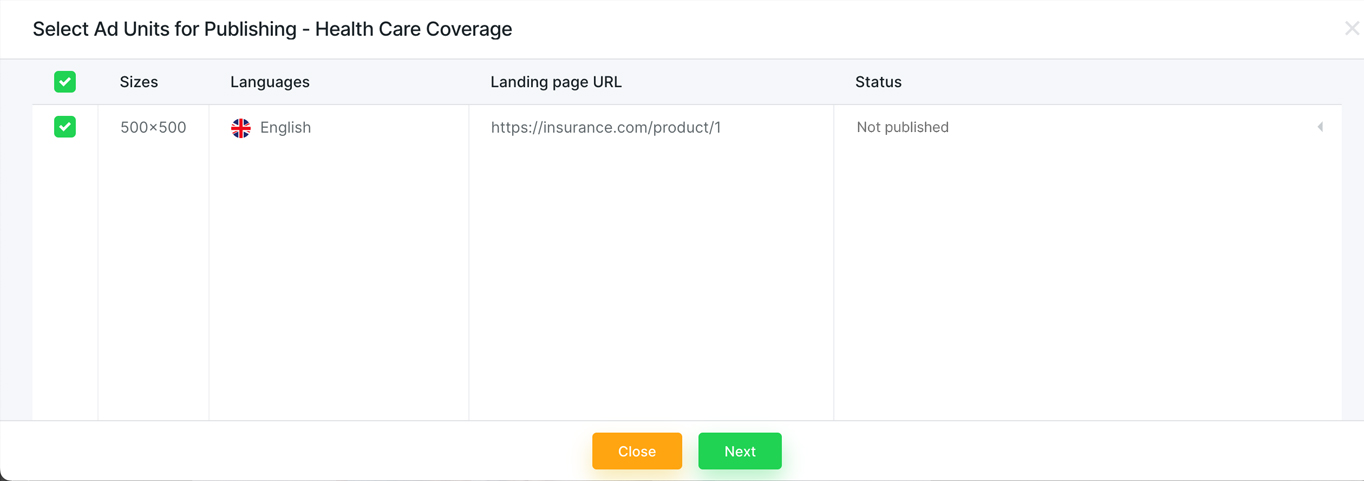
Save your creative and Click Publish.
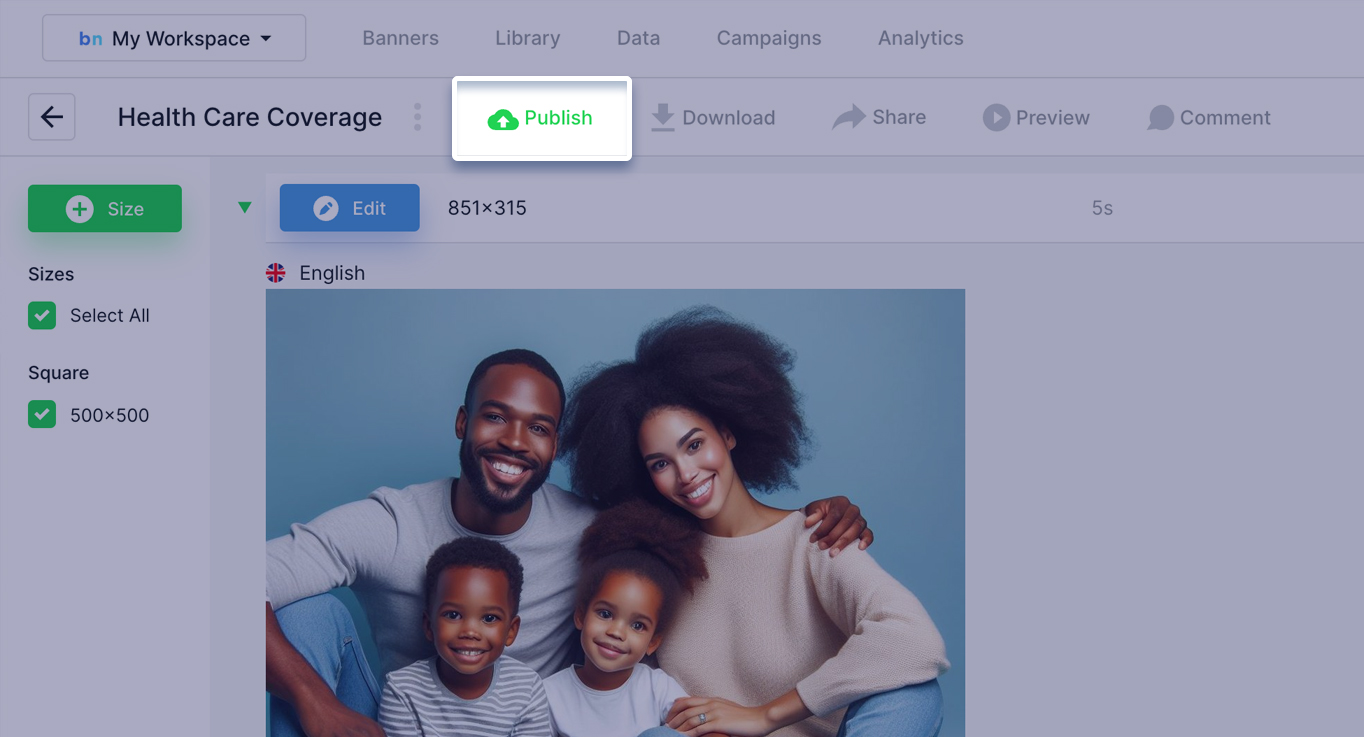
Select the sizes you want to publish and click Next
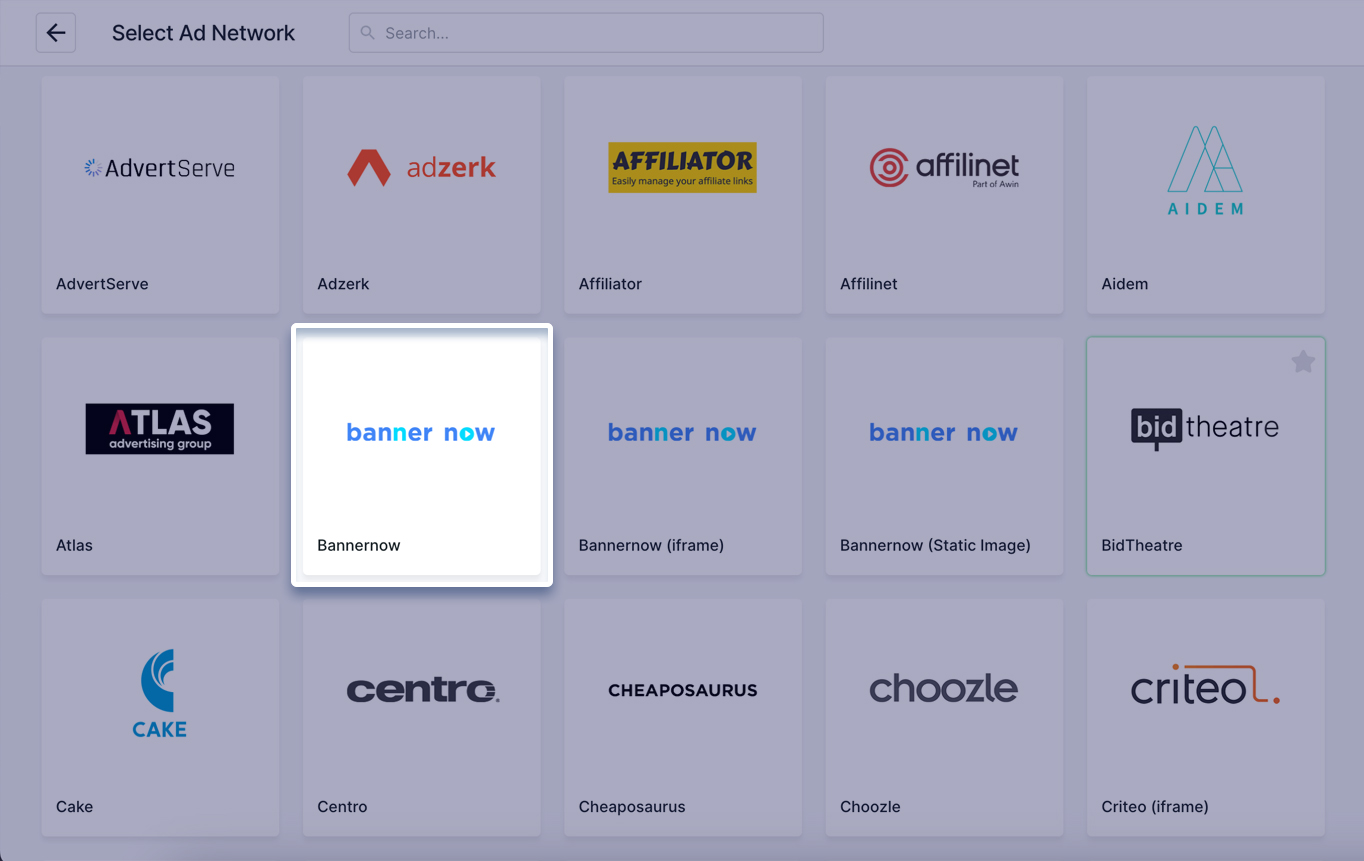
Pick the Ad Network where the banner should be published.
If you just plan to use it on your website (without SSP/DSP) then select the Bannernow Ad Network
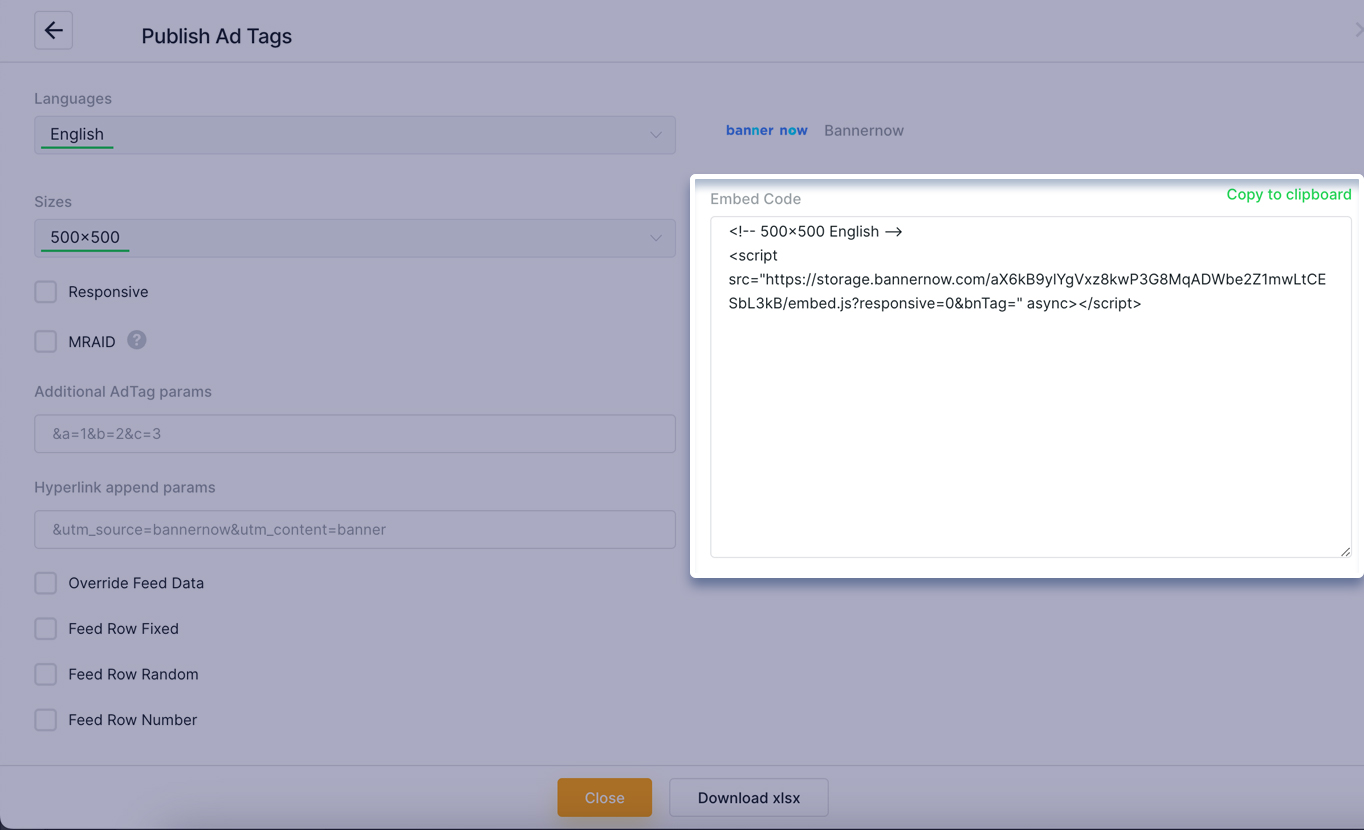
The AdTag is now generated for your banner.
Next we need to add the &segment= to our AdTag:
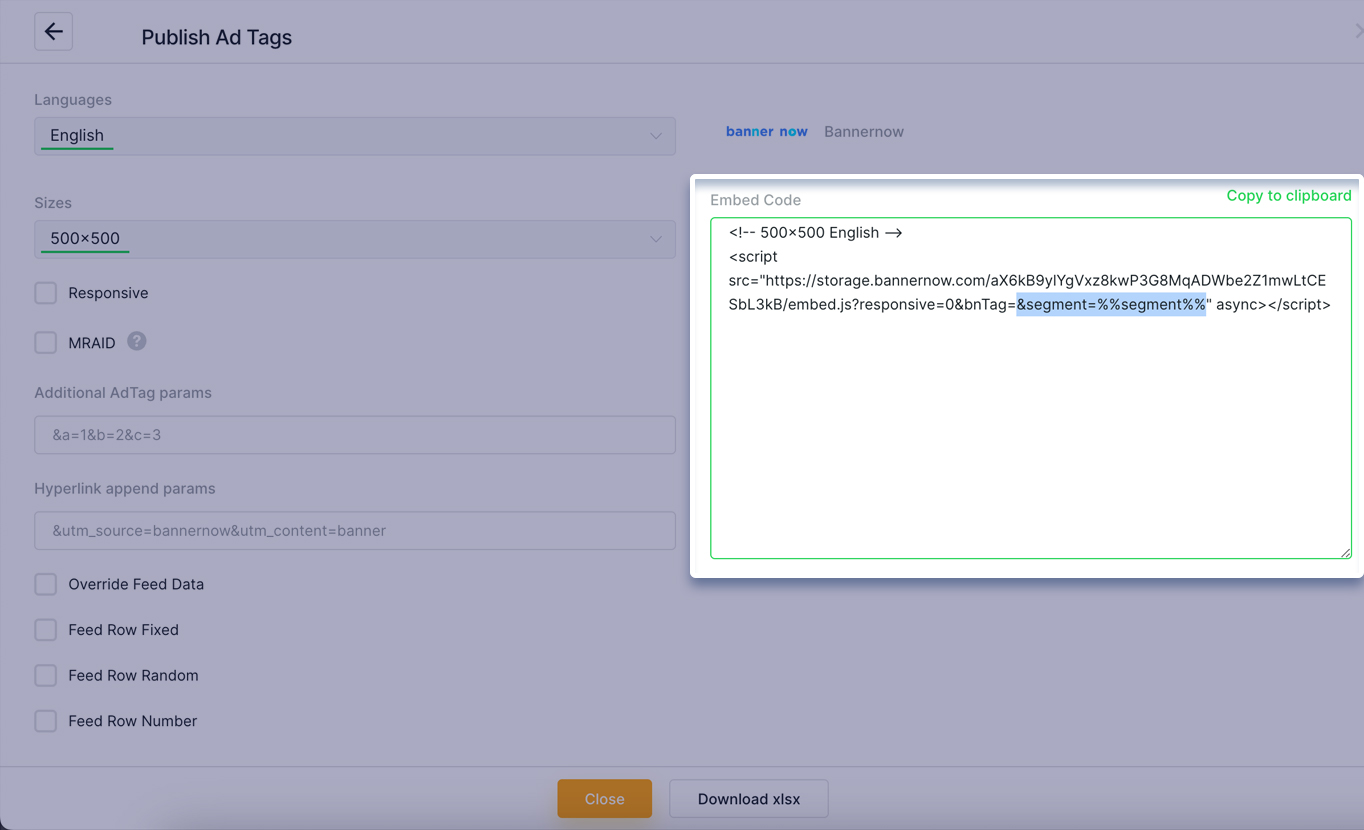
Because the segment will be dynamically replaced for each end-user we suggest you to use the Macros.
Macros is a special string that can be easily replaced in the code with the real value.
For example &segment=%%segment%% (where the %%segment%% is the string macros that will be replaced in SSP/DSP or your website).
Each AdNetwork has its own format for the segment macros so please check the AdNetwork documentation to find the right macros format.
If you plan to replace it with the code on your website then just use the default %%segment%%
For example the Bannernow AdTag will look like:
<script src="https://storage.bannernow.com/MVDq2PxpdlGOk5Axgea8ryZeQb7LWBwKgMqbFFb2Gk/embed.js?responsive=0&bnTag=&segment=%%segment%%" async></script>And on your website (once the %%segment%% is replaced with the real value it should look like this:
<script src="https://storage.bannernow.com/MVDq2PxpdlGOk5Axgea8ryZeQb7LWBwKgMqbFFb2Gk/embed.js?responsive=0&bnTag=&segment=age18-22" async></script>or like this for another website end-user:
<script src="https://storage.bannernow.com/MVDq2PxpdlGOk5Axgea8ryZeQb7LWBwKgMqbFFb2Gk/embed.js?responsive=0&bnTag=&segment=age55-60" async></script>