Schedule
Bannernow Schedule allows you to group multiple banners into a single placeholder.
Banners in a placeholder will be displayed in alternation/rotation based on a schedule (date/time), and a relative weight/frequency rule. The placeholder’s function is to group multiple banners by the same size and locale (so no banners of different sizes or locales will be found within the same placeholder).
How to use this feature:
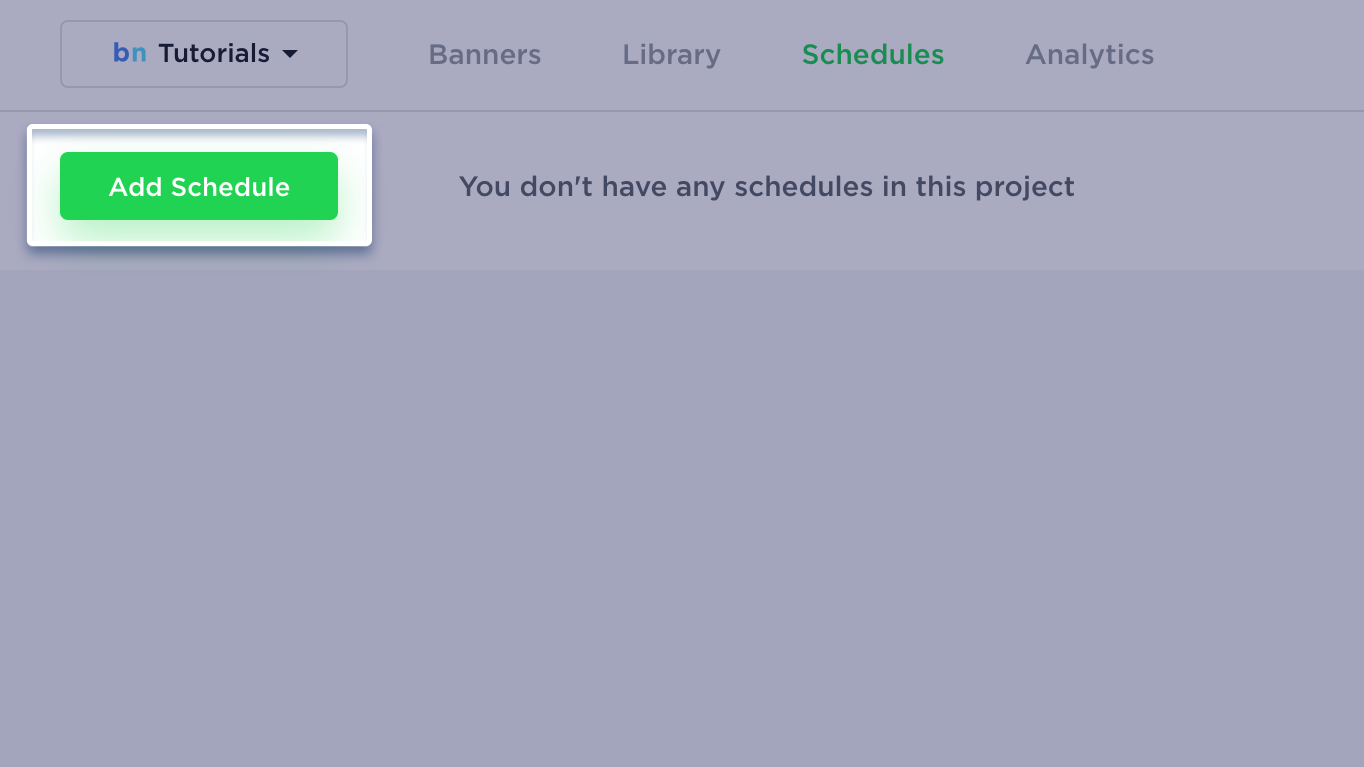
1. Head over to Schedule by selecting the Schedule tab on the top of the dashboard. Click Add Schedule in order to create a new schedule configuration.
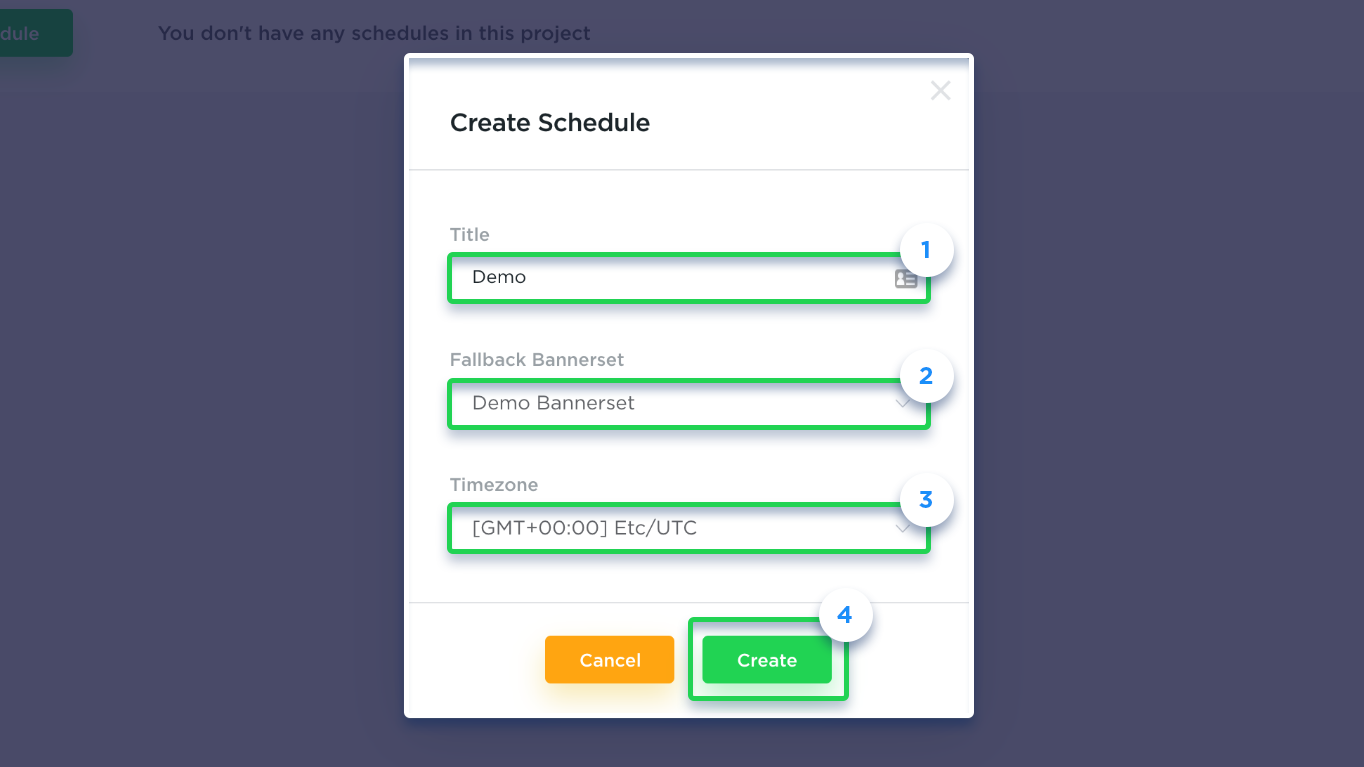
2. Enter a New Title (1) for the Schedule. After this, add the Fallback Bannerset (2), which refers to the default bannerset from which banners will be displayed within the placeholder when no other banners are scheduled in the calendar. Select “schedule timezone” (3), then, “Create” (4).
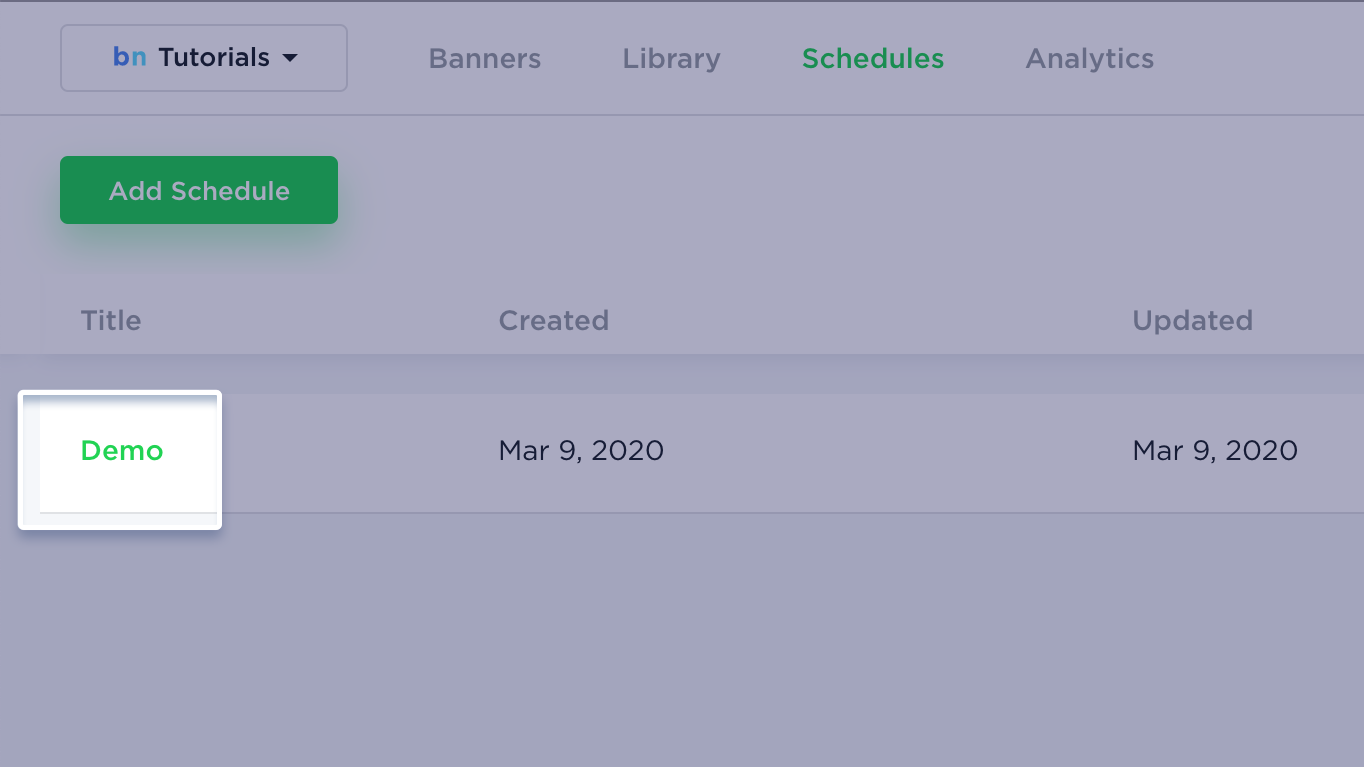
3. Select the Schedule Title in order to open the calendar and start adding bannersets to a schedule.
4. On the left pane, you’ll be able to view all bannersets of the current project/campaign.
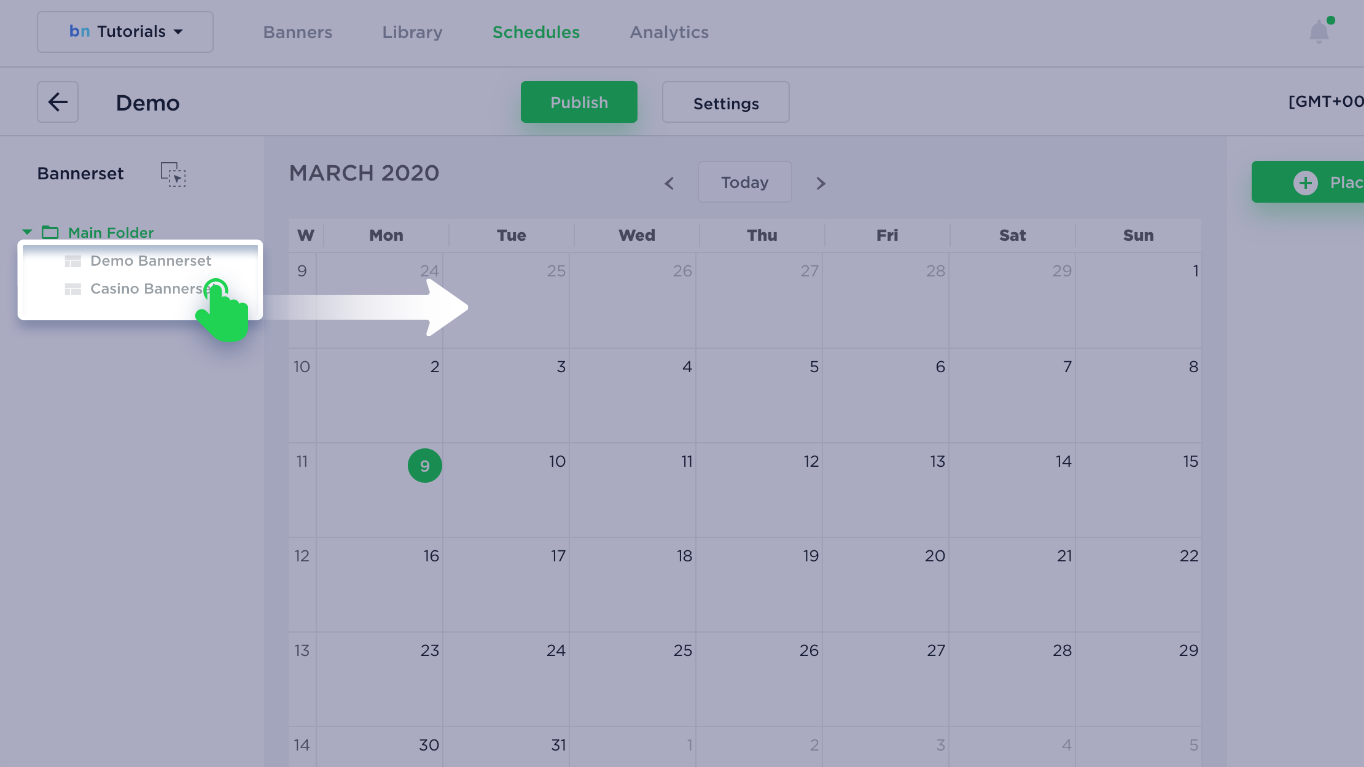
In order to add banners to schedule, simply drag & drop the desired bannersets to the calendar.
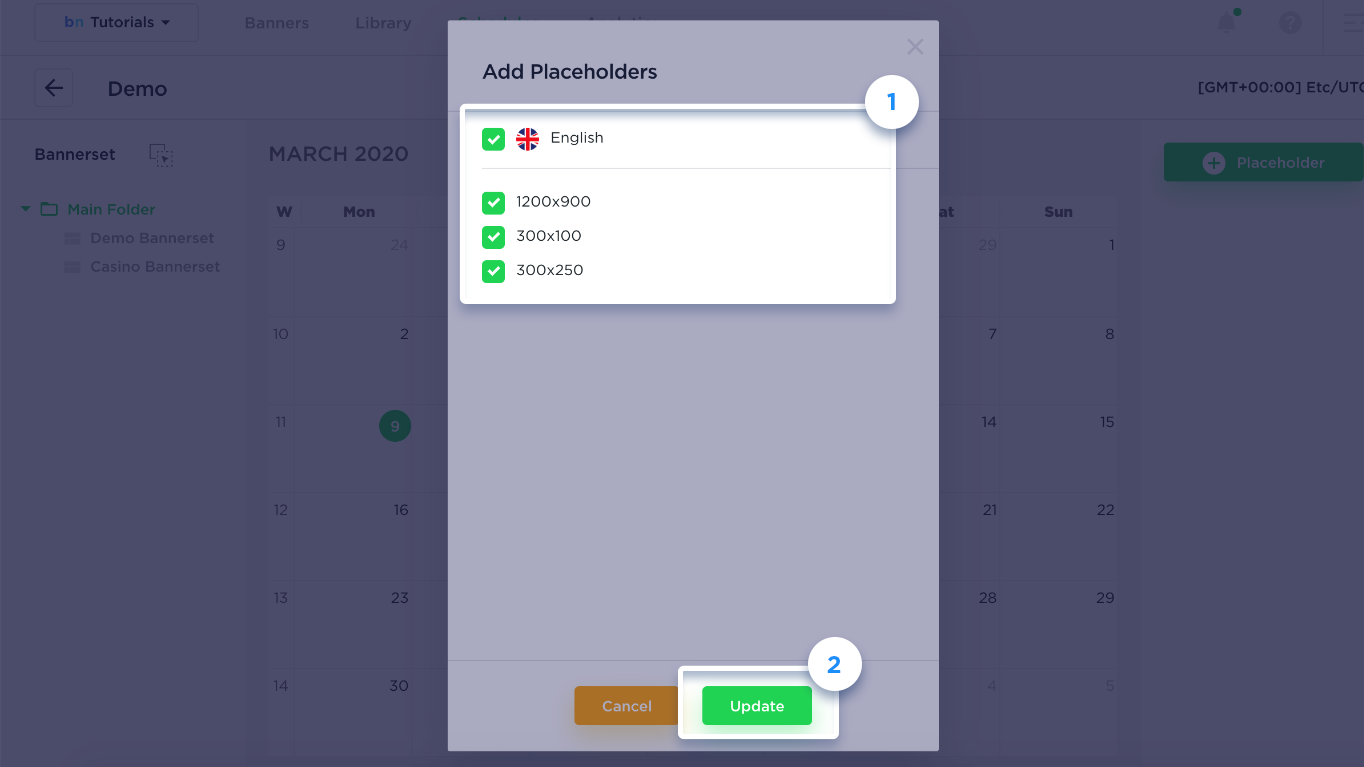
5. When adding a bannerset to the calendar, you’ll be able to choose which banner sizes and locales of a bannerset you need to add to the schedule. This is where you specify which banner sizes and locales will participate in this schedule. These will be selected from the bannerset (if exists), otherwise, it will have defaulted to fallback bannerset.
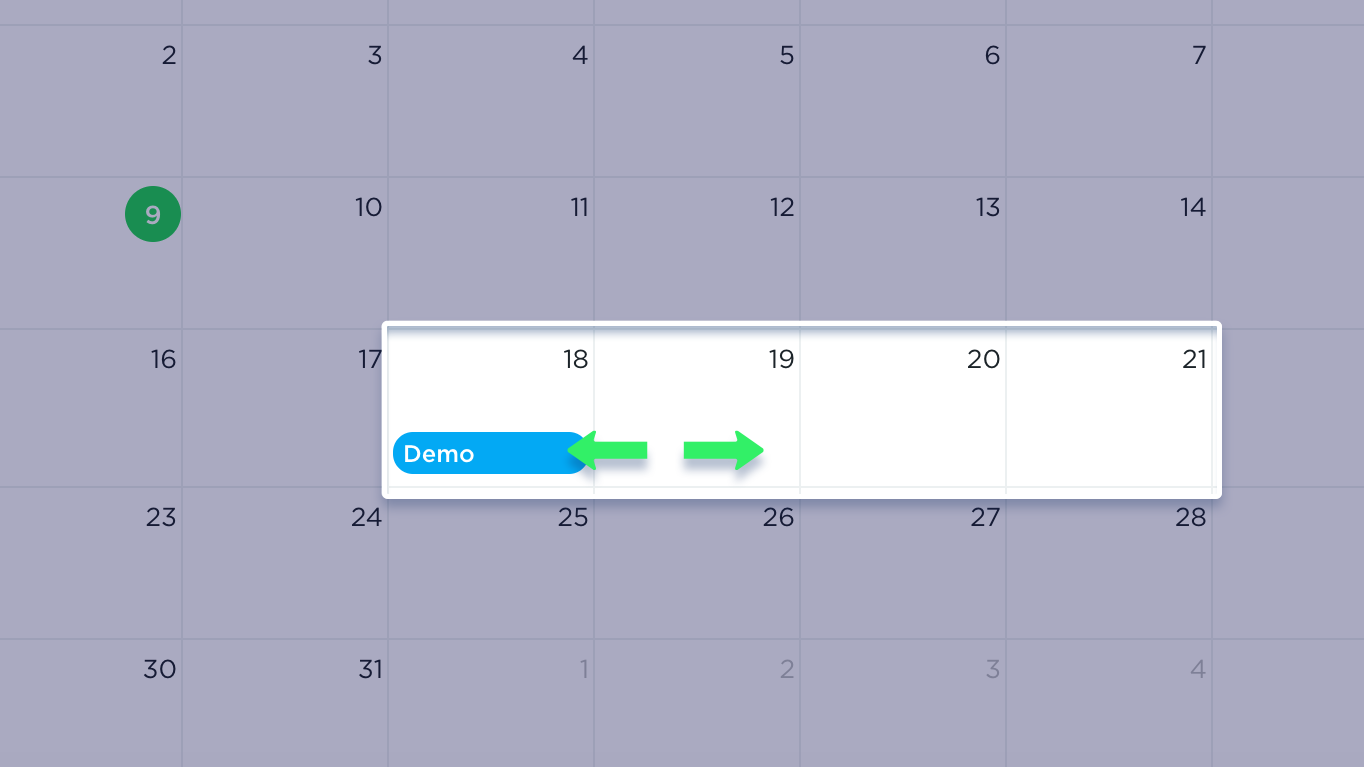
6. You are able to stretch and drag placeholders on the calendar to adjust the duration and a start date.
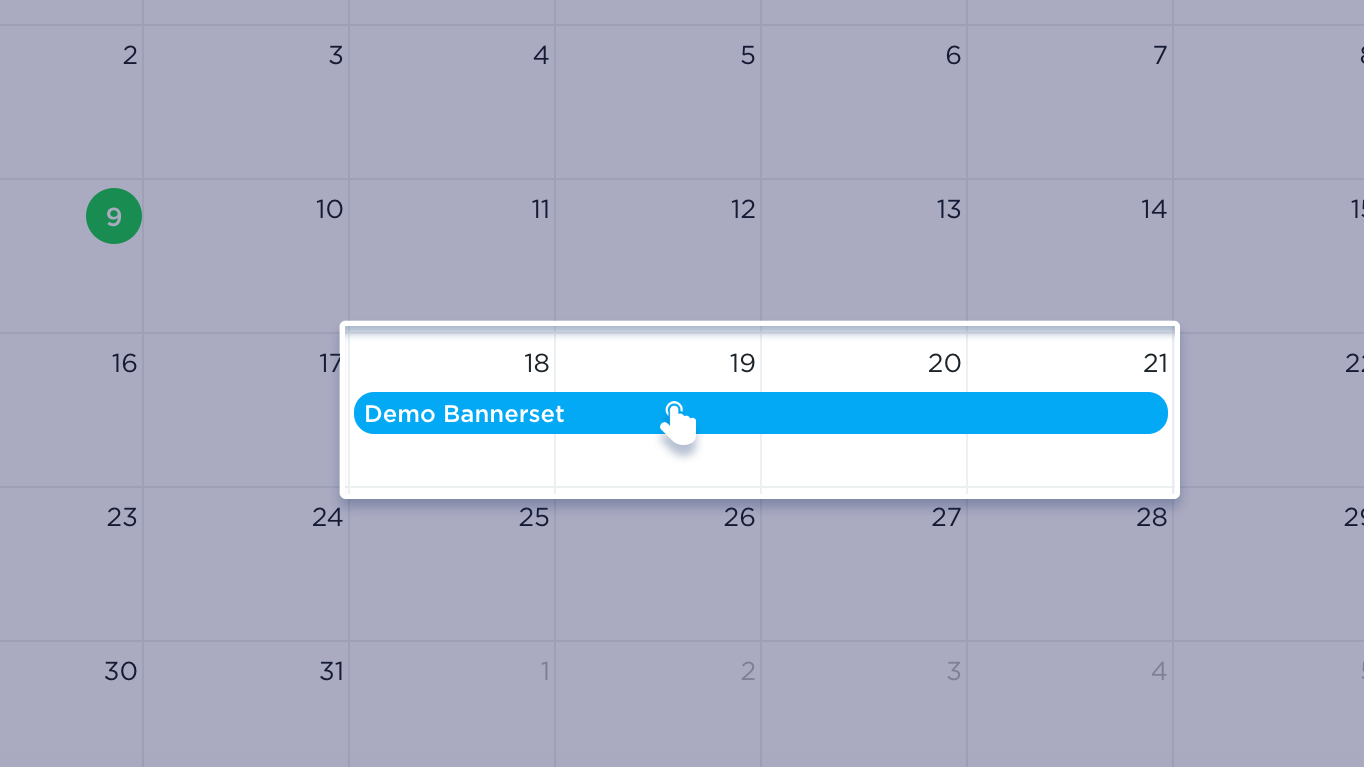
7. Click on the placeholder to open up the “settings” menu.
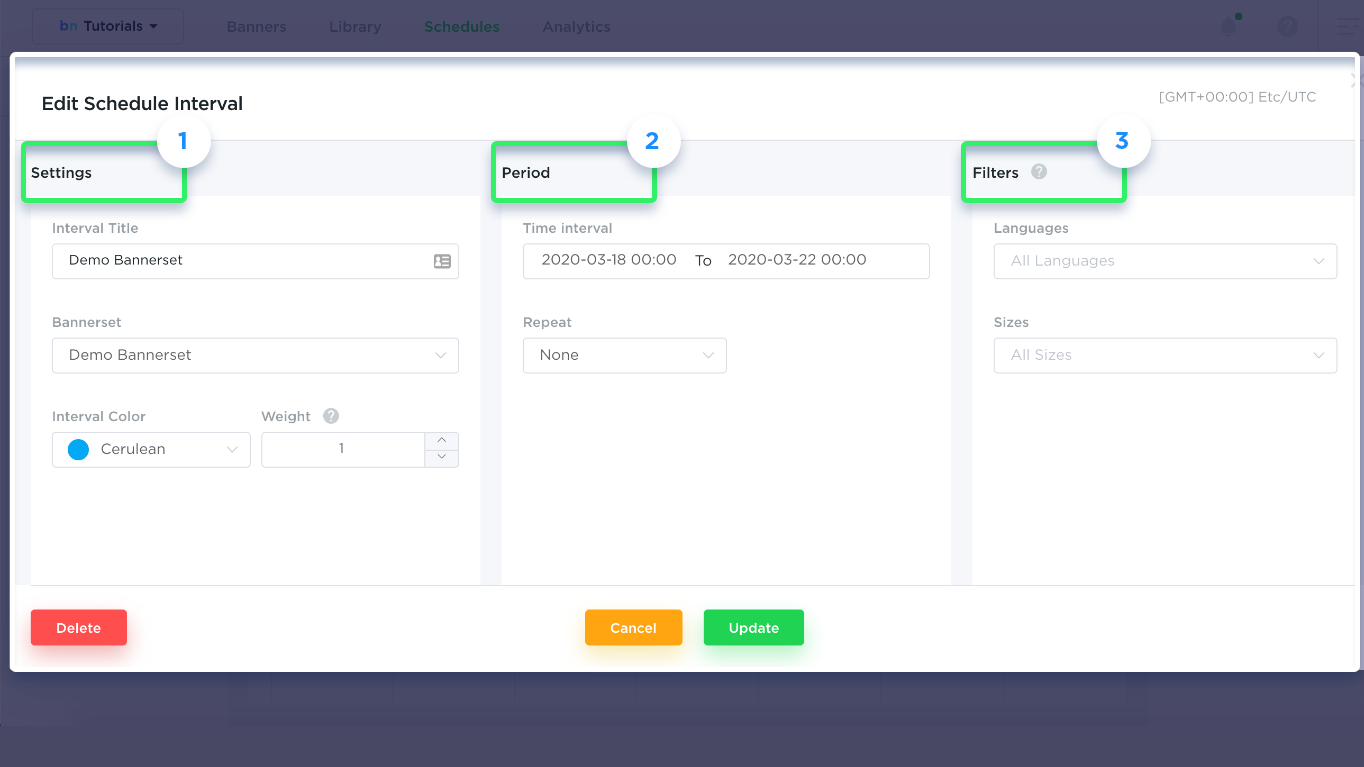
8. In the Settings (1) tab you’re able to set a “Title” for the interval, change bannerset, configure dates and times in which his interval should be active (and display banners), as well as update its color on the calendar. You can also adjust repeating events within the Period (2) tab and show specific banner locales within the Filters (3) tab.
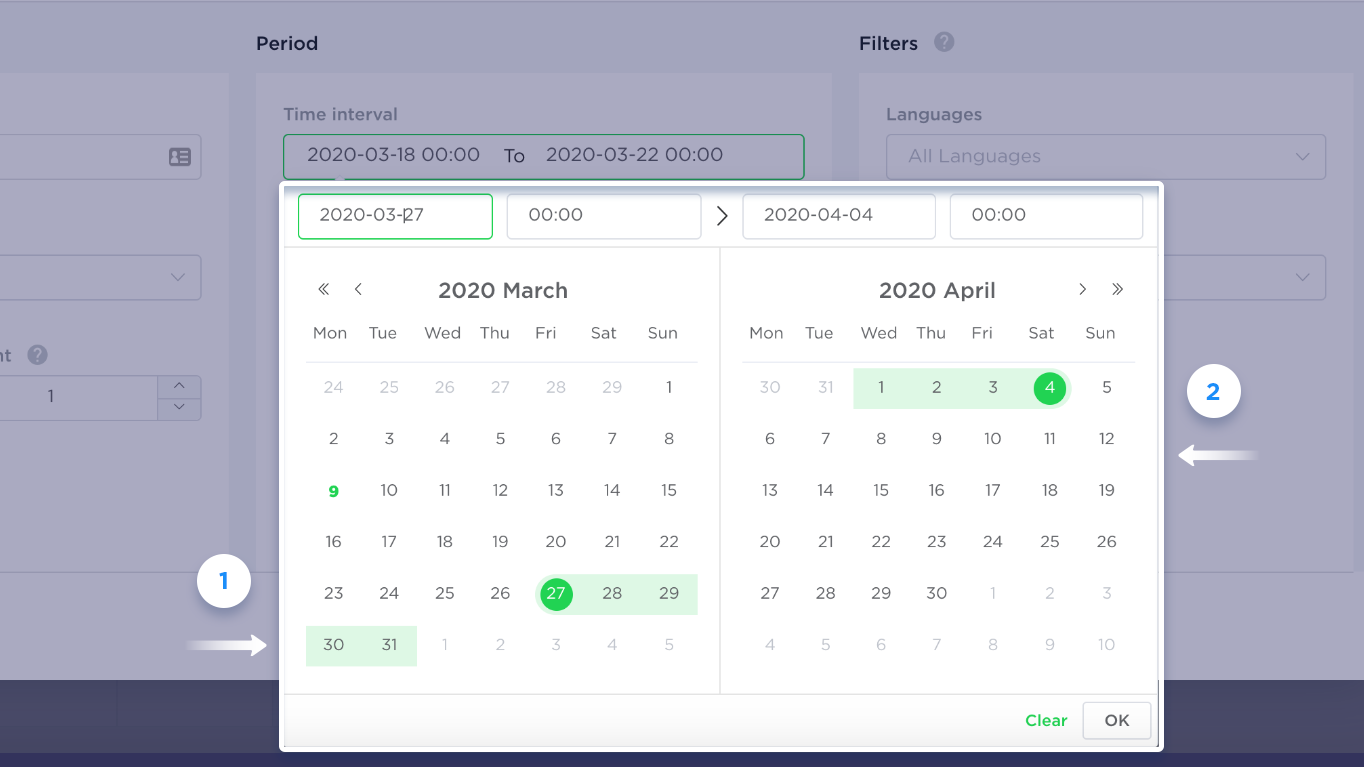
9. In order to update the start/end date for an interval, simply click on “date picker”, select the start date (1), then select the end date (2).
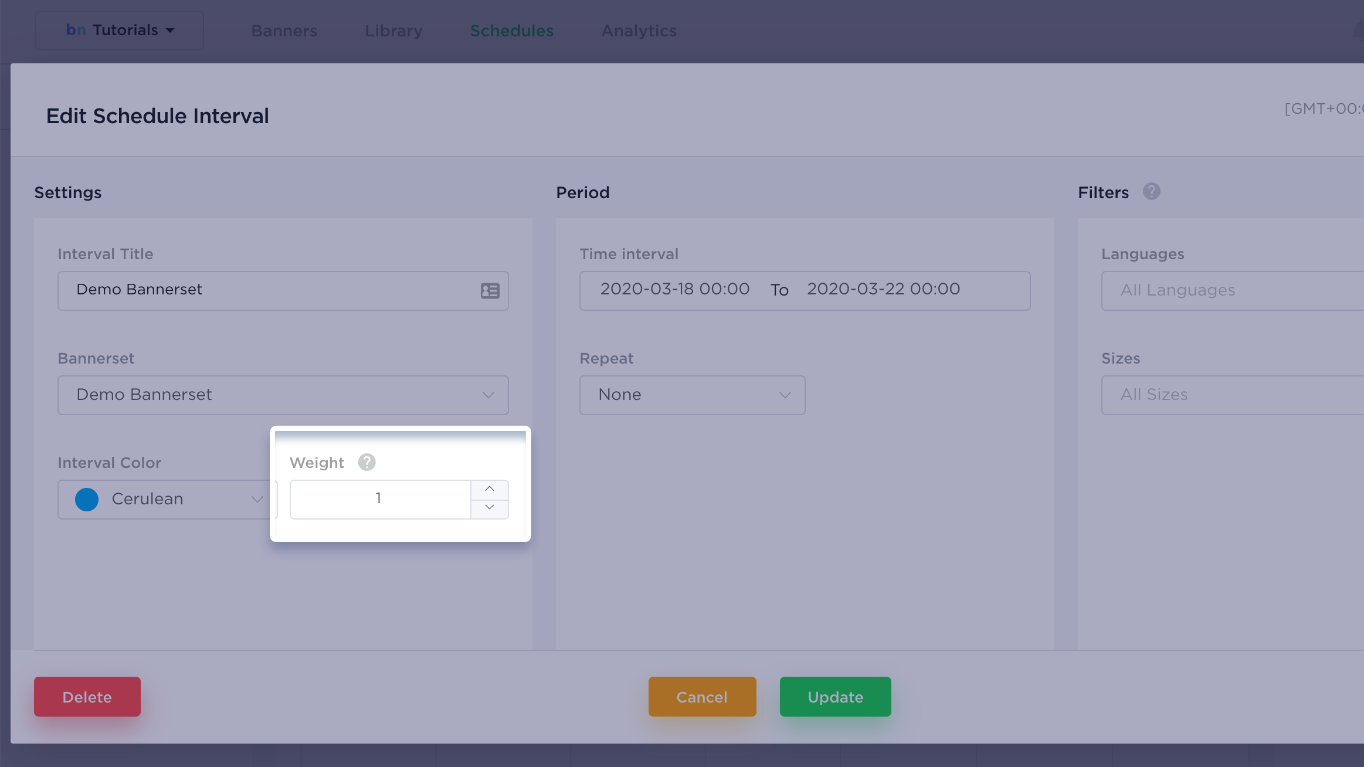
10. The Weight option allows specifying a relative frequency in which banners in this placeholder is displayed.
Example: There are 2 banners (A, and B) that are active on the same date within a certain placeholder. Both these banners are 250×250 in size and have an English locale.
You are able to set weight 2 to interval A and weight 1 to interval B. This means that banners in interval A will be displayed twice as frequently compared to other banners from interval B.
How this is calculated: Total weights are 2 + 1 and it represents 100% of showtime, therefore weight 2 equates to 66% of showtime, and weight 1 to 33%. You can assign any value to the weight depending on your frequency criteria.
11. Schedule may contain as many placeholders and intervals as needed.
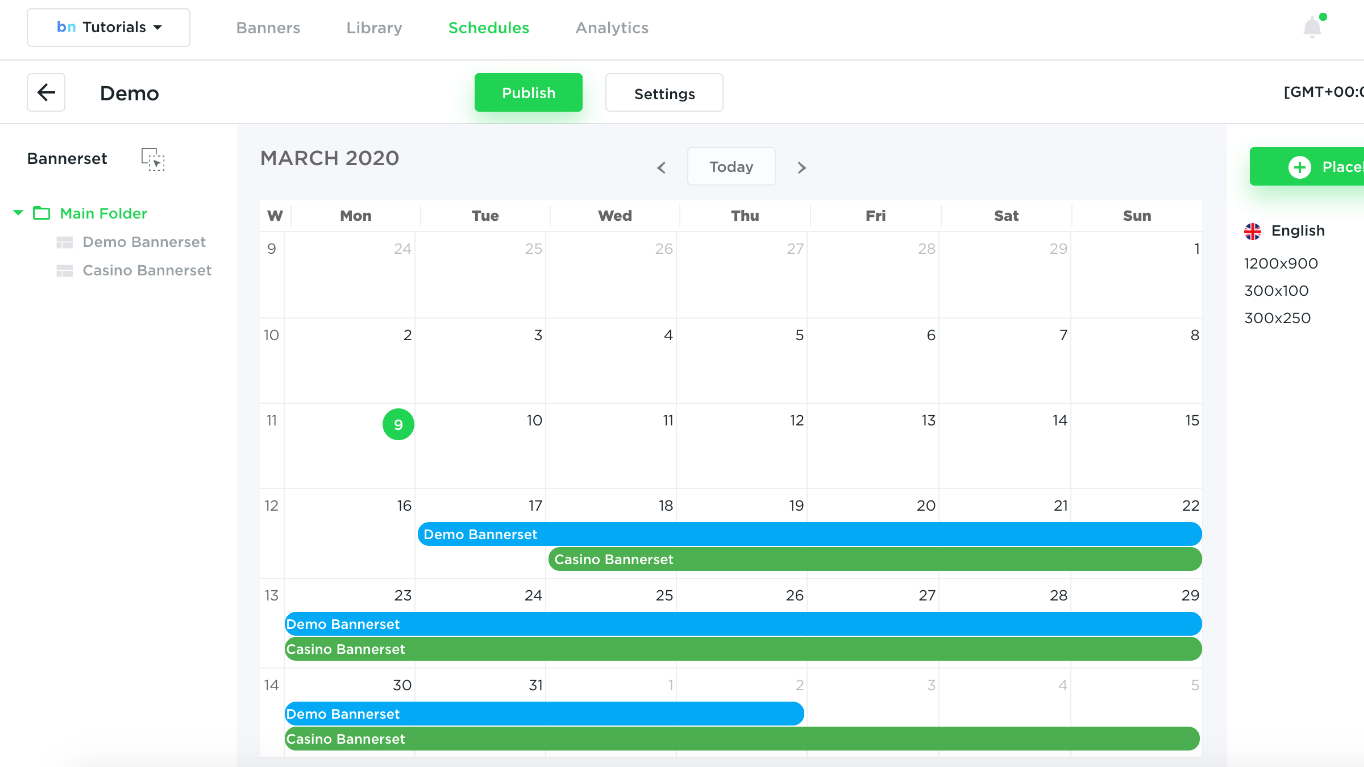
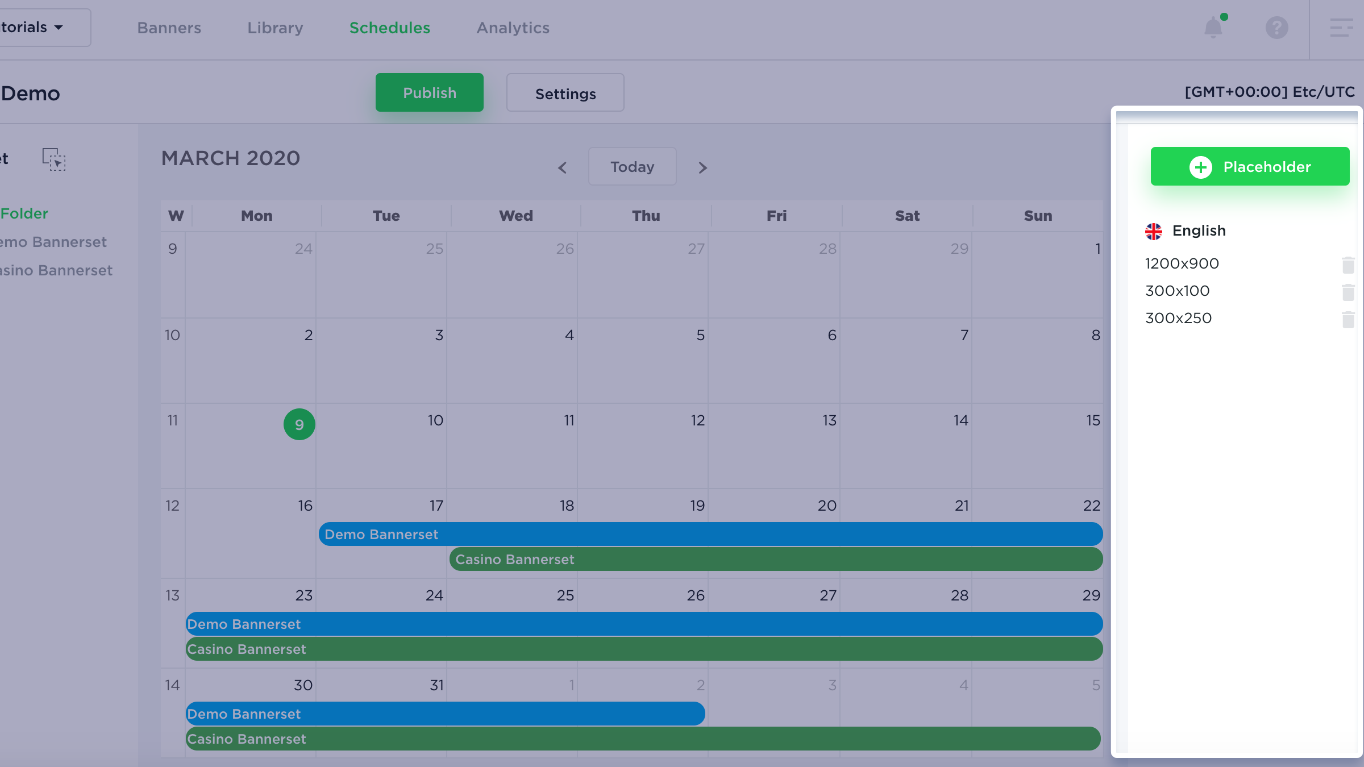
12. Right panel Placeholders shows all sizes and locales that participate in this schedule.
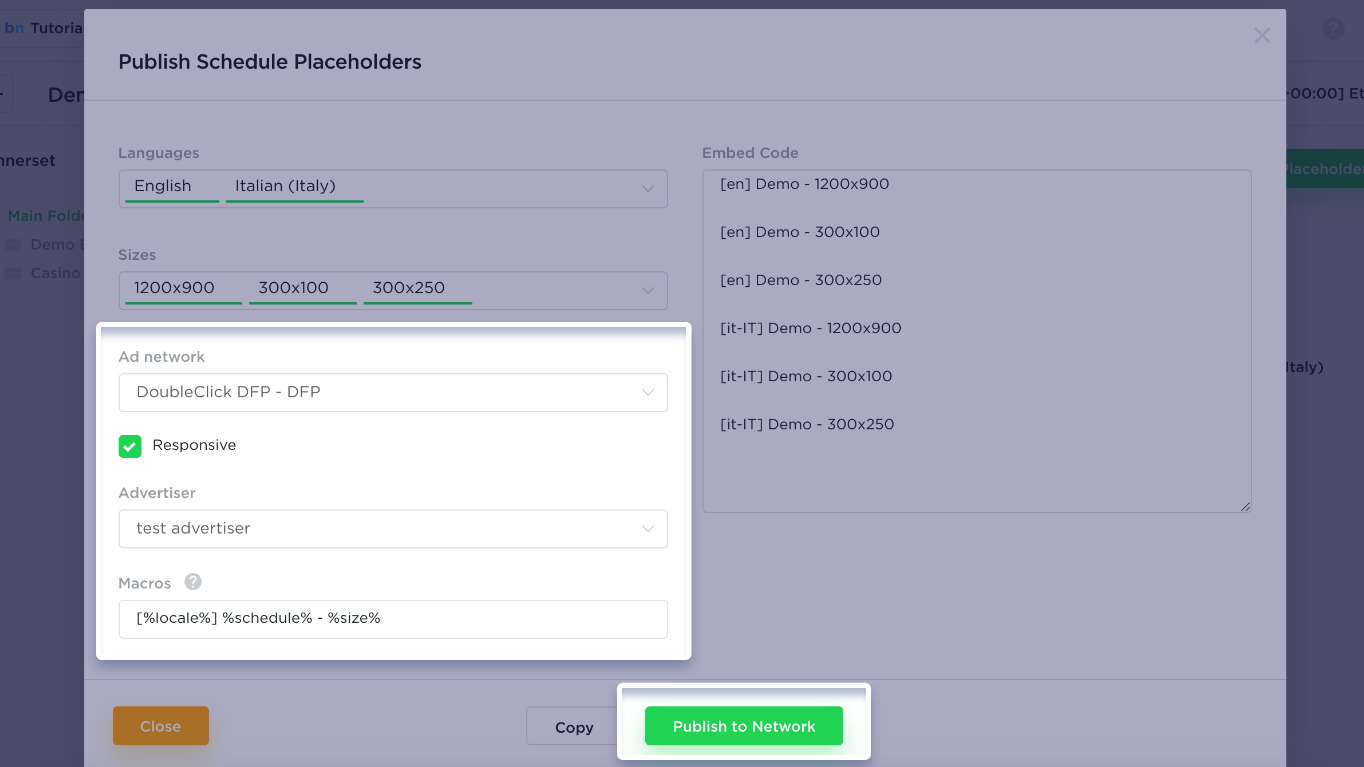
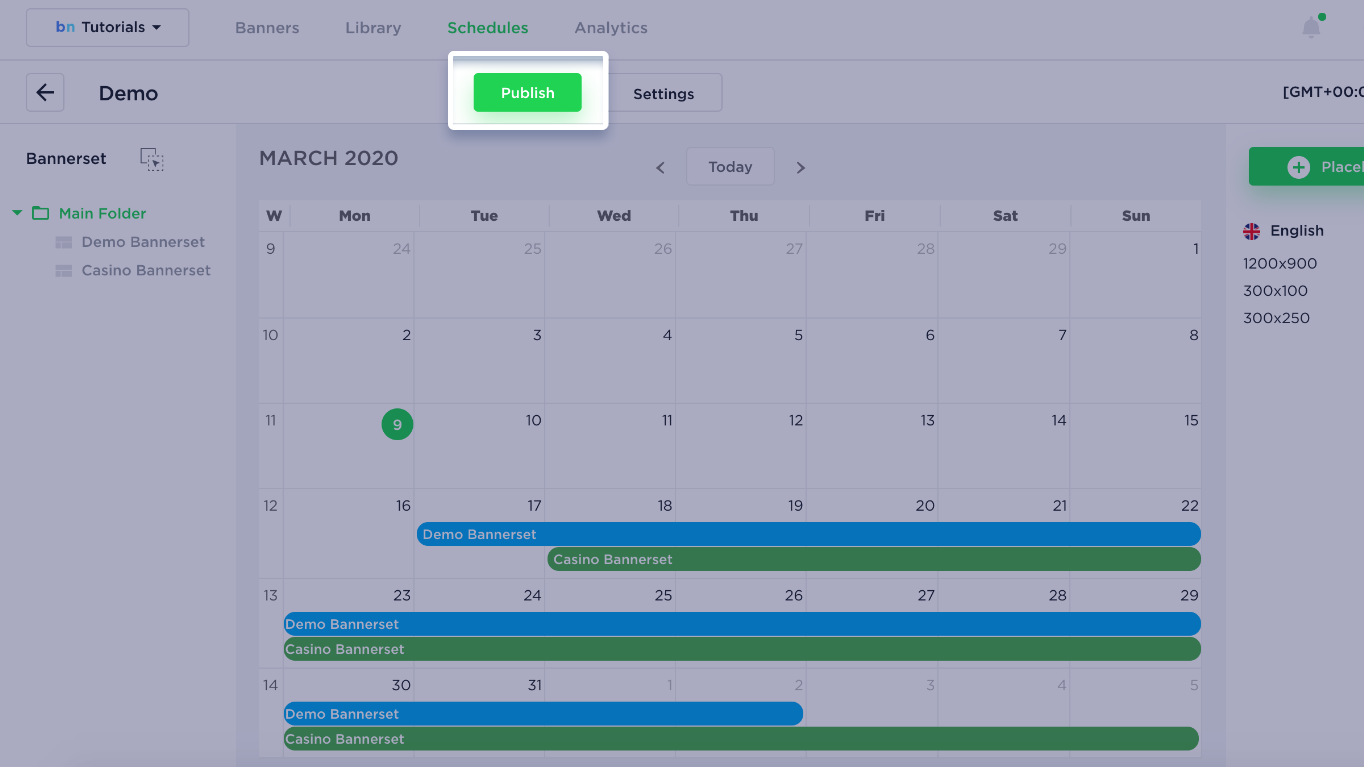
13. In order to publish a schedule click on the option “Publish”. You can publish placeholders using an embed code, or by going directly into the DoubleClick DFA/DFP account. This option can be done after configuring the integration from profile settings.
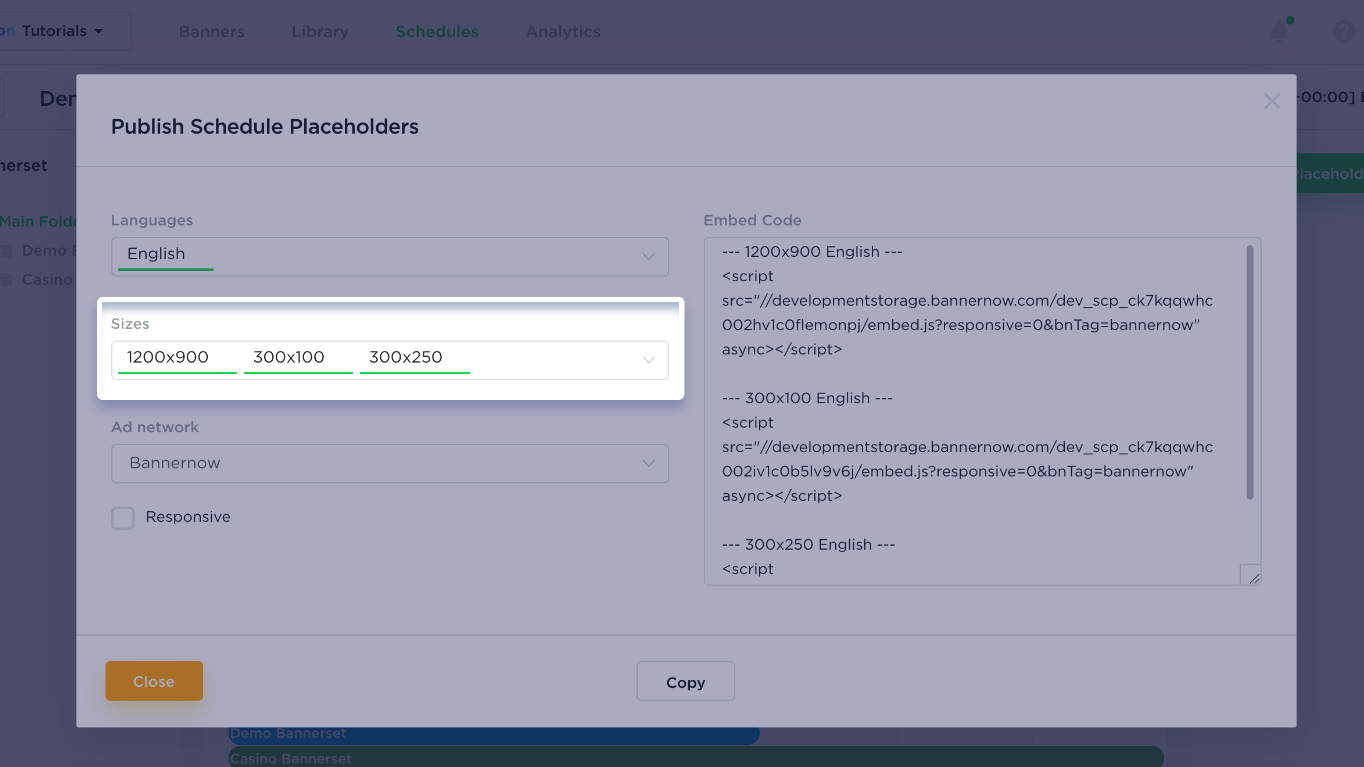
14. Select placeholder sizes for which you would like to get embed codes.
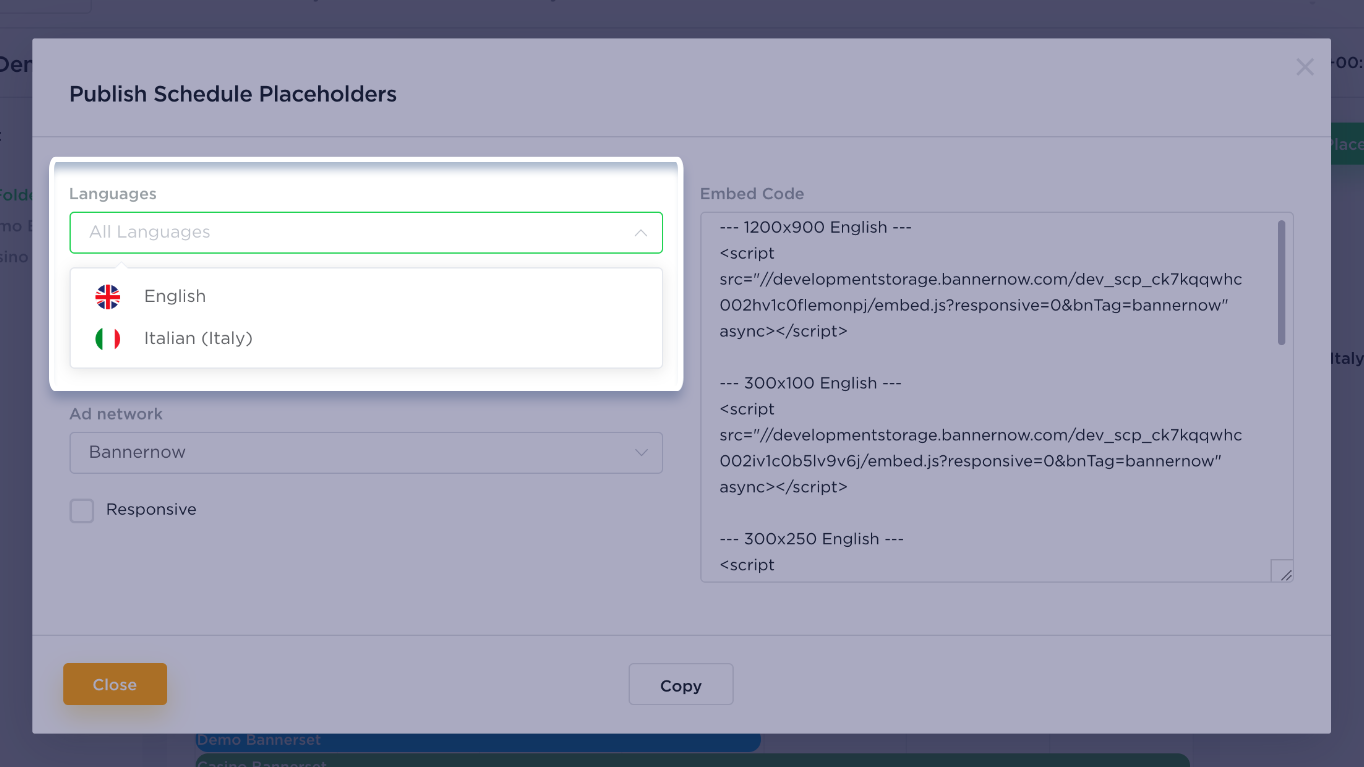
15. Select the Languages you want to publish.
16. Copy the EMBED CODE and paste into the desired ad network/exchange or utilize the direct publishing method.
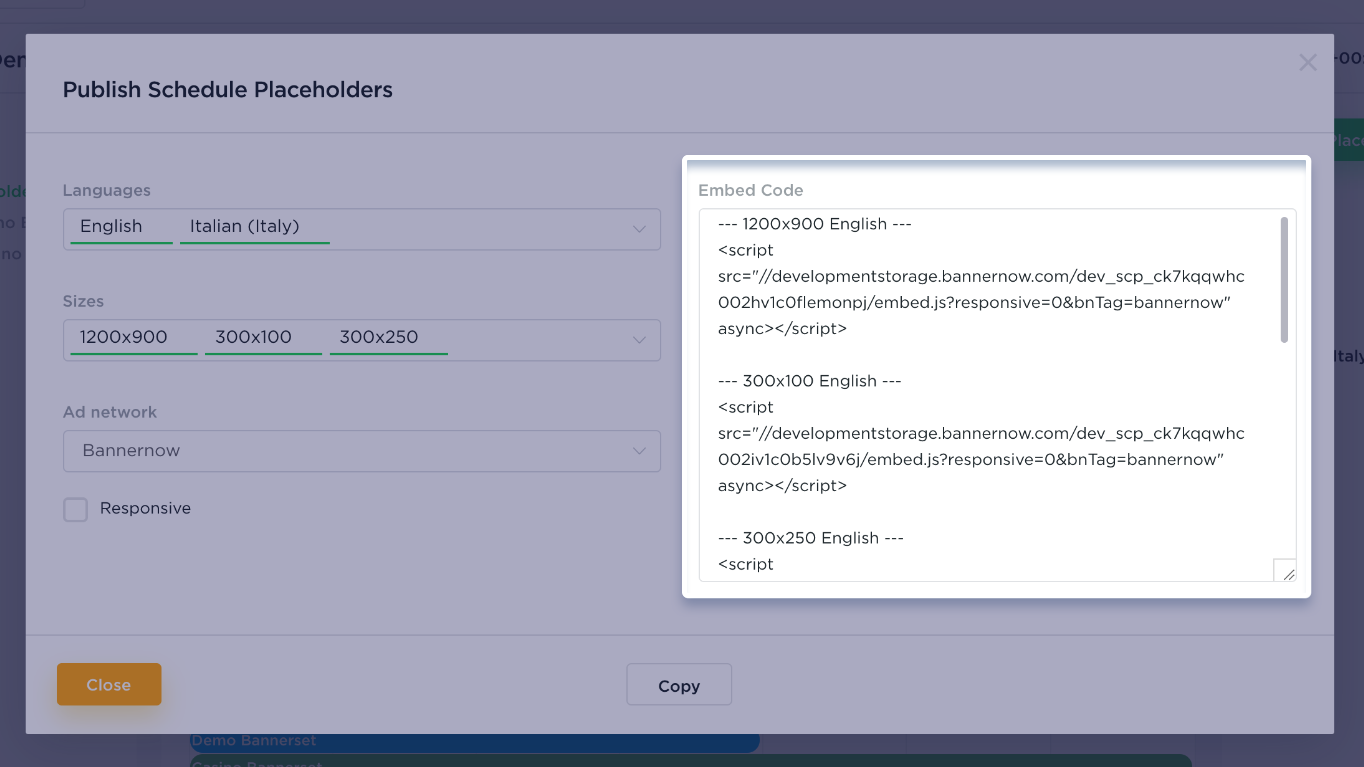
Each placeholder is a combination of 1 size and 1 language and can contain multiple banners from different bannersets (which contain banners with the same size and translation).
If you have connected the Ad Network to your BannerNow account – you can publish your Ad Tags directly from Schedule Publish modal.
