Presets: Reusable Text and Button styles, and custom Effects.
Presets – is a way to create Buttons, Text and Custom Effects, which you can later save in galleries for future re-use.
You are able to add a new Text/Button item on the Stage, apply desired options to it such as font, color, width, etc and save it in the Presets Gallery.
When a new Preset is saved, you can re-use for the current banner or any new banners within the same Project/Campaign, until you remove it at some point.
Steps to create a Text Preset:
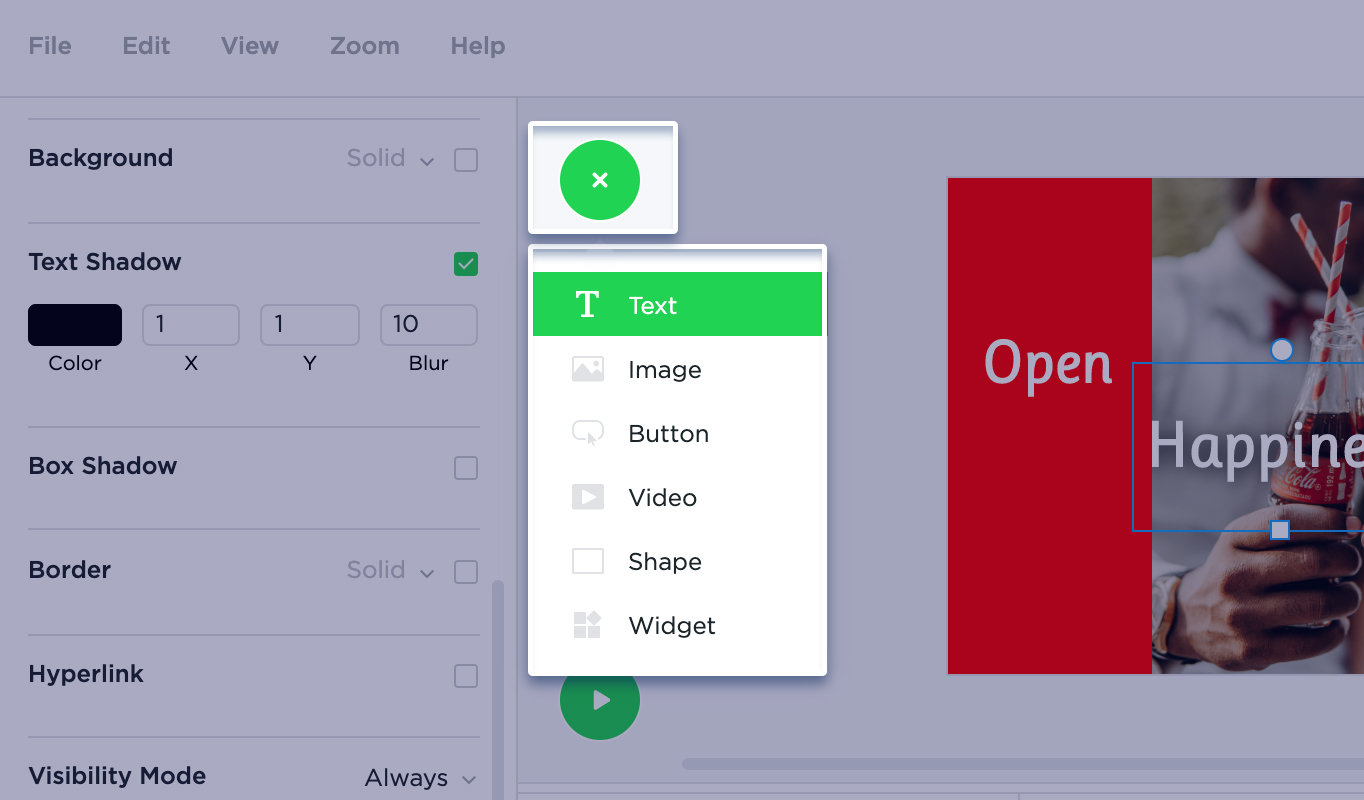
- Add a new Text item on the Stage and apply desired properties (colors, font, …).
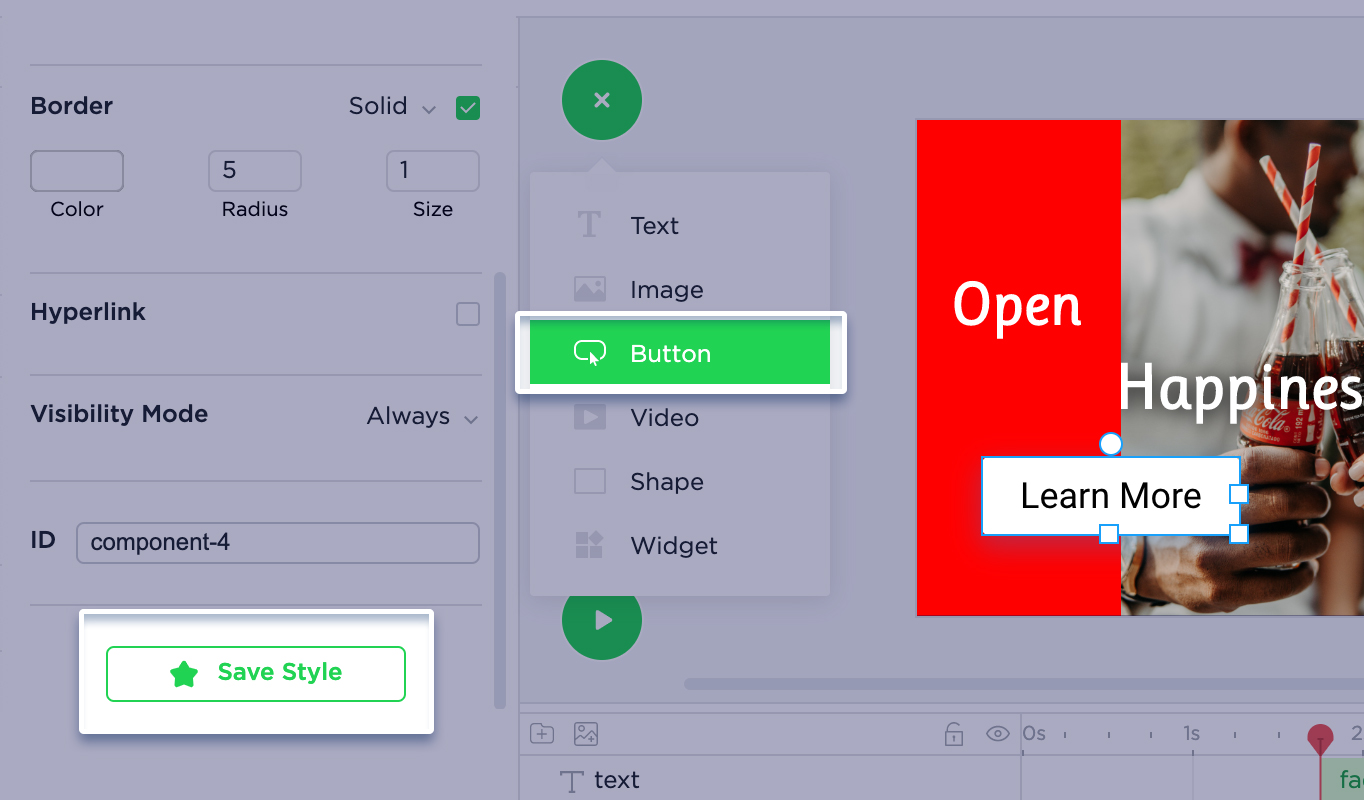
- Select this Text item on the Stage. Scroll through the properties panel on the left all the way to the end. You’ll find the Save Style option. Click it in order to save a new Button Presets.
How to find existing presets (for Text items)
Click the Add Text button.
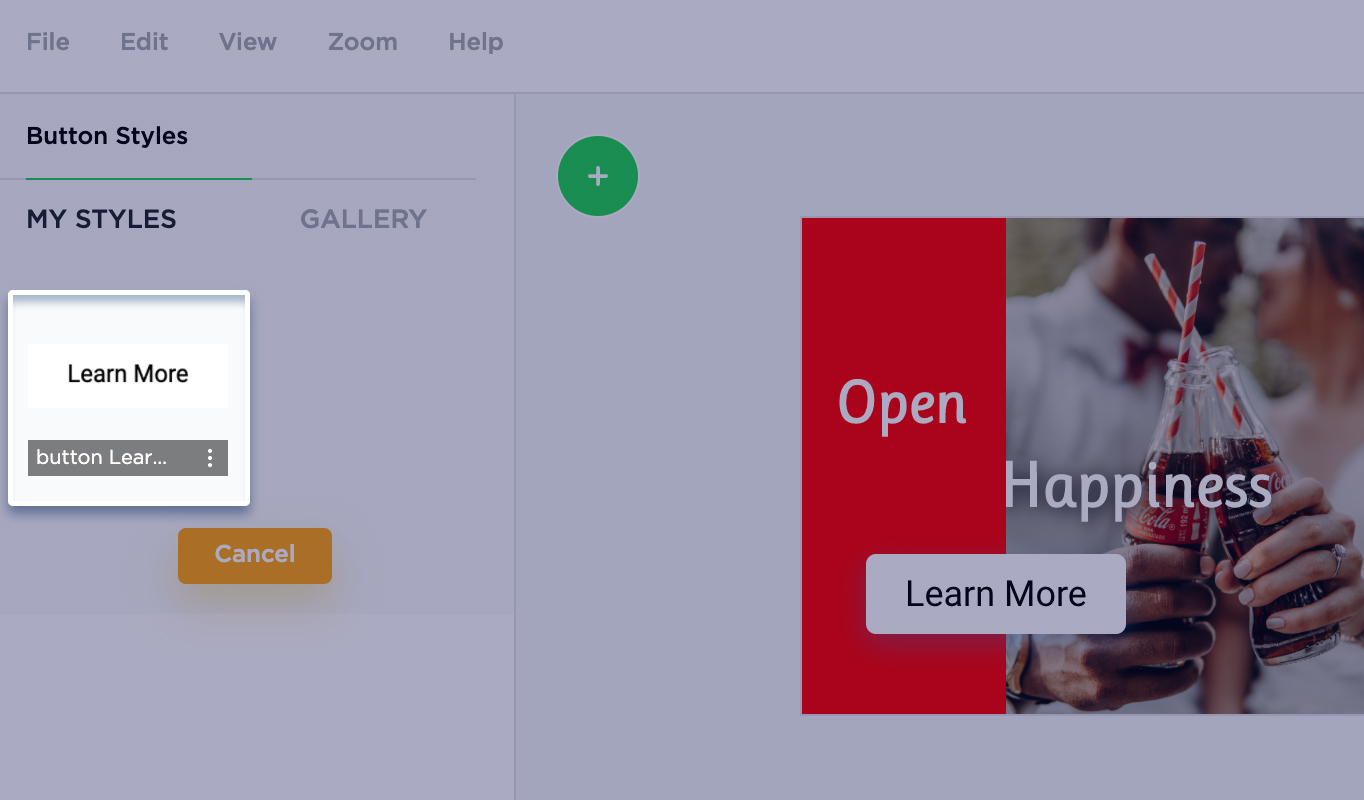
You will see the Presets tab within the gallery only if you’ve created presets before. From here, you can add a Preset item on the Stage by clicking on it. You’re also able to remove or rename an existing preset by hovering over a preset thumbnail and clicking the 3-dot icon to access the remove/rename menu.

Button preset
Add a Button on the Stage and apply the desired properties (colors, font, etc).
Button presets can be accessed by clicking the Add Button on the left. Same as with Text Preset, you can add, remove or rename a Button Preset.
You can also create and reuse the Custom Effect Presets.
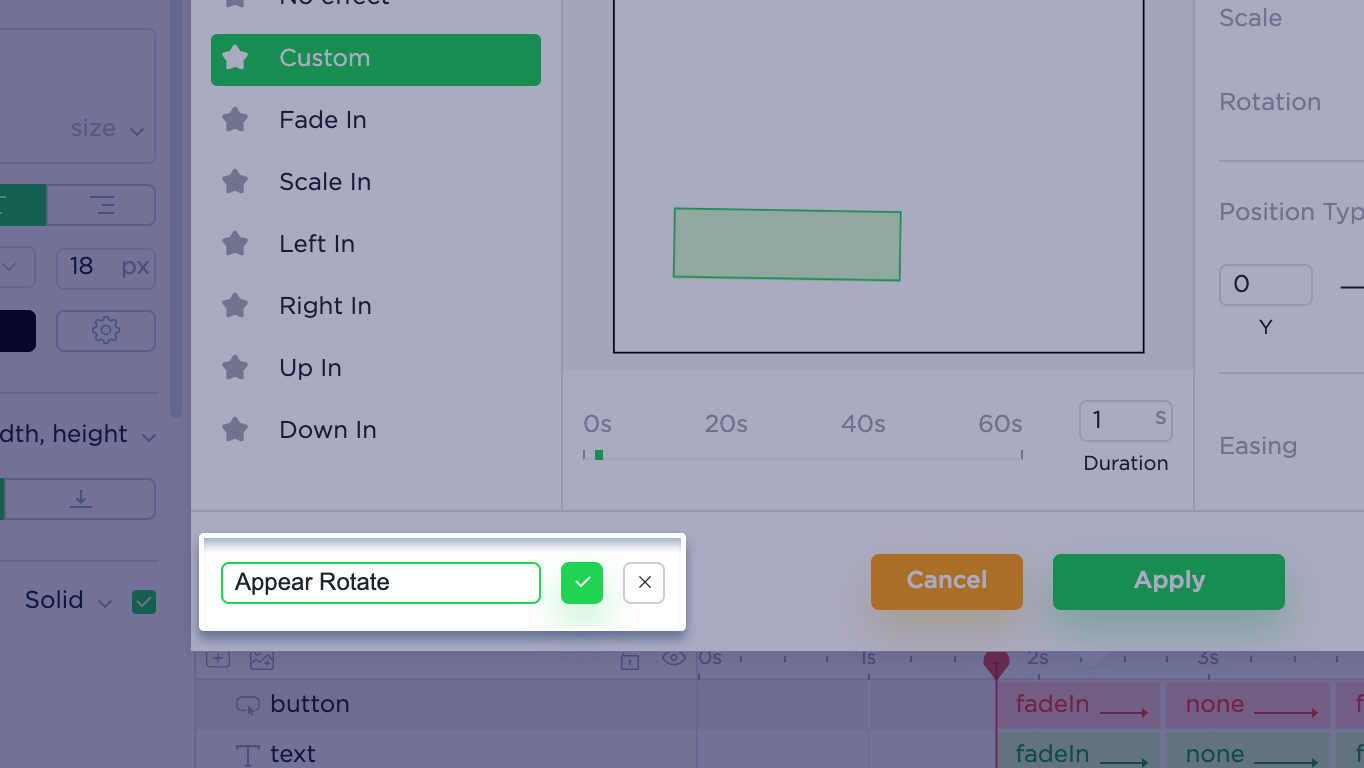
For this, select an item on the Stage and access its Custom Effect properties from layer settings on Timeline.
Configure your custom effects by adjusting opacity, scale, easing, etc… Then click on Save Preset.

Create a name for your new preset.
By doing this, a newly added preset will appear in the Presets dropdown. You can then apply this to any banner in the current project. Just select it from the dropdown menu.
Remove a preset by selecting the preset from the dropdown and clicking on Remove Preset.