In this article, we will show you how to use widgets to create interactive ads.
1) Let’s start with the Timeline Pause Points. This widget will pause the timeline on the specific points.
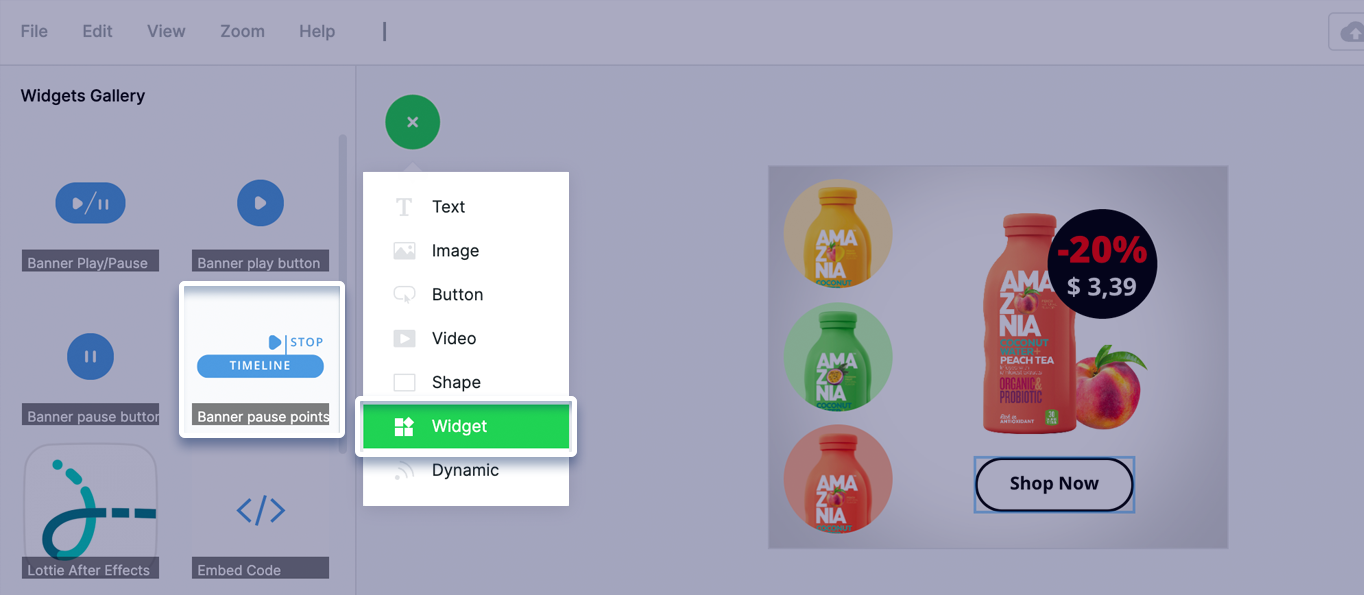
Go to Add > Widget > Timeline Pause Points.
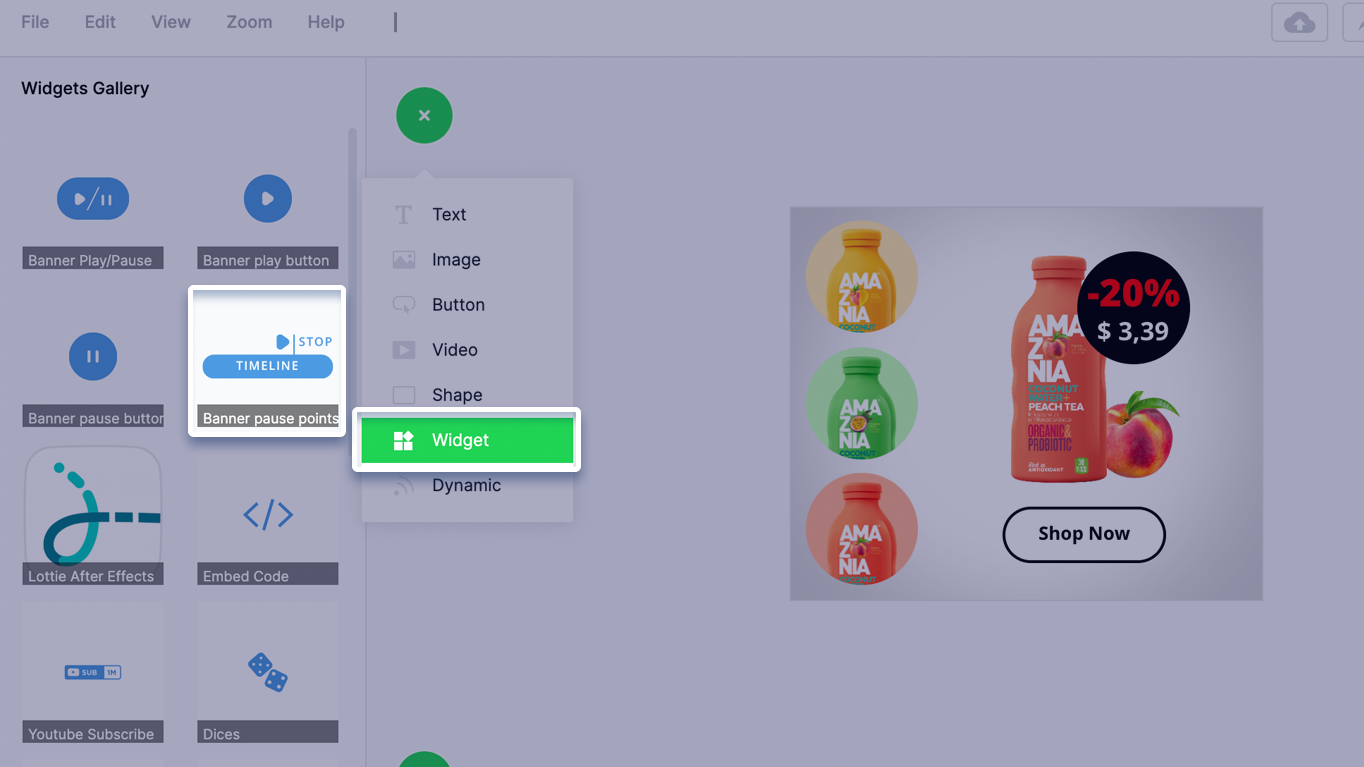
The widget can be placed anywhere even outside the canvas.
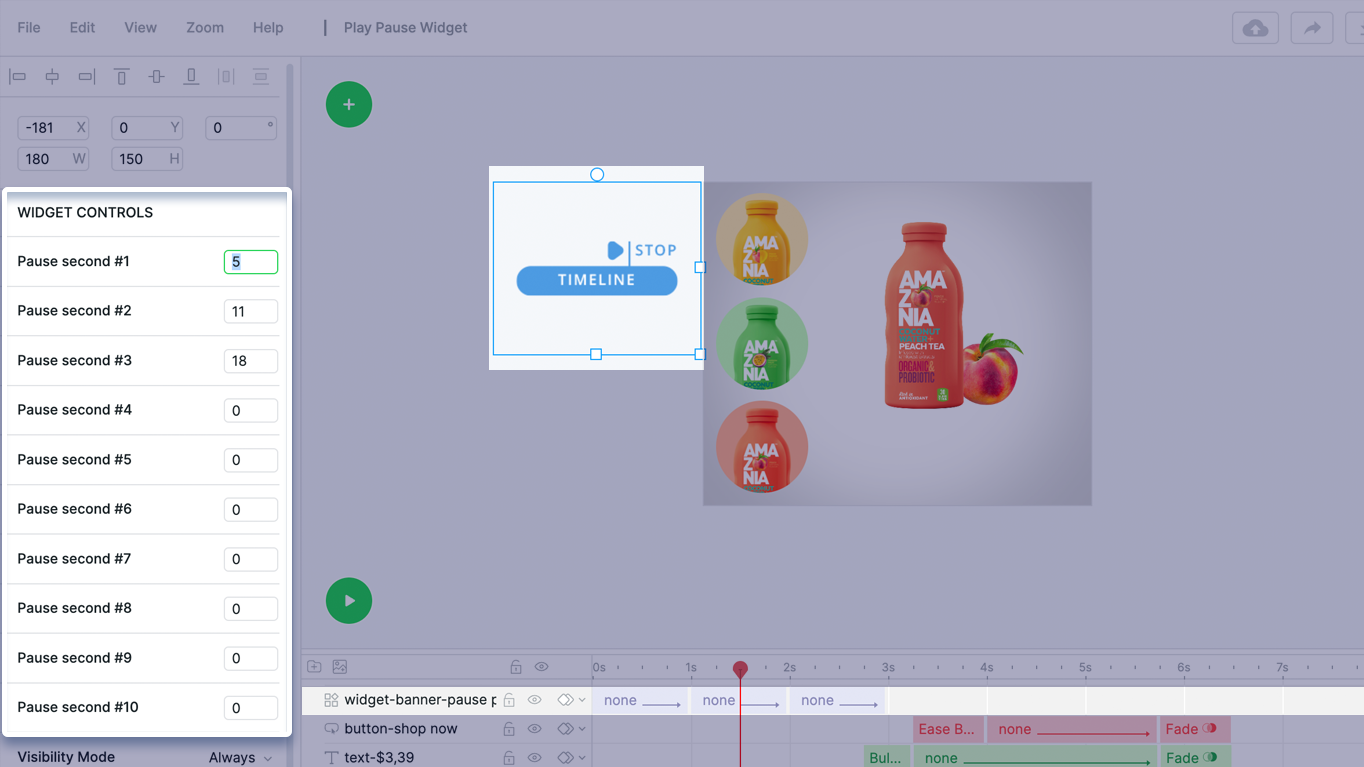
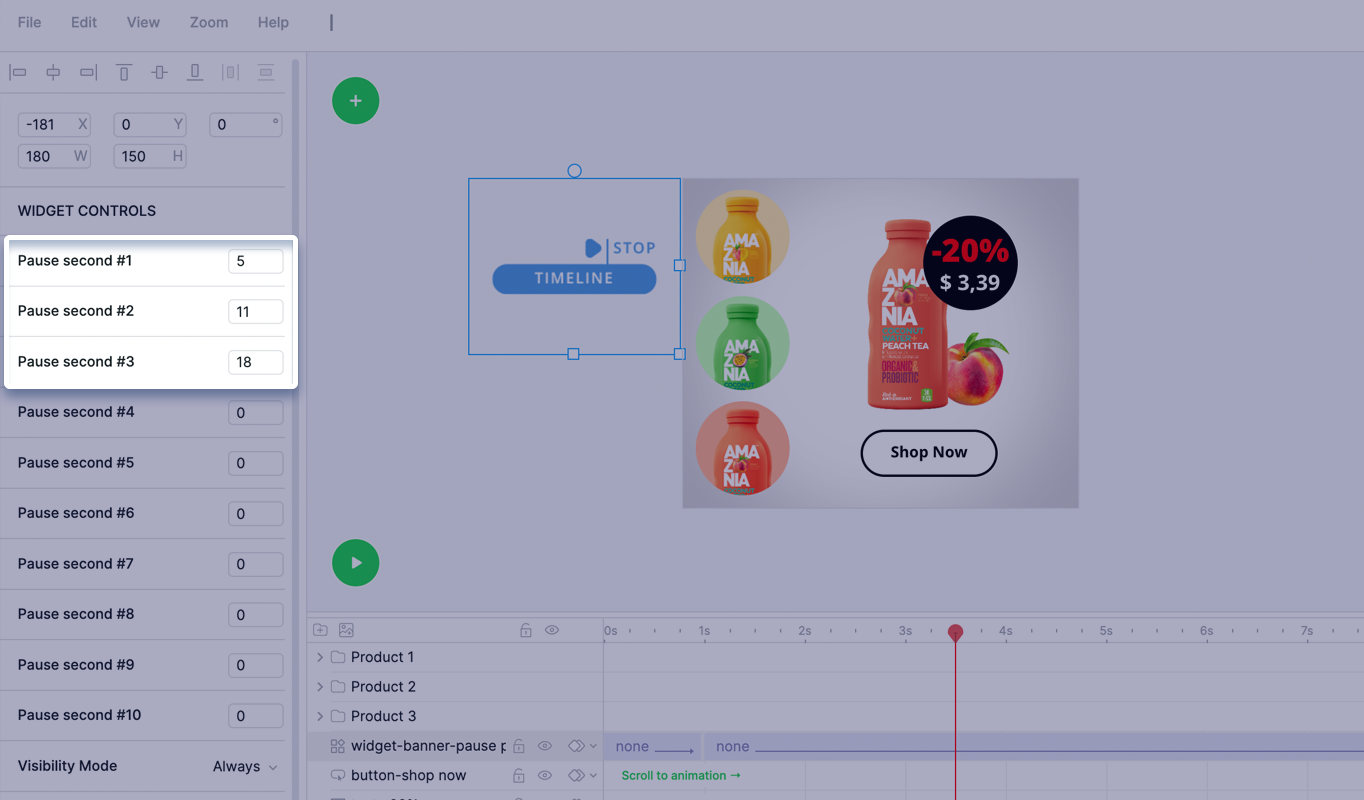
Next, we can set the animation pause points in the left widget settings panel.
The animation will pause at the defined points/seconds (for example the 5th, 11th and 18th second).
The animation will pause until user will click the Play button widget.
You can also set the second where the animation will “Jump” when user will click the Play button widget.
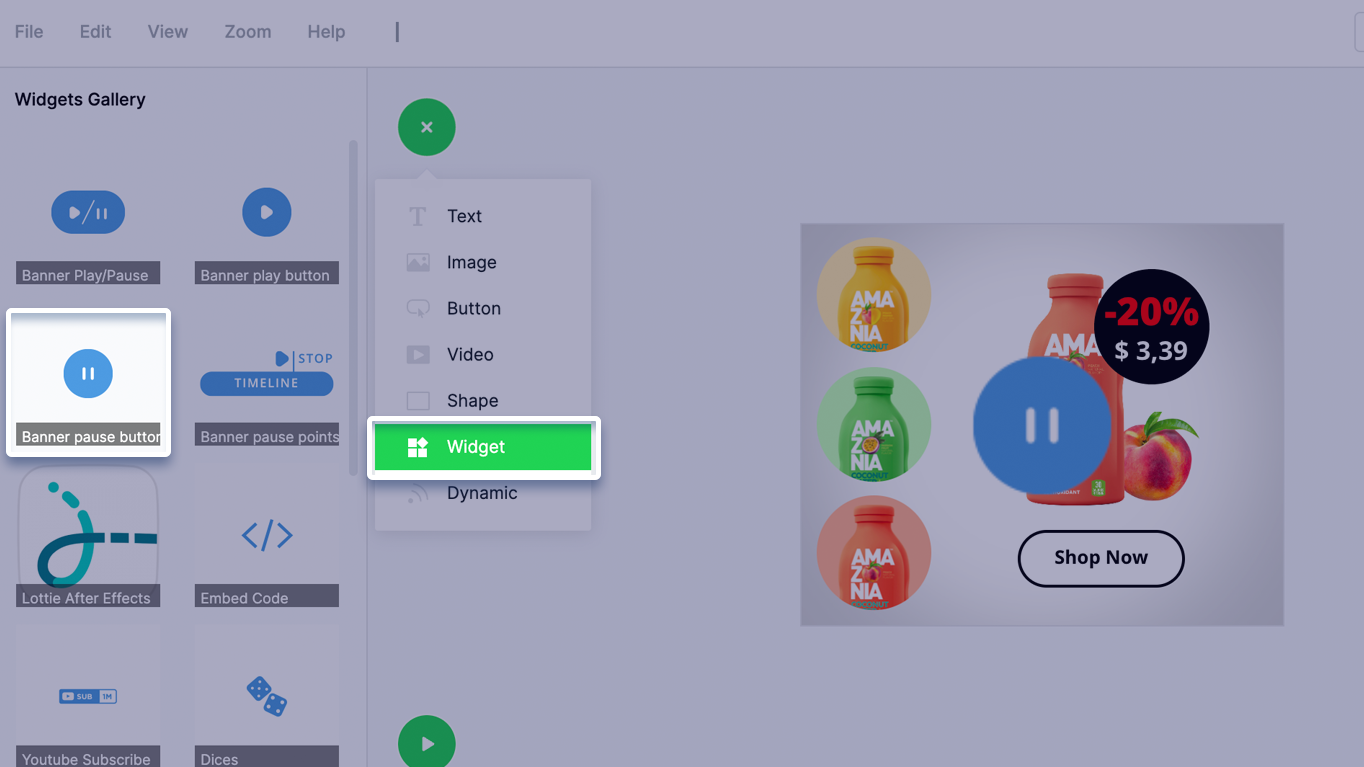
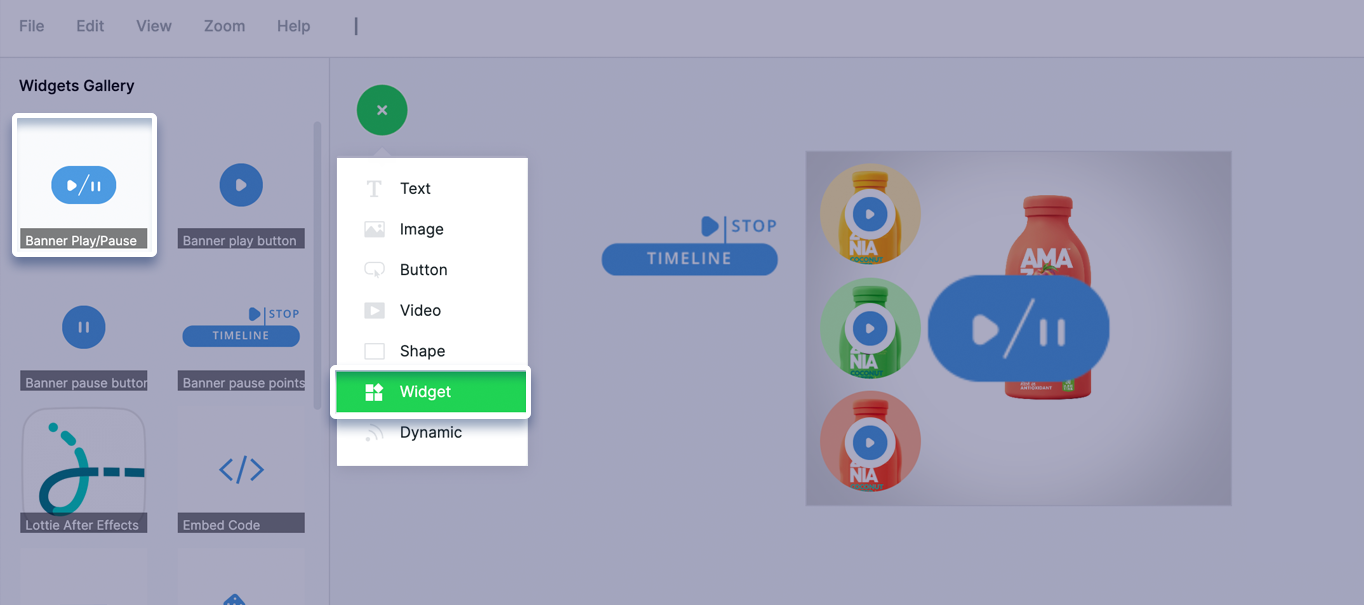
4) Play/Pause toggle widget
Play/Pause toggle control (just like in the YouTube video player).
How to build an interactive creative using timeline control widgets
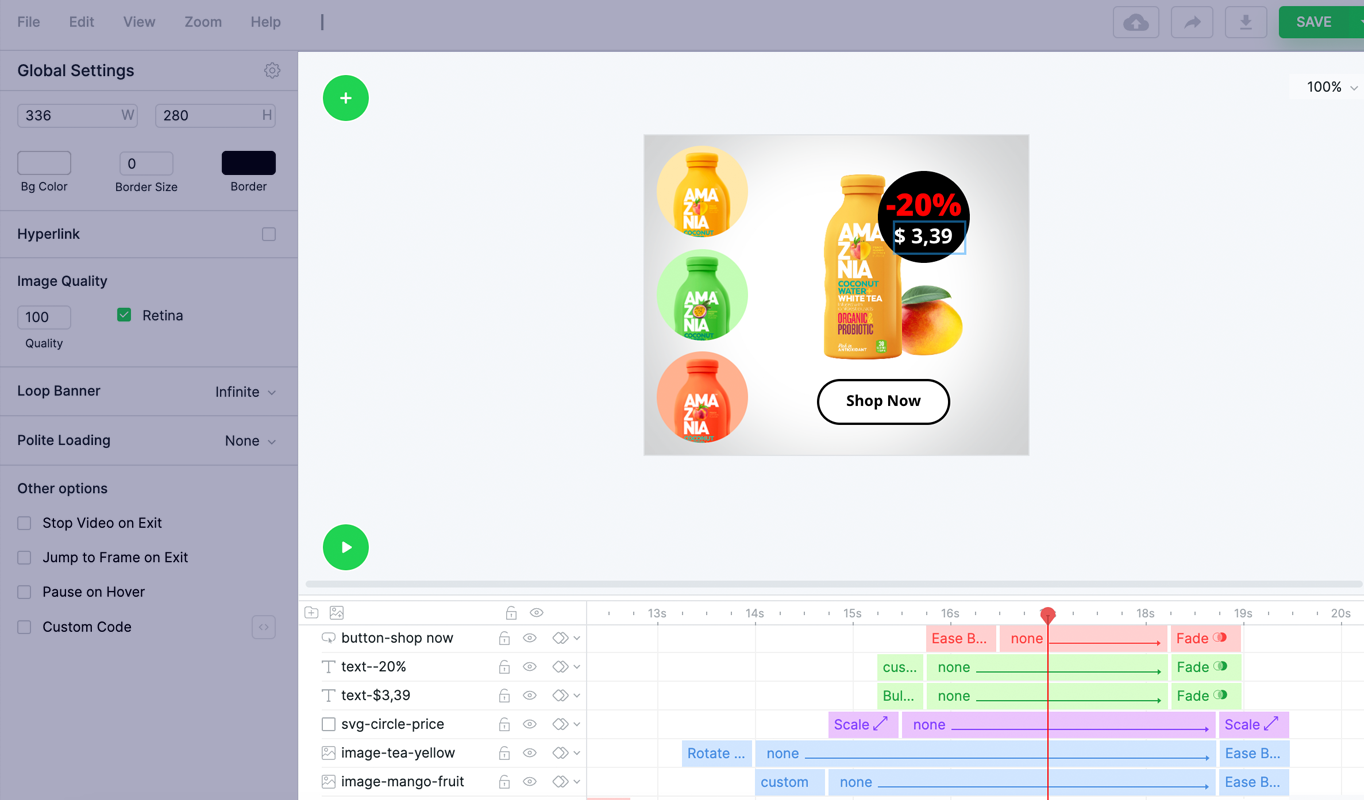
Let’s create an interactive banner using these widgets.
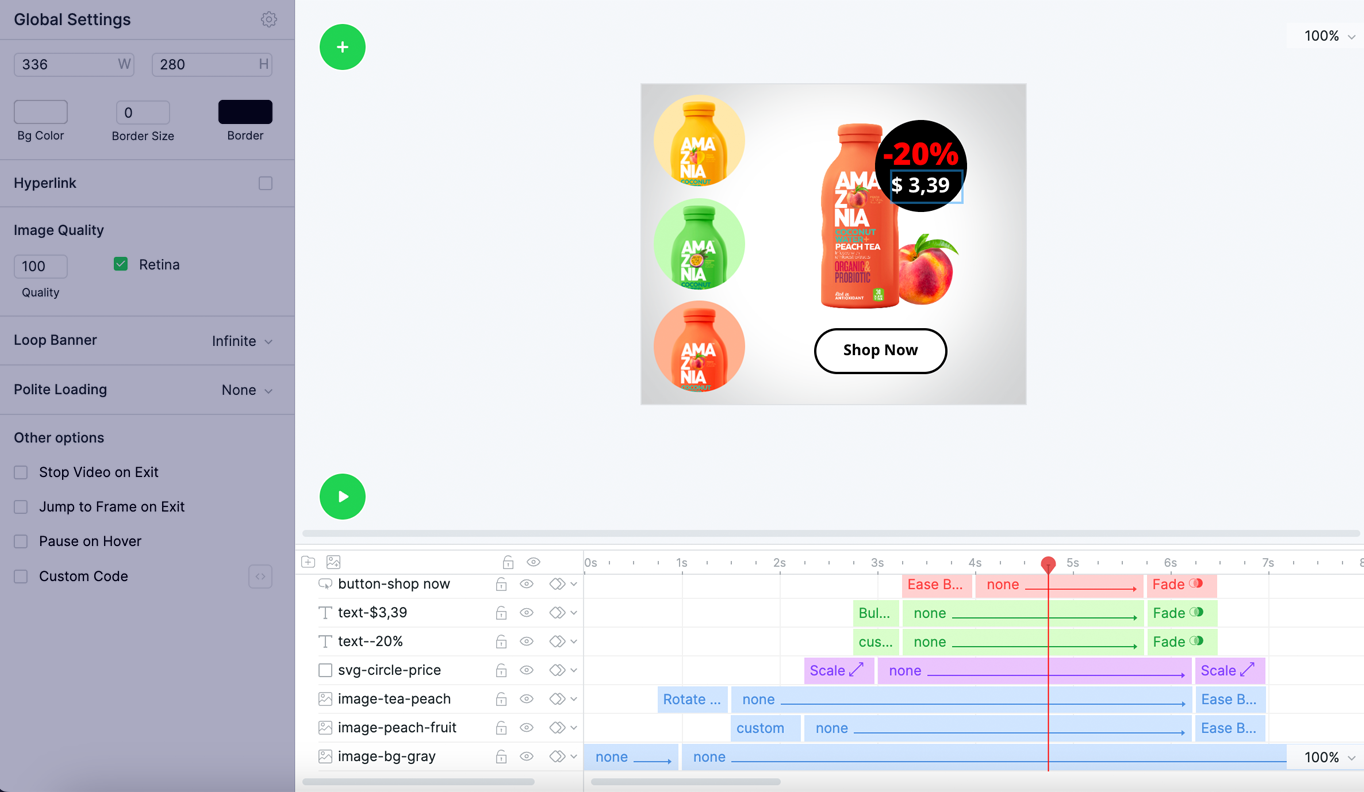
For example we have designed a creative with 3 products.
The idea is that the animation will stop on the 1st product and then user will need to click on another product to Jump/Play to the next timeline point.
So in our creative the 1st product is displayed at 5s,
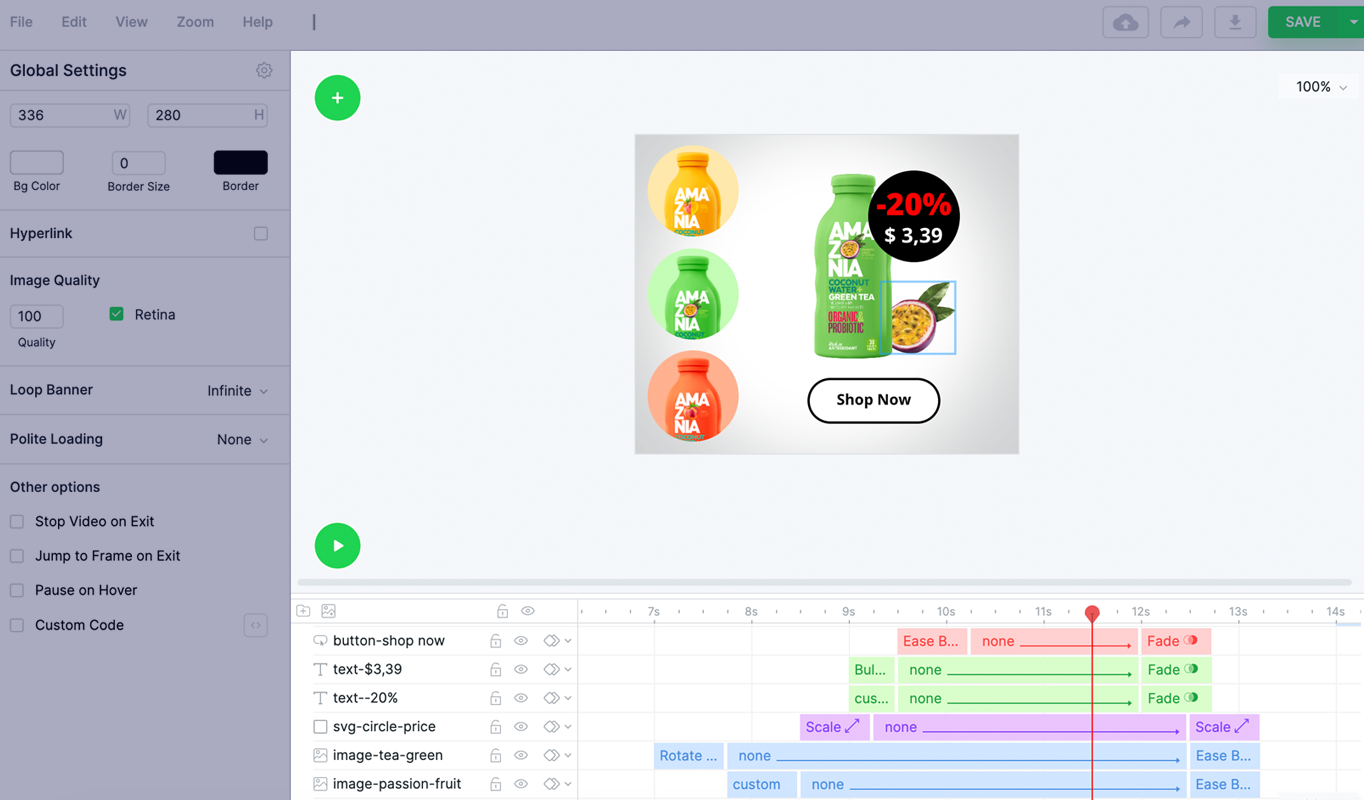
the 2nd product is displayed at 11s,
and the 3rd product is displayed at 18s
Next, add the Timeline Pause Points widget to set the animation stop points.
Since we have 3 products, we’ll need to set 3 stop points (5s for the 1st product, 11s for the 2nd and 18s for the 3rd one).
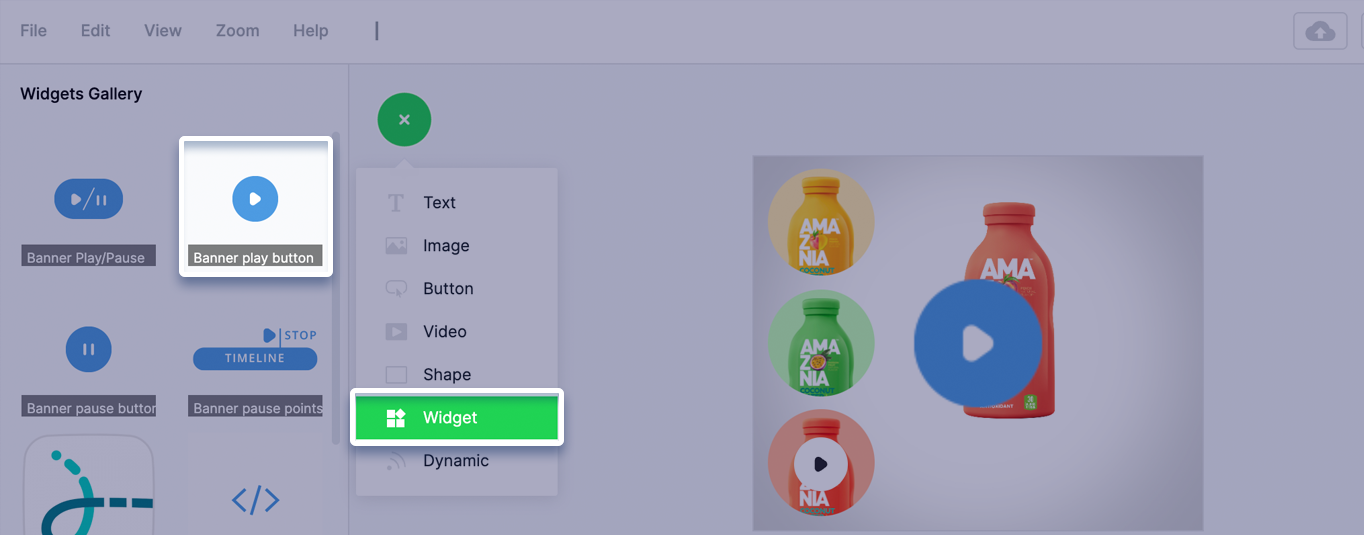
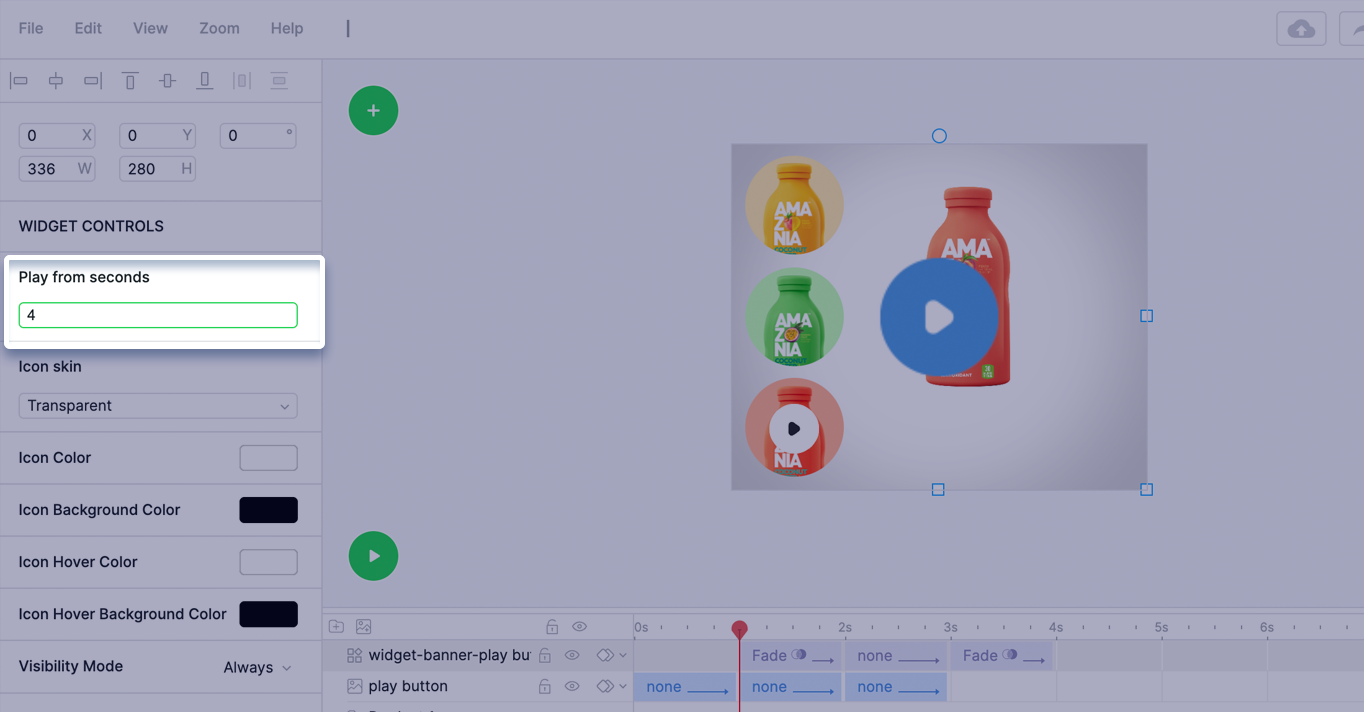
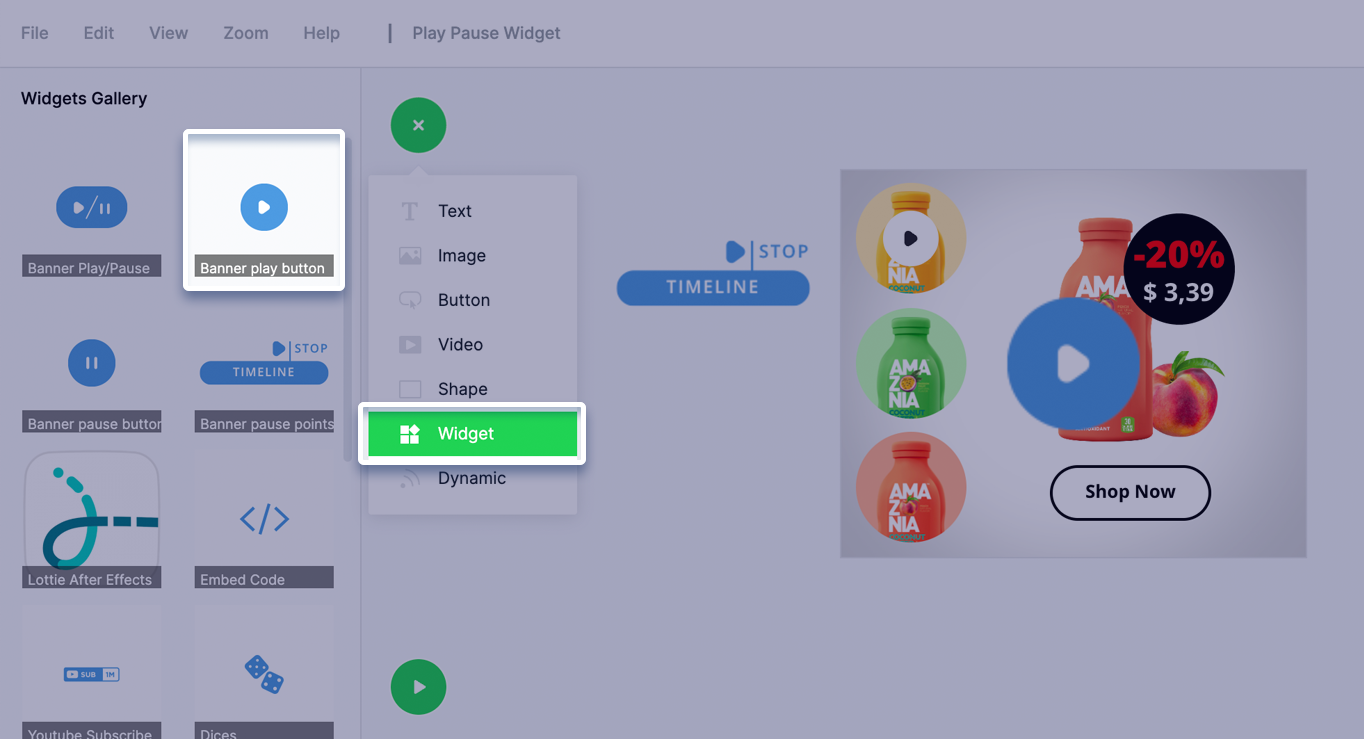
The Play button widget has it’s own design layouts that you can customize based on your creative design (icon color, size, hover color, …).
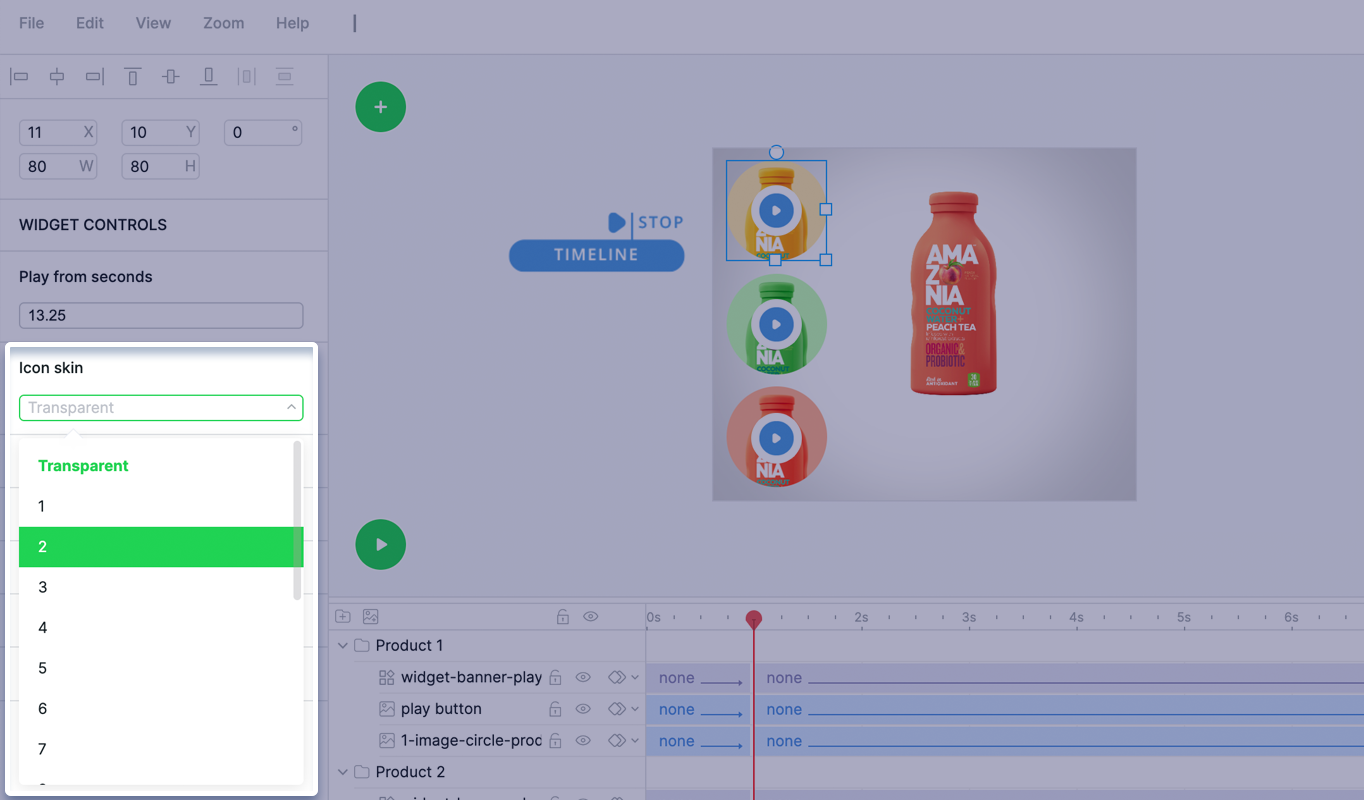
OR you can upload your own play icon and select the Transparent layout for the Play button widget.
This way the widget will simply define the transparent “click” area on top of your play button image.
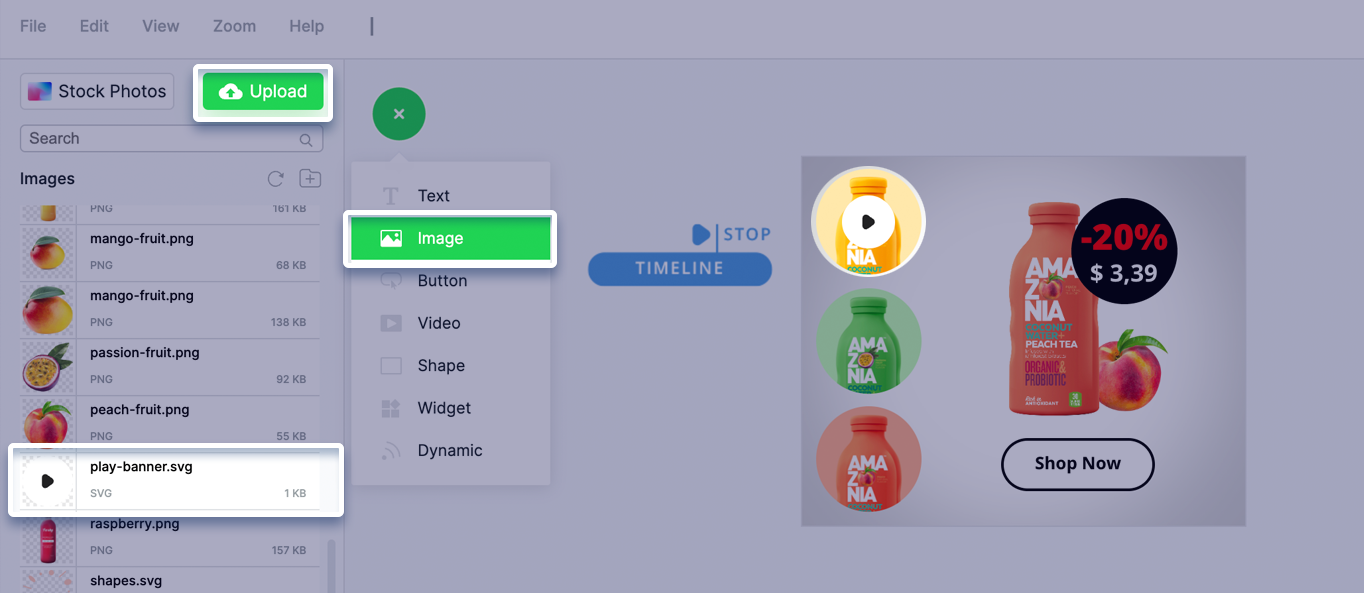
Next, we’ll add the Play button widget from the gallery and place it on top of our uploaded Play image.
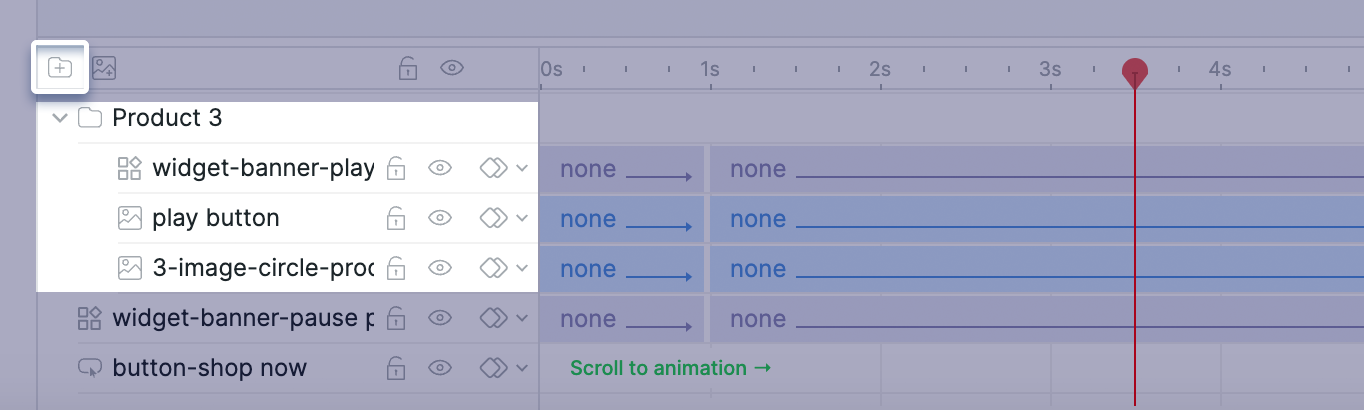
To keep the thing organized we can create a separate folder for each Play button layers.
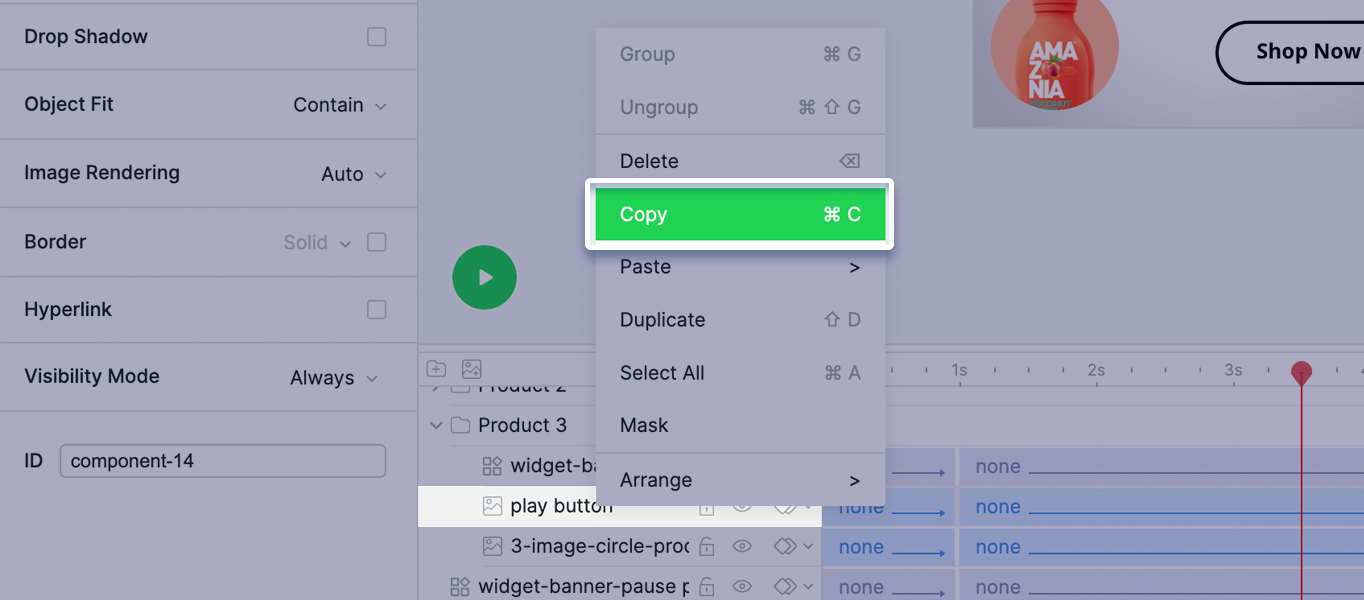
You can also Copy and Paste the Animation and Position from the uploaded Play button to the Play button widget (Right Click on the uploaded Play image layer > Copy). Right click on the Widget play button layer > Paste position & size, Paste animations

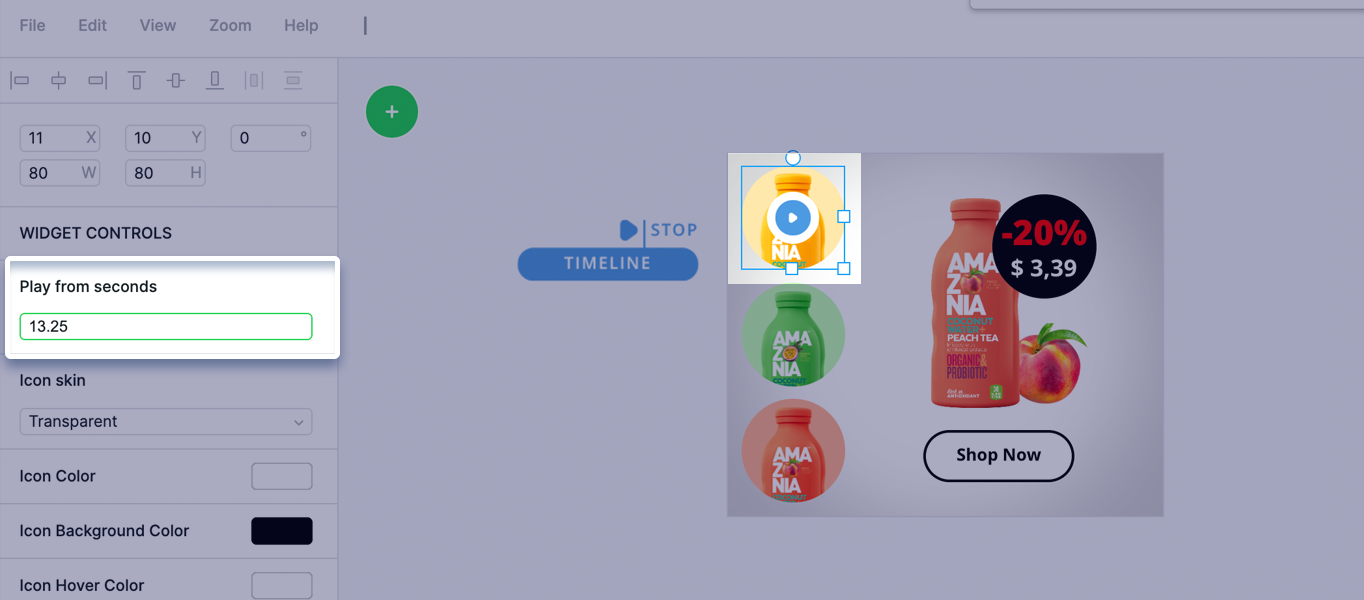
Set the Play from seconds value to 13.25 for the 3rd Play button widget (Where the 3rd product appear animation starts).
Repeat these steps for the 1st and 2nd product.
A quick recap:
We have designed a banner with 3 products.
Each product has it’s own animation on the timeline:
1st product starts to play from 0.75s, appear animation finishes at 5s
2nd product starts to play at 7s, appear animation finishes at 11s
3rd product starts to play on 13.25s, appear animation finishes at 18s
We have added the Timeline Pause Points widget to stop the animation at 5s, 11s and 18s
Then we have added 3 Play button widgets that are always visible with the “Start animation from” set to 0.75s, 7s and 13.25s
When the creative will be loaded it will start playing from 0s and will pause on 5s.
Now user can click on any product Play button widget and the animation will jump accordingly (for example click on 3rd product Play button widget will jump the animation to 13.25s and then will pause on 18s and so on…)
Here is the final result: