Widgets – is a feature that allows you to create new banner elements with custom HTML, CSS, and JavaScript.
Bannernow includes a few standard/public Widgets that are ready to use within your banners. If you’re looking to create a new Widget, this is very simple:
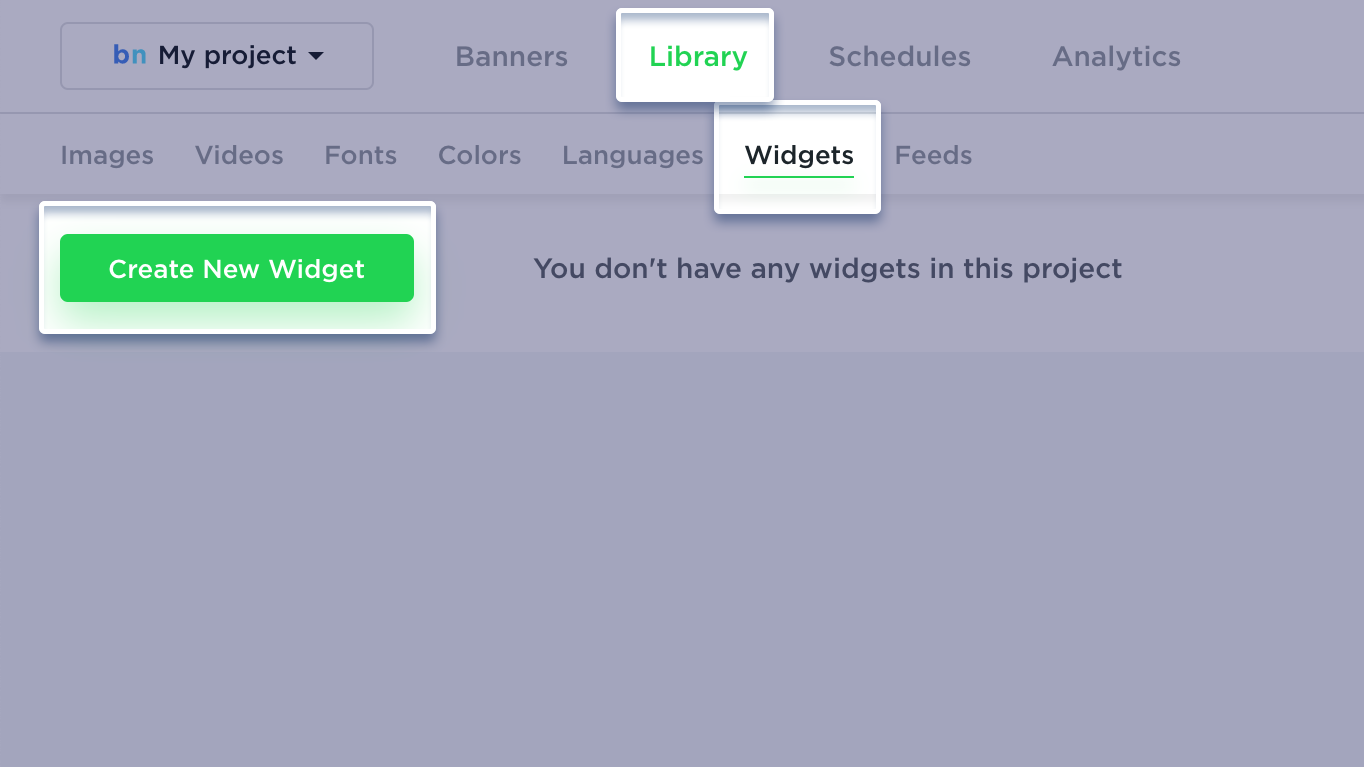
Create a new Widget by switching to the WIDGETS Tab in the dashboard header. Then, select ADD A NEW WIDGET.
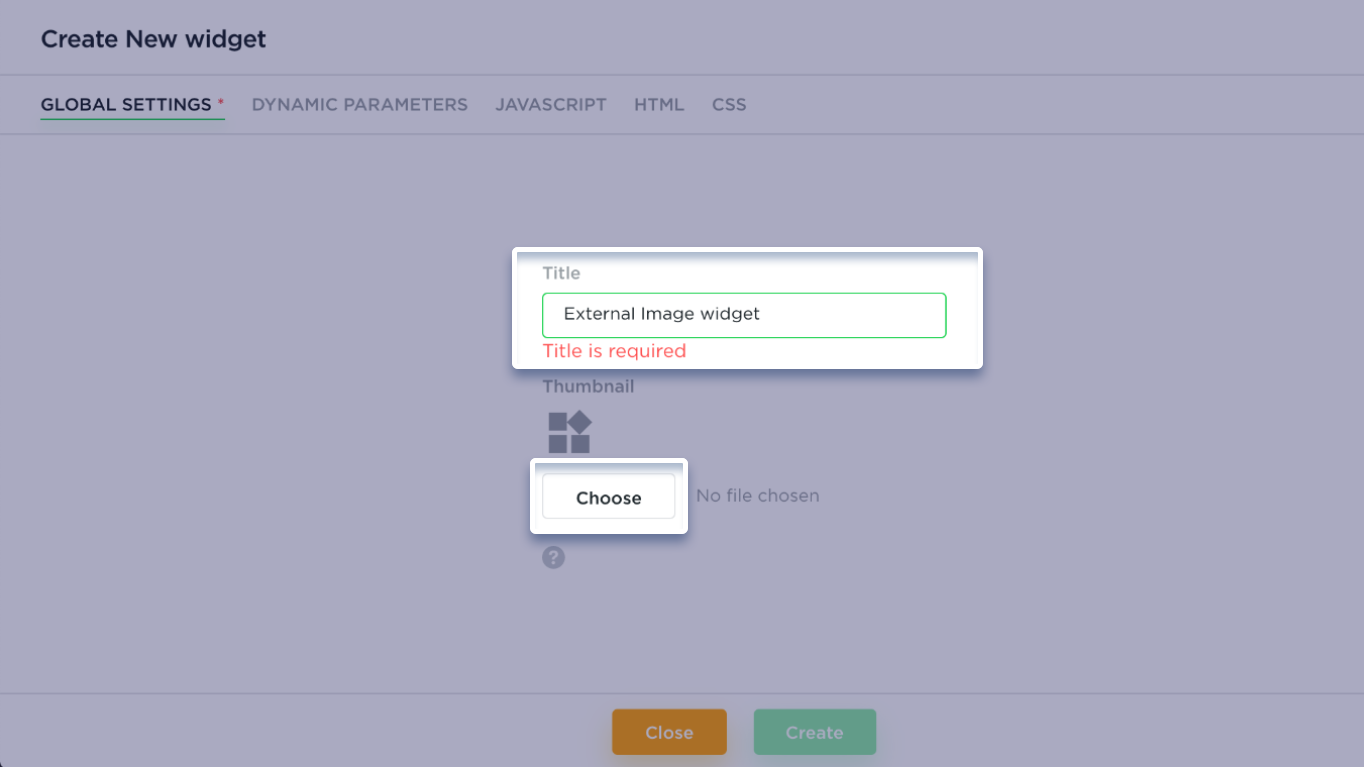
The Create New widget modal will show up. You will need to insert your custom HTML, CSS and JavaScript, as well add Dynamic Settings (if any), and metadata such as Widget name and Thumbnail.
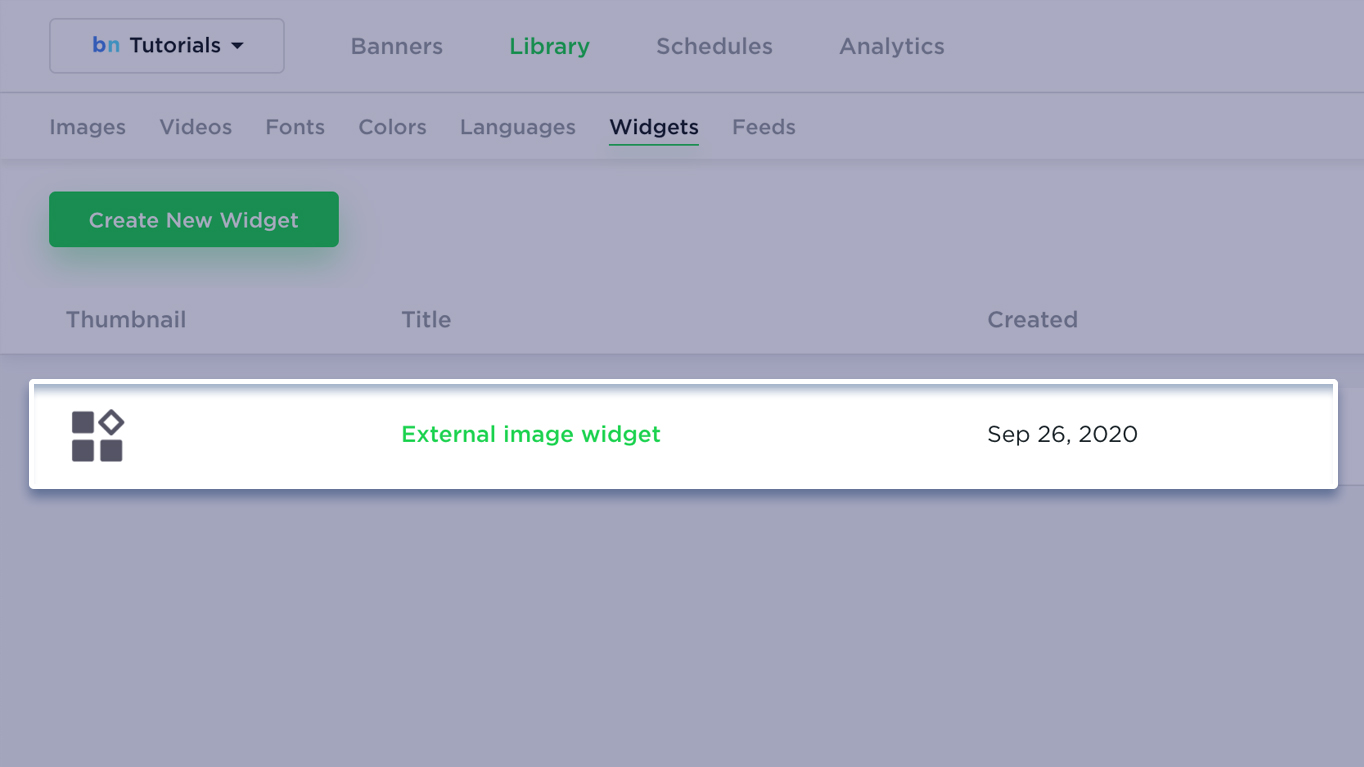
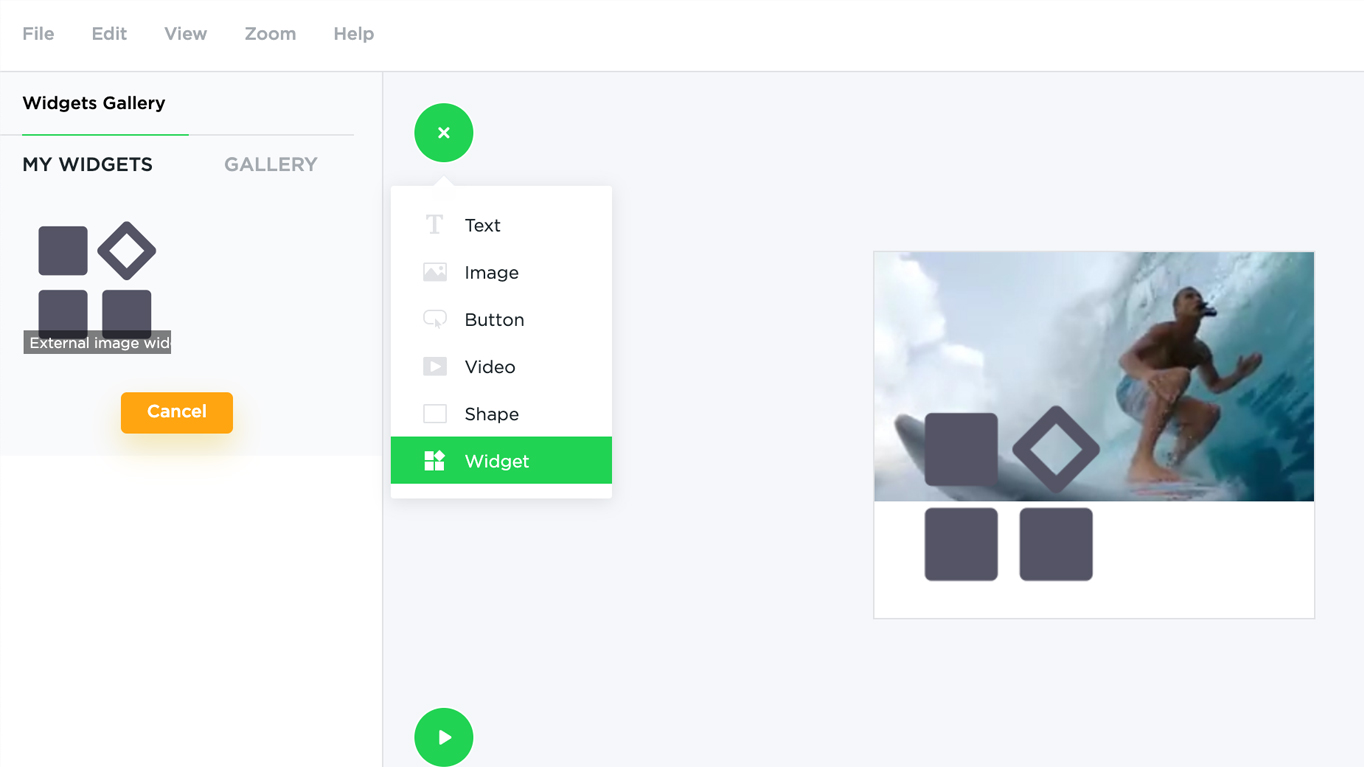
Once the Widget is created, it will be visible in the Add Widget gallery in the Bannernow Editor. From this point, you can then add it on stage, change its properties (Dynamic Settings that were specified during Widget creation), and use as a normal item.
Dynamic Settings
Think of Dynamic Settings as a sort of variables used in the JS code of your widget. These variables will be available in the editor, therefore, you can customize certain properties of a widget.
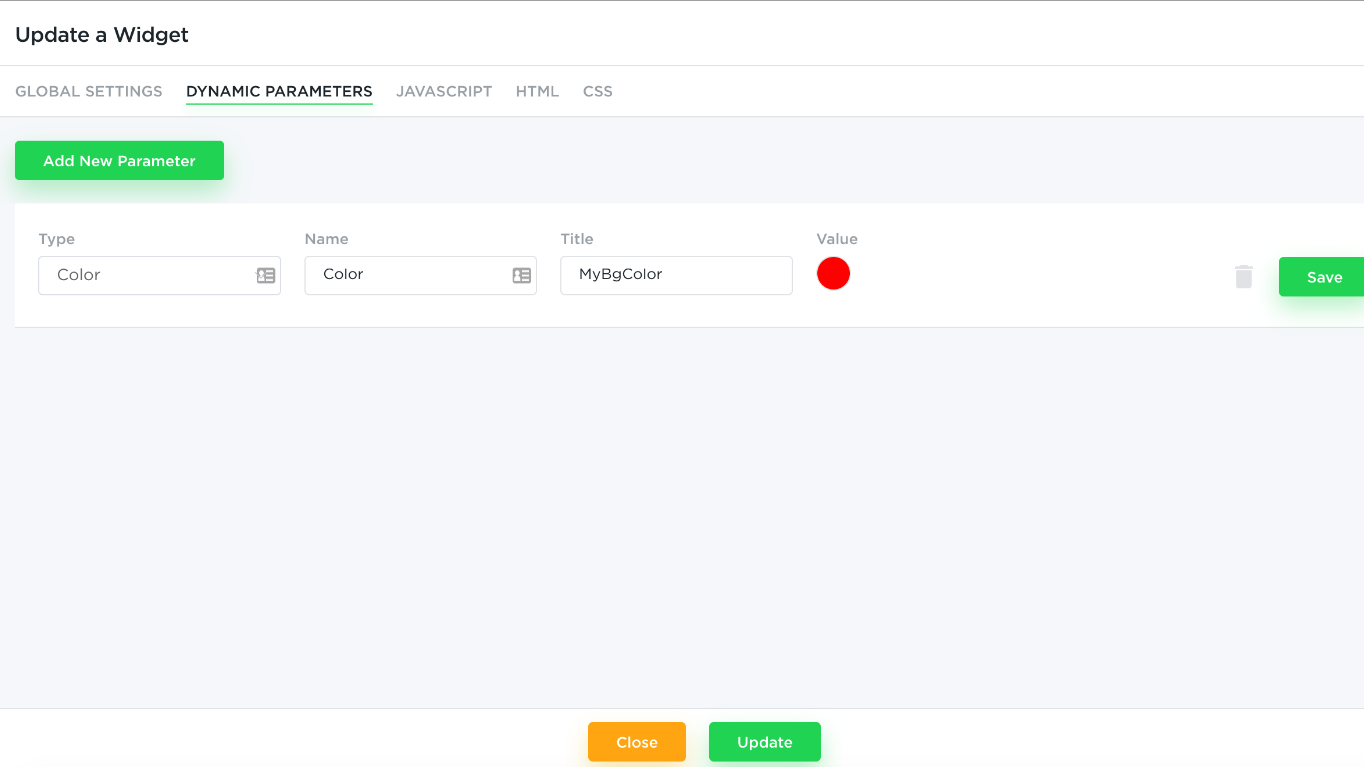
Example: Imagine you’re creating a widget in which you need to be able to customize the background color. You will then add a Color setting, assign a unique name to it, and finally a label. After this, it can be customized from an editor.
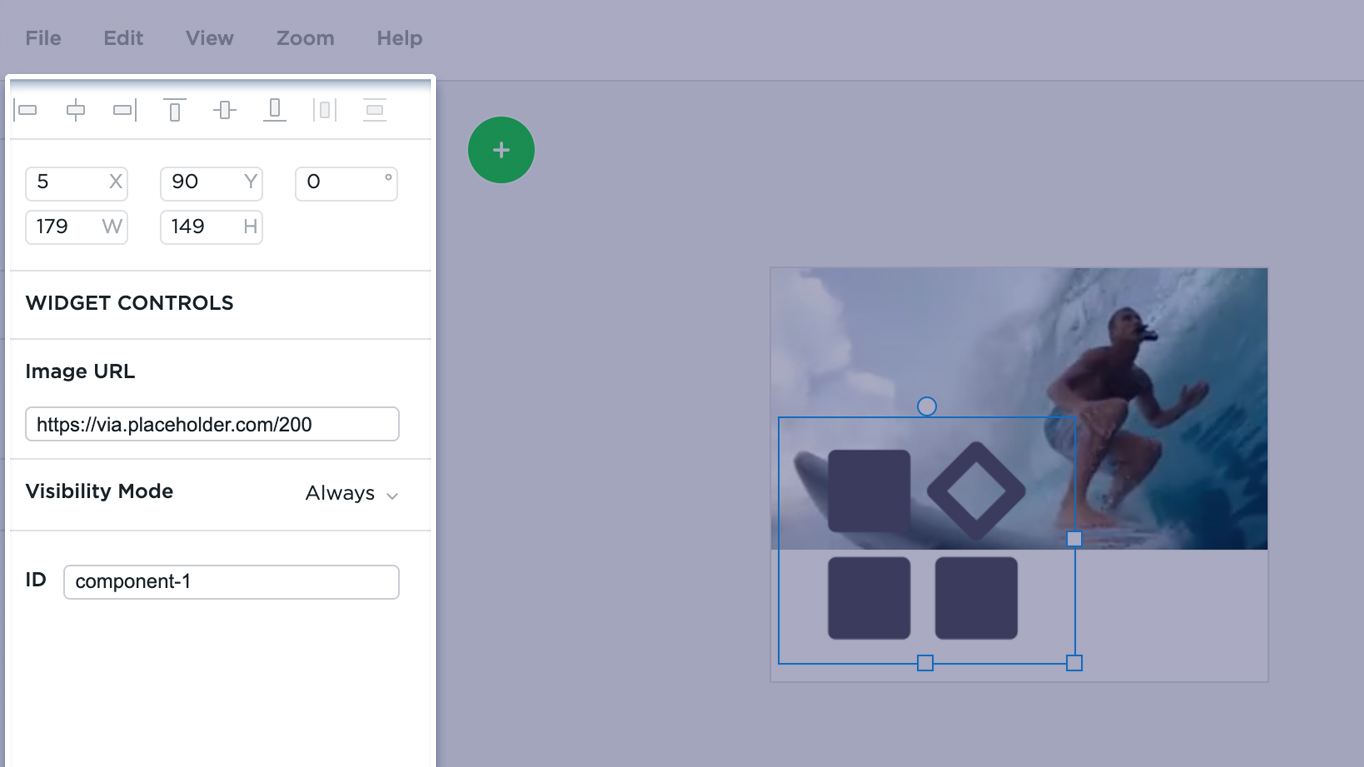
Once a Widget is created, it can be used straight from the editor. To do this, select Add Widget, and select the widget you need. Once added on stage, you can customize its dynamic settings from the left-side panel.
JavaScript API
The Widgets API is an interface that enables interaction between a Widget and other parts of a Banner.
All Widgets are loaded in a separate IFrame. Once the widget is loaded in the API library it becomes globally accessible (in the JavaScript code of your widget) from the window.
BannernowLib. BannernowLib comes with several event processing hooks as well as a few helper functions.
Every widget has a 3 steps lifecycle: Init, Start, Stop
- Init – stands for Initialize – essentially, during this stage, a Widget is being set up/created. Normally, during this stage, the widget will read dynamic settings (that are coming in as config from Editor).
- Start – This function is triggered each time the widget restarts (new loop).
- Stop – This function is triggered each time the widget finishes (end of the loop).
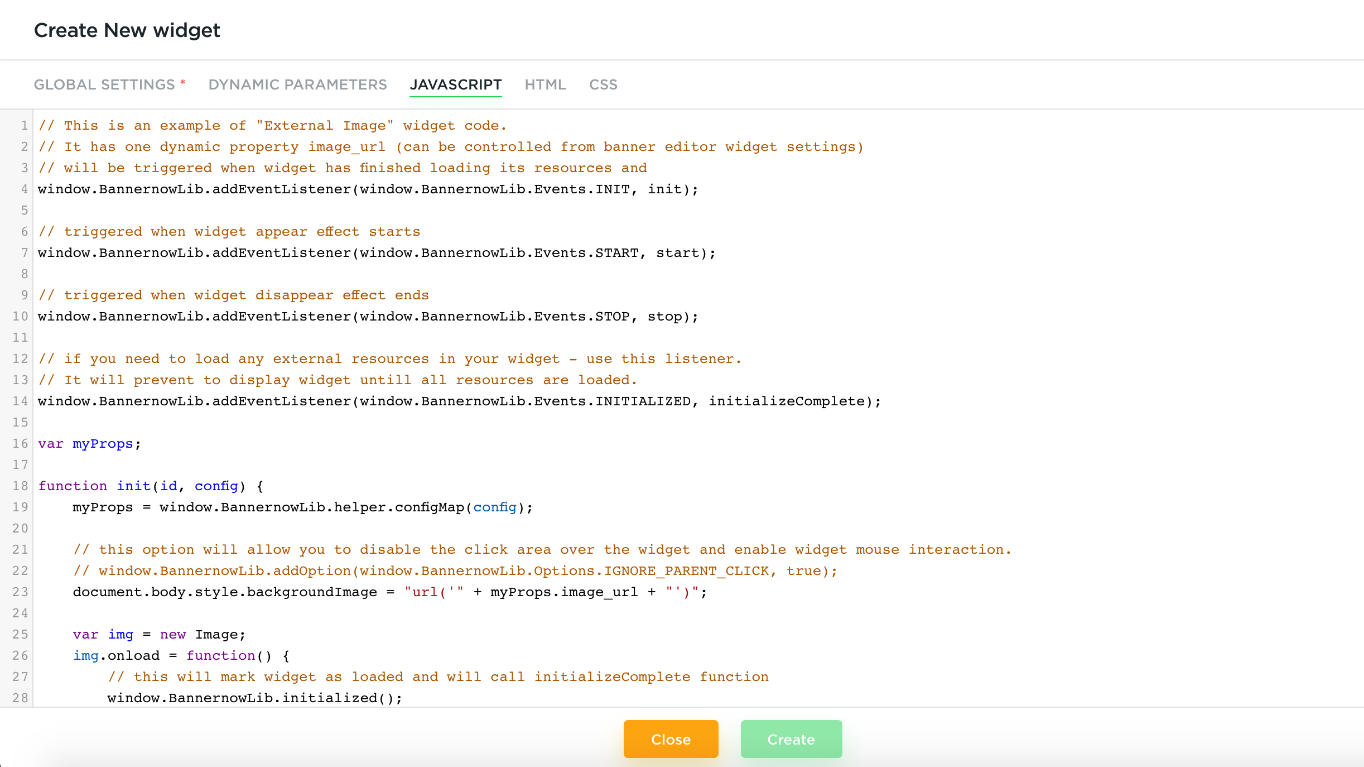
In order to plug into these 3 lifecycles you will need to create 3 custom event listeners:
window.BannernowLib.addEventListener(window.BannernowLib.Events.INIT, init);
window.BannernowLib.addEventListener(window.BannernowLib.Events.START, start);
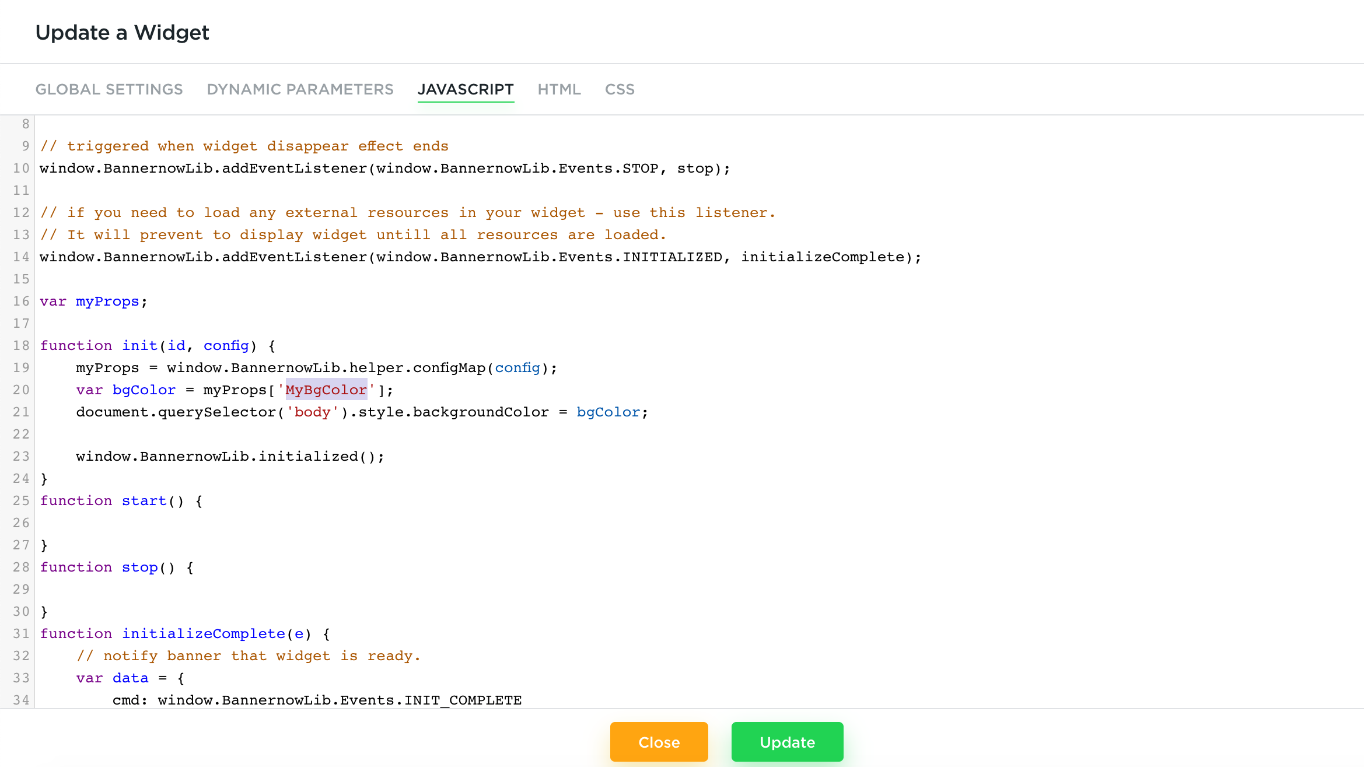
window.BannernowLib.addEventListener(window.BannernowLib.Events.STOP, stop);Once all three event handlers are set up, the widget will call the appropriate function at the right time of the life cycle.
Init will be triggered when the widget has finished loading its resources and is ready to be initialized:
function init(id, cfg) {
	var propMap = window.BannernowLib.helper.configMap(cfg),

	//where settingName is the name of dynamic property
	settingValue = propMap.settingName;

	var widgetId = id;

	//Init widget here
}
Init will receive two parameters: widget Id (id), and Config Object (cfg):
- cfg – contains all the values from the Dynamic Settings. In order to use it, we recommend you convert it first into a key-value map by using window.BannernowLib.helper.configMap(cfg) key – matches name of dynamic settings and value represents the value of the dynamic setting.
- id – represents the widget’s unique ID. Save/cache it into a global variable so that it can be used later in widget code.
The Start function is triggered each time the banner animation starts playing (including each loop iteration).
function start() {
	myObject.startMyCustomAnimation();
}
The Stop function is triggered each time the banner’s animation finishes an iteration loop (animations for all individual items are completed).
function stop() {
	myObject.stopMyCustomAnimation();
}
Custom Widget Complete Handler
Every Widget is supposed to notify the parent Banner once it has finished loading and initializing. In many cases, you won’t need to think about this as it is done automatically right after the Init function is executed. However, in some cases, you will need to explicitly handle this. For instance, you will need to do this when performing operations such as image loading. In this case, your Widget will have to hold for the images to load prior to start. It needs to notify the parent banner only when it’s done fetching all the images.
In order to do this, you first need to add the INITIALIZED event handler:
window.BannernowLib.addEventListener(window.BannernowLib.Events.INITIALIZED, initializeComplete);When the Widget includes the INITIALIZED handler it will hold for an explicit notification of initialization completion. In order to notify this Initialization completion, use the following API call:
window.BannernowLib.initialized();Here’s an example of initializeComplete code:
function initializeComplete(e) {
    var data = {
        cmd: window.BannernowLib.Events.INIT_COMPLETE
    };
    window.BannernowLib.broadcast(data);
}
window.BannernowLib.broadcast – sends a notification to a parent banner. data object should have
cmd: window.BannernowLib.Events.INIT_COMPLETE command
Feed
In order to receive a Feed from a parent banner, add an event handler. This handles will be invoked each time a new feed is received from the server.
window.BannernowLib.addEventListener(window.BannernowLib.Events.FEED, feedReceived);
function feedReceived(data) {
    console.log(data.feed);
    console.log(data.update_interval);
}
Custom Click Handler
If looking to stop a default behavior such as the CLICK event (for example, only looking to execute custom logic) then you will need to set an Option that allows you to ignore default click behavior:
window.BannernowLib.addOption(window.BannernowLib.Options.IGNORE_PARENT_CLICK, true);Pre-Ad Widget
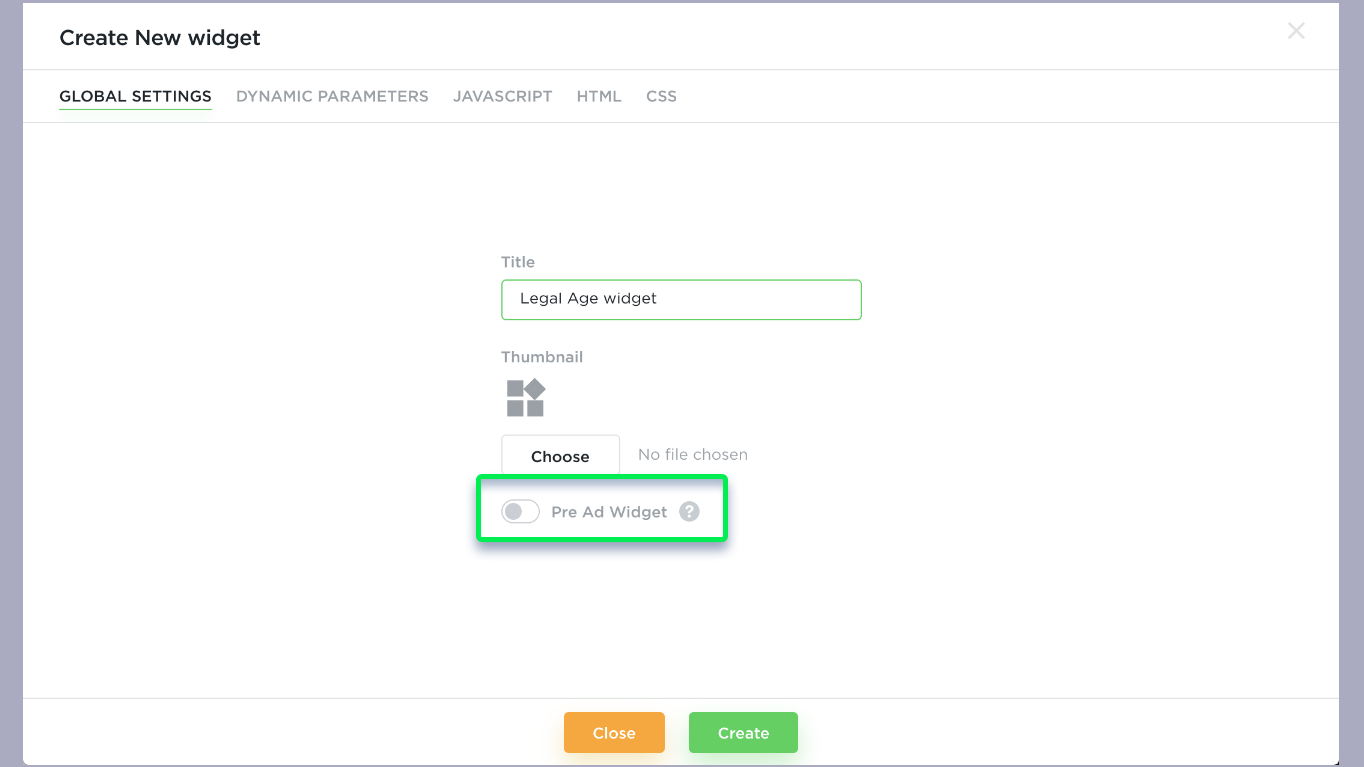
Pre-Ad Widget – is a special type of widget that runs prior to your banner being displayed. A typical use case for a Pre-Ad Widget is to showcase specific details, such as legal age restriction, for instance, prior to serving the banner. To create a Pre-Ad Widget, start by marking your widget as Pre-Ad Widget within the Global Settings section of Widget Creation modal.
Use:
window.BannernowLib.Events.INITIALIZED handler to ensure that all resources (like images) of a widget are loaded.After this, create an InitComplete function, you would invoke this to notify the Pre-Ad Widget that it’s ready. As well as pass on specific additional data for it (such as duration, whether it should appear on each loop iteration, etc)
window.BannernowLib.addEventListener(window.BannernowLib.Events.INITIALIZED, initComplete);
function initComplete() {
	var data = {
		cmd: window.BannernowLib.Events.INIT_COMPLETE,
		opts: { // default locale: en
			loop: legalData.loop,
			duration: legalData.duration, //duration of pre-ad
			disappear_duration: legalData.disappear_duration
		}
	};

	// …
	window.BannernowLib.broadcast(data);
}
Once all elements are initialized and loaded, invoke initialization complete by using:
window.BannernowLib.initialized();
Helper Methods
window.BannernowLib.helper.getConfig() - returns global Banner Config - an Array of all items (text, image, rect, widget, button, video) and a stage.Sample format:
[
{type: "scene", bgColor:"#555555", border:false, feedUrl: "https://....", height: 300, width: 400, ...},
{type: "text", value: "text value", top: 20, left: 40, ...},
{type: "widget", id: "...", controls: [{…}, {…}], src: "https://...", thumbSrc: "https://...", wname: "...", ...}
]
window.BannernowLib.helper.configMap(cfg) - convert array of custom configs into a Map of custom setting name to its valuewindow.BannernowLib.helper.setGlobalUrl(url, target); - sets the main banner global hyperlink. (call it after widget initialization)window.BannernowLib.helper.getGlobalUrl(); - returns the main banner global hyperlink. (call it after widget initialization)window.BannernowLib.helper.setText(itemId, text); - update text or button item label by idwindow.BannernowLib.helper.openUrl(url, target, event); - calls window.open in main banner. All tracking variables will be automatically added to the url. event - mouse event object (needed to track x,y mouse position for click heatmap).Example:
document.getElementById('btn1').addEventListener("click", myFunction);

function myFunction(event) {
  window.BannernowLib.helper.openUrl('https://bannernow.com', '_blank', event);
}