Animation effects can be assigned to any element (image, text, button, shape). In order to access animation effect properties, you’ll need to select (activate) the desired element on the stage.
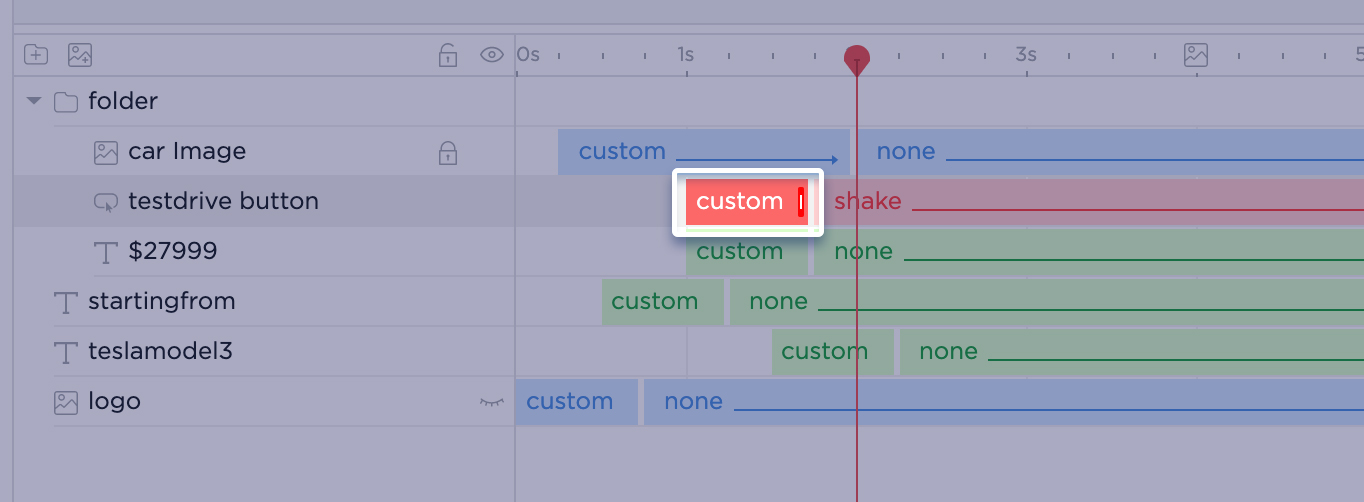
On the bottom of the screen, there is a Timeline area with the following:
- Left-side menu: Layers
- Right-side menu: Transitions.
The corresponding layer and transition of the selected element are highlighted in the Timeline.
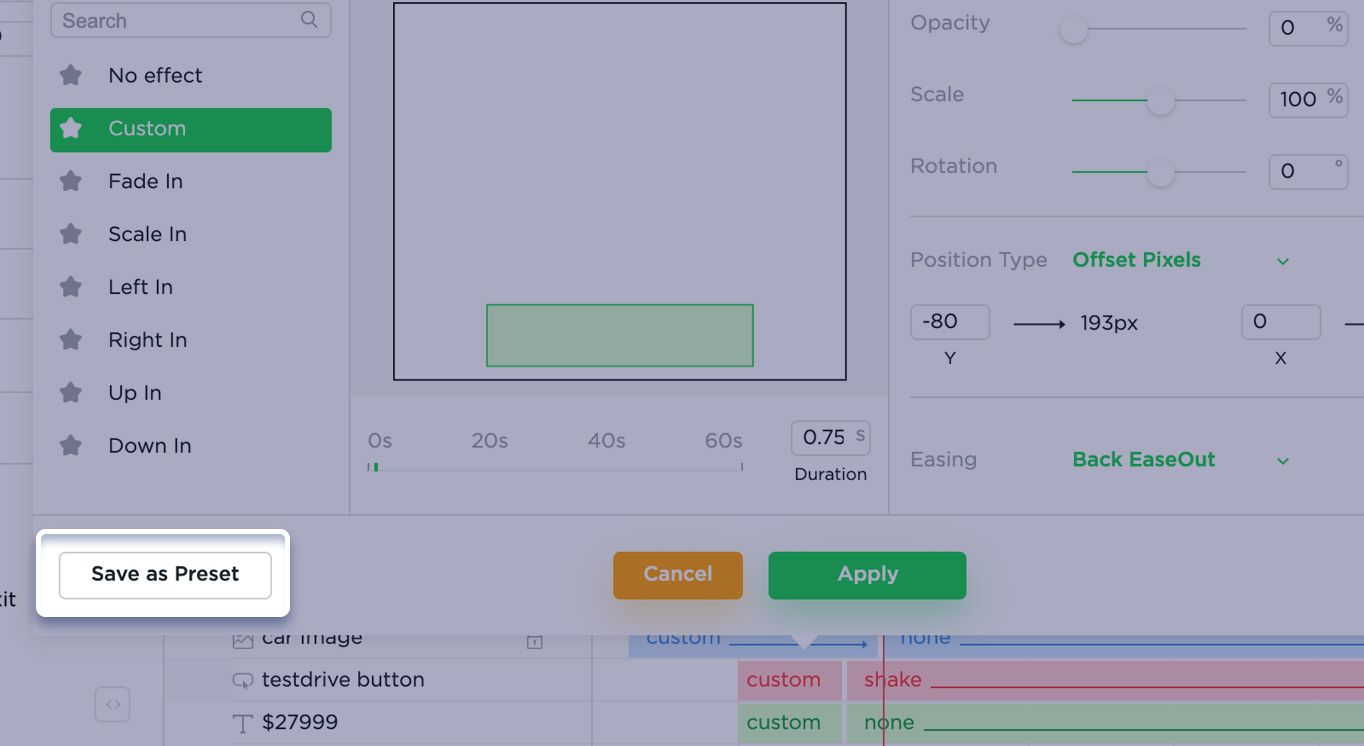
Custom Effect – A way to customize your animation if you are unable to find the desired behavior from default transitions. Custom effects can be applied only to appear and disappear effects:
Custom effects can be set up from the Custom Modal, which can be accessed by selecting the appear or disappear section in the transition slider and selecting the Custom option.
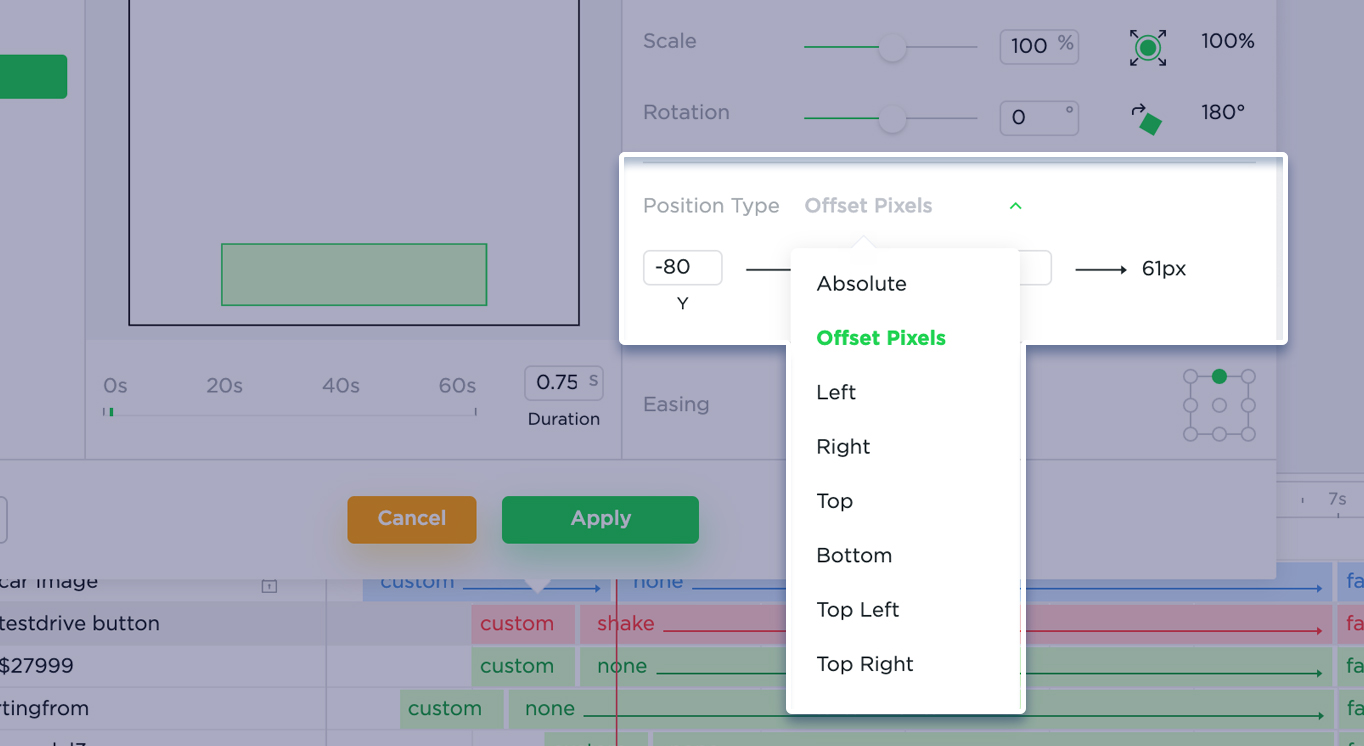
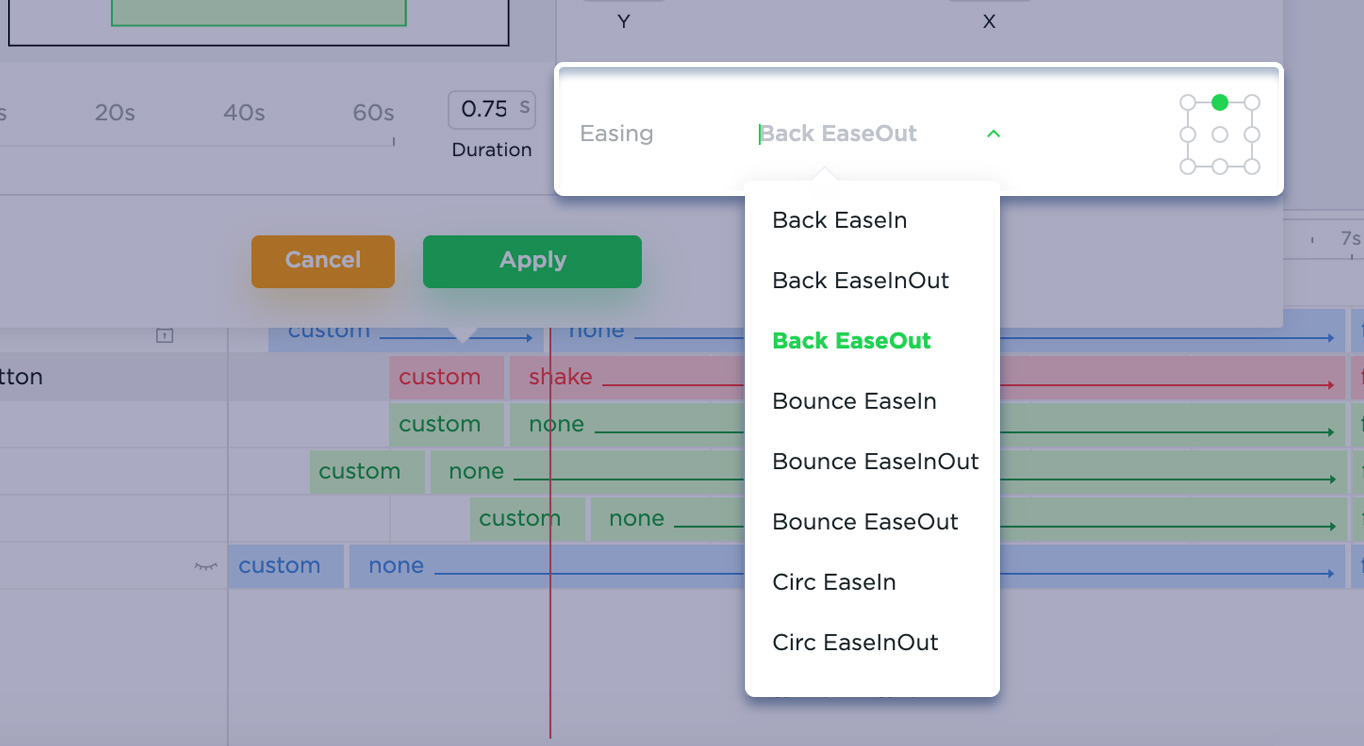
The Custom Modal includes a small preview window above the modal ( this allows you to view how your custom animation will look – it’s an approximate preview). The four sections (1-4) represent Look Options – opacity, scale & rotation; Scene & Rotation point options – this point will be used as a pivot when animation an element; Positioning options – position type and position coordinates; Animation Style Animation Easing and Duration.
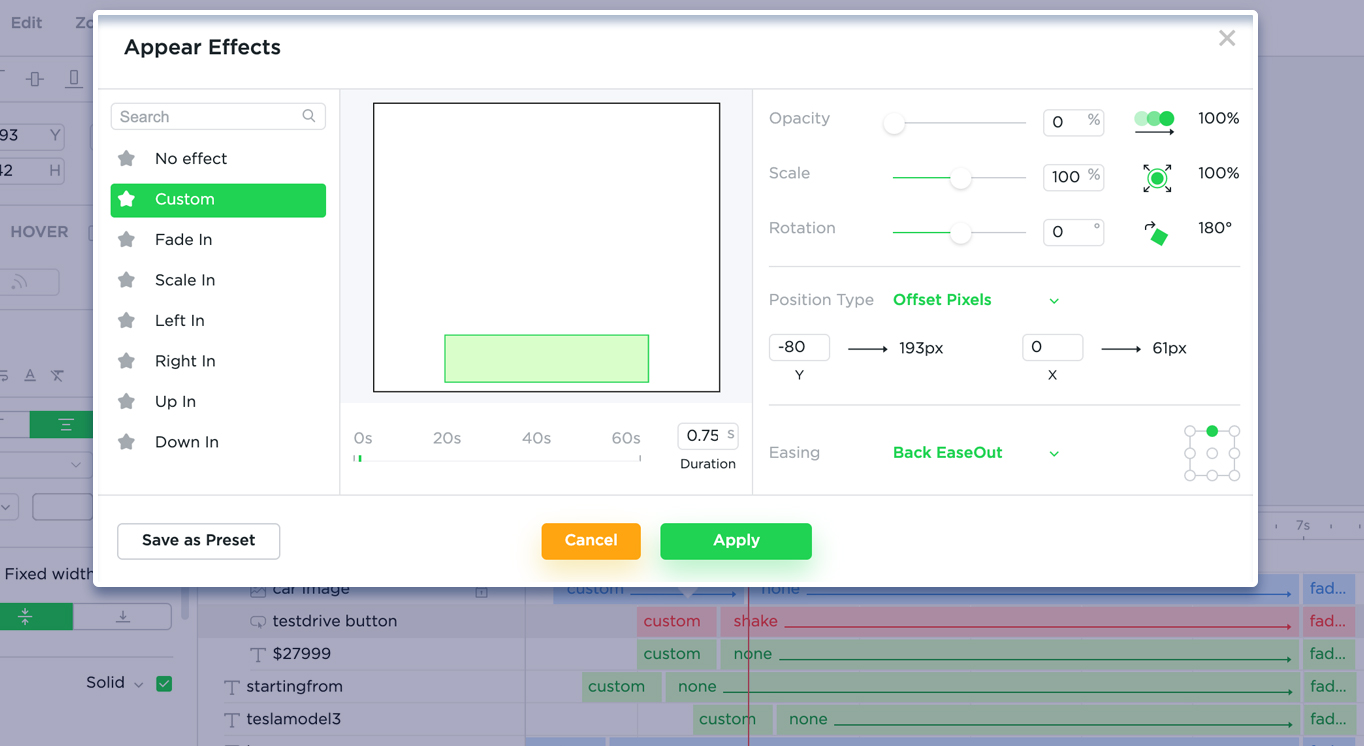
Position type defines whether custom animation will use absolute positions/coordinates, offset positions or a pre-defined set of positions.
Animation easing specifies the speed curve of an animation.
You can also save the custom effect as a preset and reuse it in different banners.