The Advanced format offers an alternative to standard fixed banner sizes, providing more dynamic and engaging options for your advertising campaigns. Examples of advanced formats include Interstitial, Pushdown, Sticky, and Bestfit ads.
In addition, you can connect schedules to display Advanced banner formats. We’ll explore how to do this shortly.
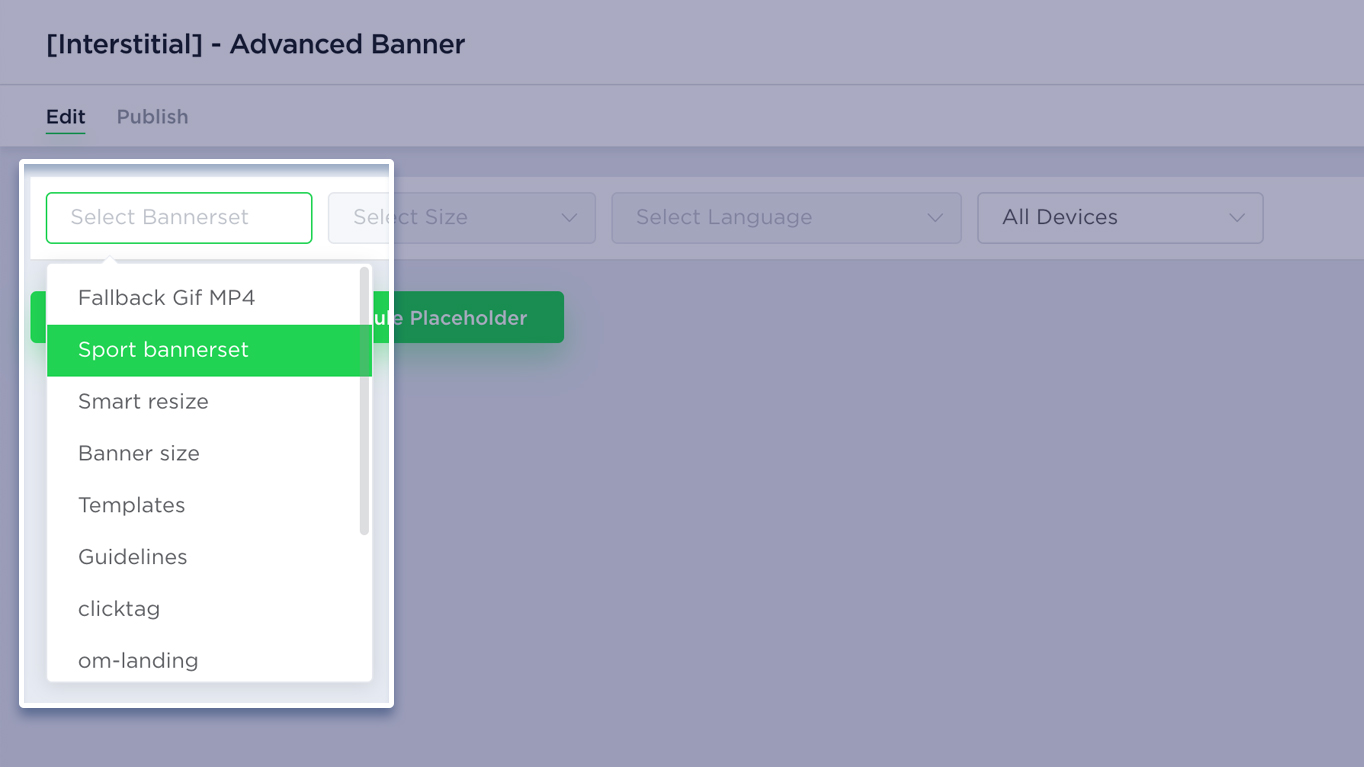
To build an Interstitial creative click on Add Banner > Advanced format.
On the right side, you can personalize the appearance of the Interstitial banner by adjusting settings such as backdrop color, responsiveness, close button style, and more.
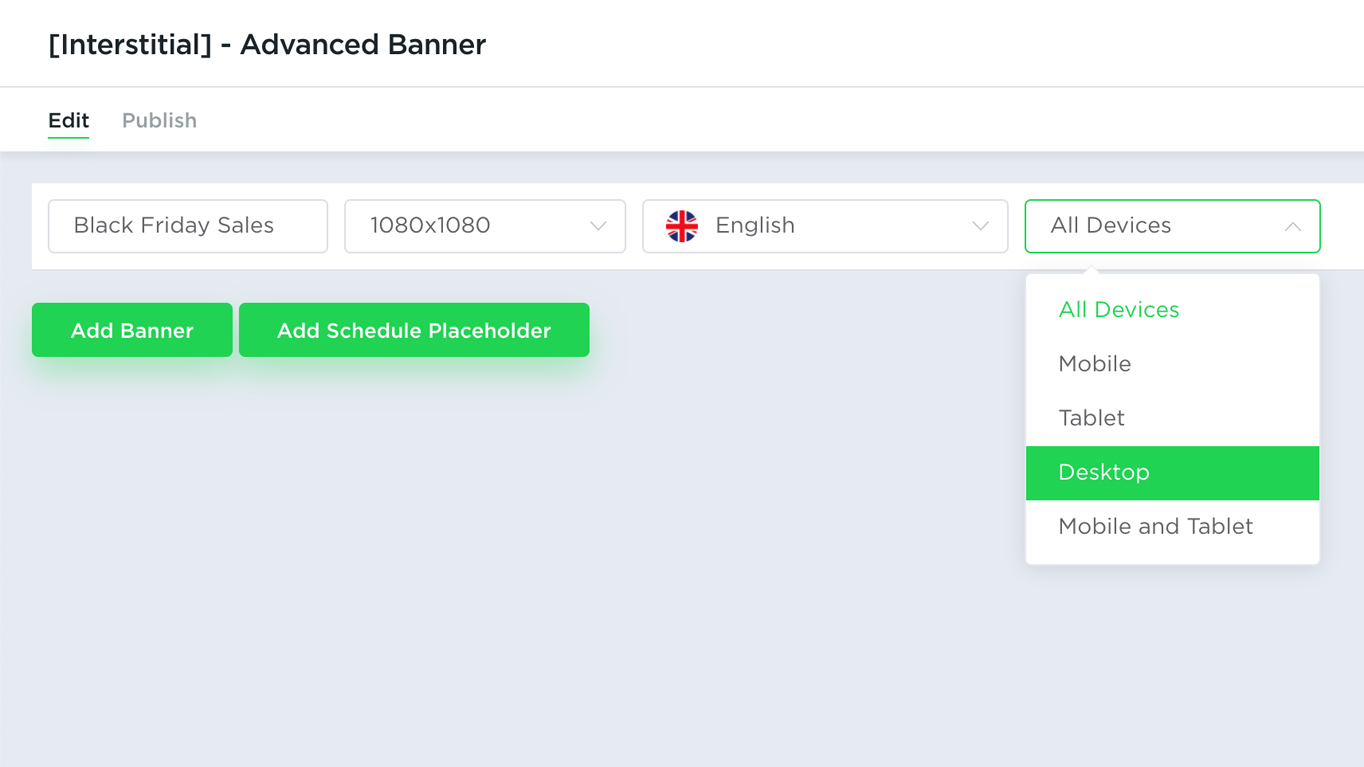
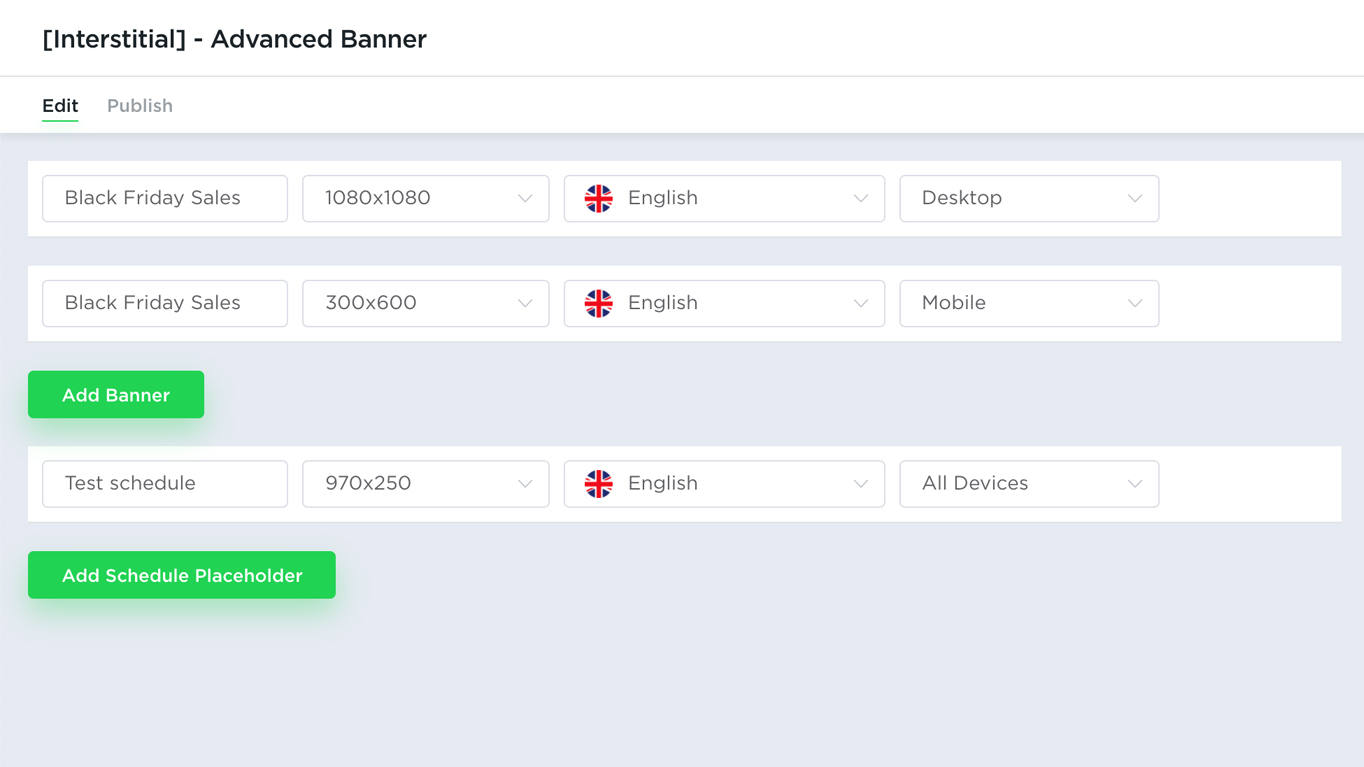
Now let’s add banners that Advanced format will display. You can add multiple sizes so that on different displays it will load different banner sizes (for example 1080×1080 on a desktop and 300×600 on mobile display).
You can also specify the rule on where do you want to show specific banner size (mobile/tablet/desktop).
You can also add a Schedule Placeholder instead of a predefined banner. This will allow you to schedule what will be displayed in advance.
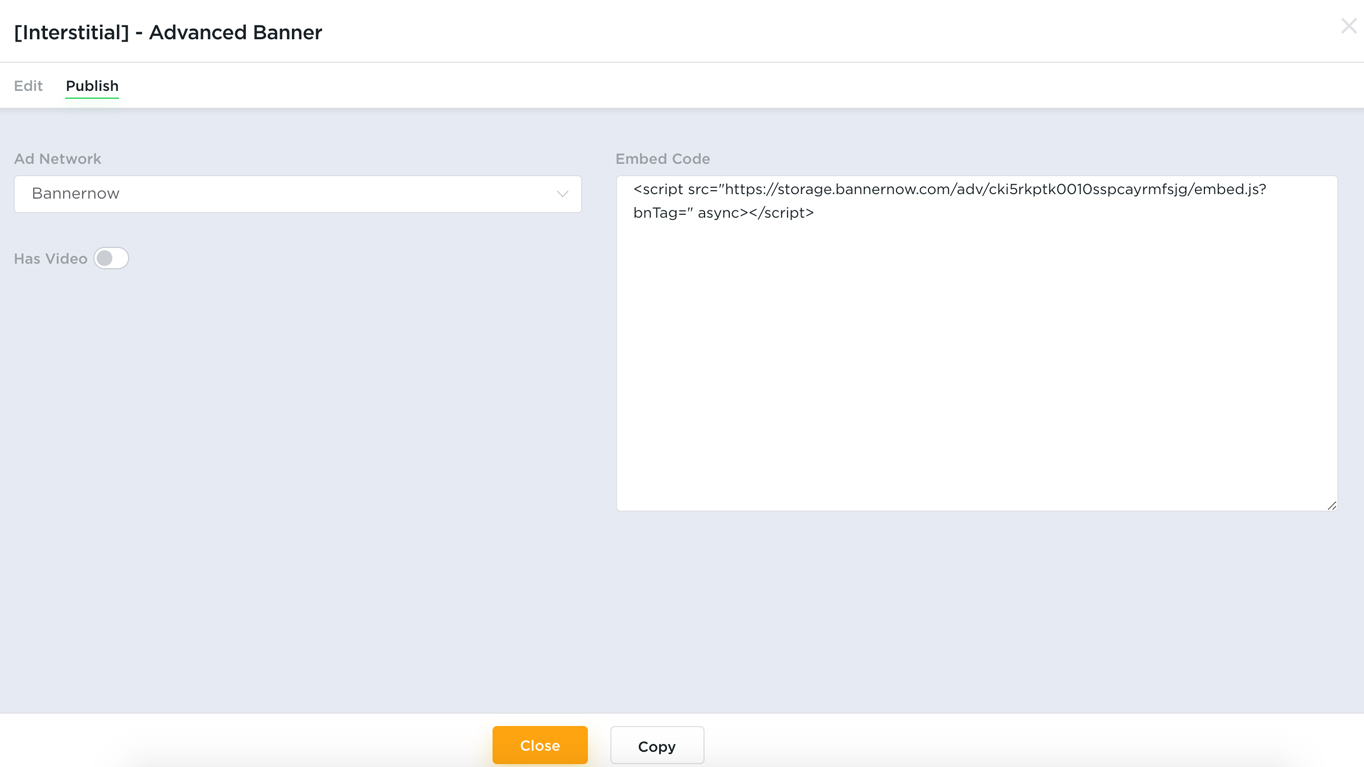
Once all banner/schedule sizes are added click Publish to generate the Embed code/Ad tag. If you will need to do some updates to this banner in future (add more sizes or change styles) – just edit the advanced banner and click Save ( the Ad tag will remain the same ).
An example of Interstitial advanced banner format:

Here is the same banner displayed on mobile (it loads a different size that suits more to user’s display).

The Advanced format banners can also be used in Google Ad Manager (Out-of-page ads). Read our tutorial about using Advanced formats in Google Ad Manager.